I know I haven’t been posting a lot of new crafty projects lately primarily because my 11 month old has been a bit of a handful and doesn’t believe in naps! He finally took a half way decent nap and my daughter and I got to work!
I have been saving old DVD/CD for a while now (because I think I will actually use them for something.) It finally dawned on me what to do with those things – Wind Chime! I went through my sewing kit because I also had some metal bobbins from my old sewing machine (I just couldn’t bring myself to get rid of them because I knew eventually I would find a use for them.) This project is a little labor intensive but my daughter had a blast helping me make it. Also 95% of the stuff was going to go in the trash so you can call this a “green” wind chime. I also had everything else so the price tag on this project ZERO!
Materials:
Mod Podge
Paper (White Paper – Copy or construction)
Tissue Paper
Brush
Scissors
Fishing Line
Pencil
Glitter*
Top of a Mason Jar (just the round part) or a round metal/wood hoop
Ribbon*
Hot Glue Gun*
Contact paper or stickers*
Old Bobbin or Metal Circles (so everything will “chime”)
Shot Glass (Template for a circle)*
Old Key Ring
*Optional
Trace the CDs onto white paper and tissue paper, cut out. Trace the shot glass onto white paper and tissue paper, cut out. Grab a CD on the non shining side and place Mod Podge all over it. Place one white circle onto CD Mod Podge again. Place tissue paper on top of the white paper, more Mod Podge add glitter, more Mod Podge. Repeat with the other CD. Once CD dry flip over and Mod Podge the little white circle and tissue paper (I Mod Podge the whole side) let dry. Take bobbin (or metal circle) and Mod Podge one side with tissue paper – let dry.
Time to assemble the wind chime. I did six pieces of fishing line so the weight would be dispersed evenly (this will make it so it won’t lean to one side.) I tied the fishing line to the CD and tied the other end to the round mason jar thingy (I had a spare because my husband threw the flat part away.) I then tied the other CD below the first one on the opposite side of the mason jar thingy. I place/tied two bobbins on either side of the CD. Once that is done I then placed Contact paper (stickers) on the exposed side of the bobbins. Now tie six equally pieces of fishing line around the mason jar thingy and then tie together. Take the key ring and tie it with the fishing line to the mason jar thingy. Trim fishing line (be careful that you cut the correct lines) add ribbon with hot glue around the mason jar thingy and place outside for all to see.
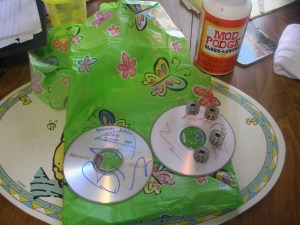 |
| Supplies: Tissue Paper, CDs, Bobbins, Mod Podge |
 |
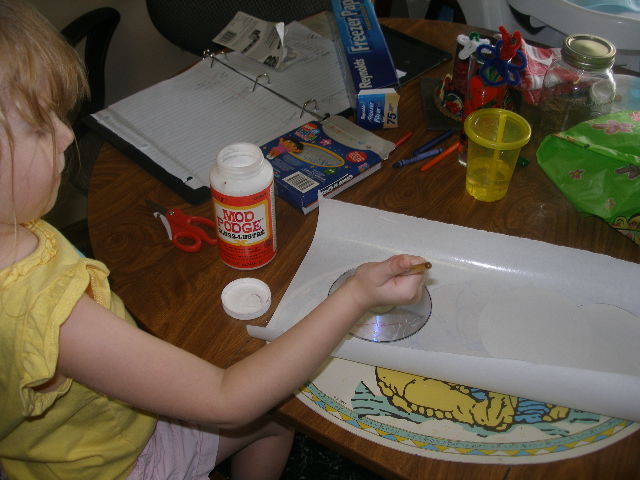
| Cutting Circles |
 |
| Applying Mod Podge to the blank CD |
 |
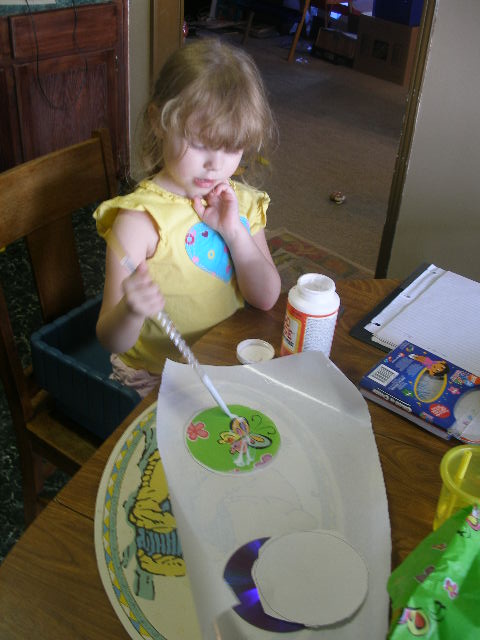
| Applying the Top Coat of Modge Podge to the CD |
 |
| Taking a break and she told me green glitter would make it beautiful. |
 |
| Green Glitter added and sealed with Mod Podge. Camera Battery died here. |
 |
| Diagram I made on how to place fishing line and where to place CDs at 1 and 4 and the bobbins at 2,3,5, & 6. |
 |
| Holding her finished Wind Chime |
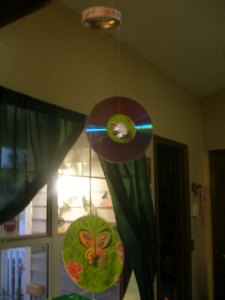 |
| Close up of the finish project. We have not put it outside yet because it was raining (thunderstorm) when we finished it. |
The project took about an hour (with drying time of the Mod Podge) and the best part my daughter loved helping and loves the wind chime!


I did something similar- I painted the CD's, added some flat sided marbles to some, drilled a hole for hanging, & connected one to another using heavy weight fishing line, & beads. I left the shiny sides as the background & hung them off my *Tackt Tree*. They really catch your eye 😀