Materials:
Paperclay
Rolling Pin (Fondant Roller)
Exacto Knife
Princess Stencil
Paint
Brushes
Sharpie (Purple in my case)
Sealant
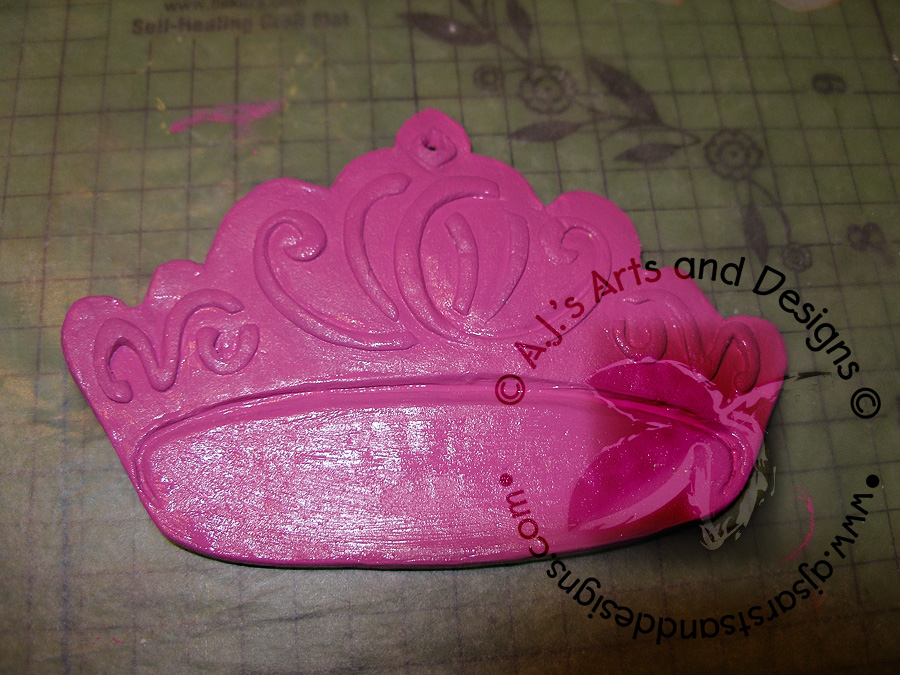
1. Roll out Paperclay to approximently 1/4″ thickness.

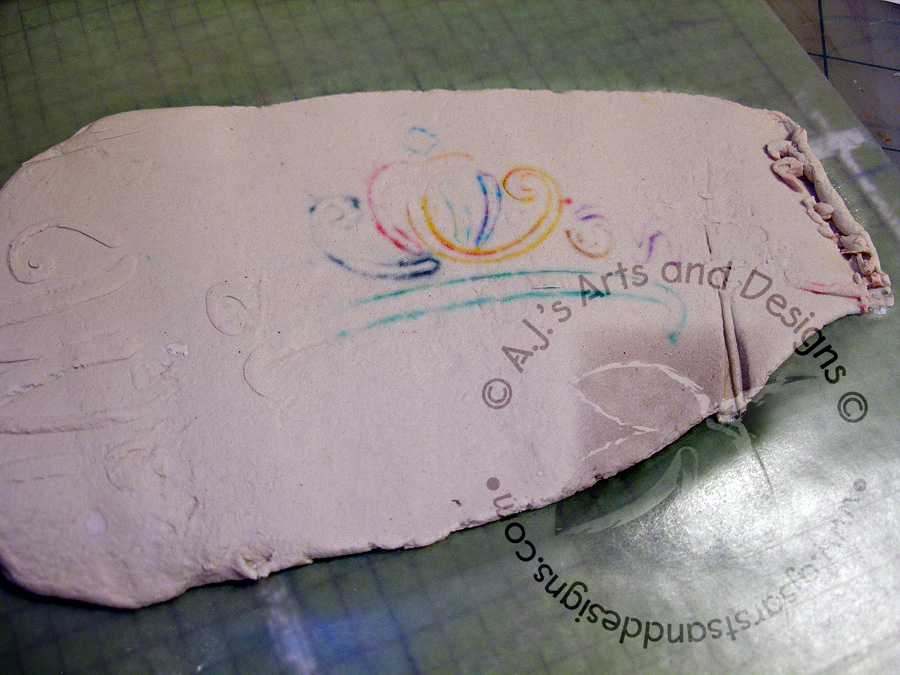
2. Press stencil into paperclay to get an impression of the stencil in the clay.
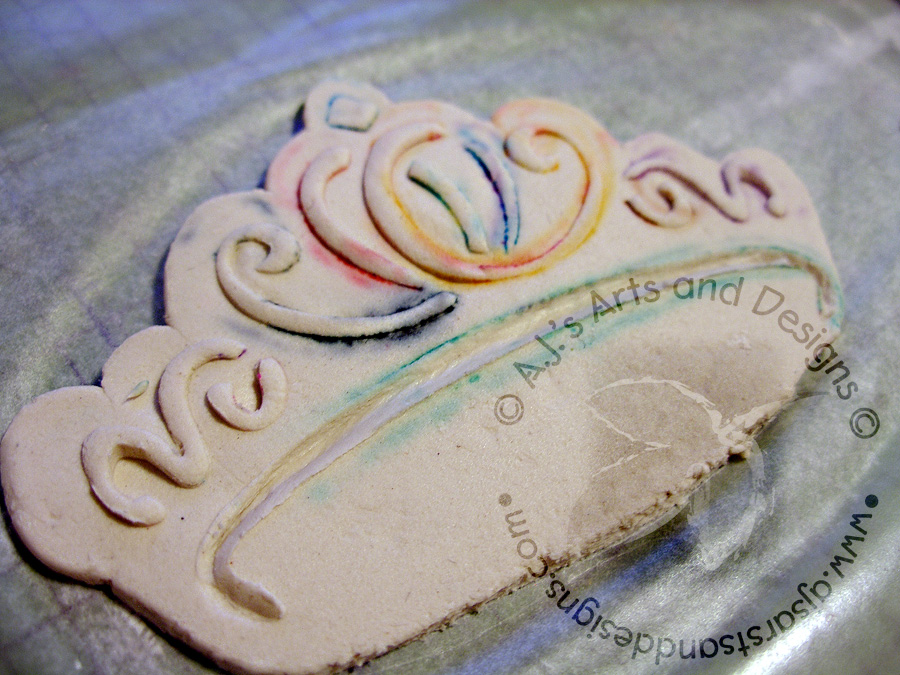
3. Cut or the stenciled piece out.

4. Place stencil back on paperclay piece matching up the lines. Press harder so the clay comes up through the stencil. Remove stencil carefully.
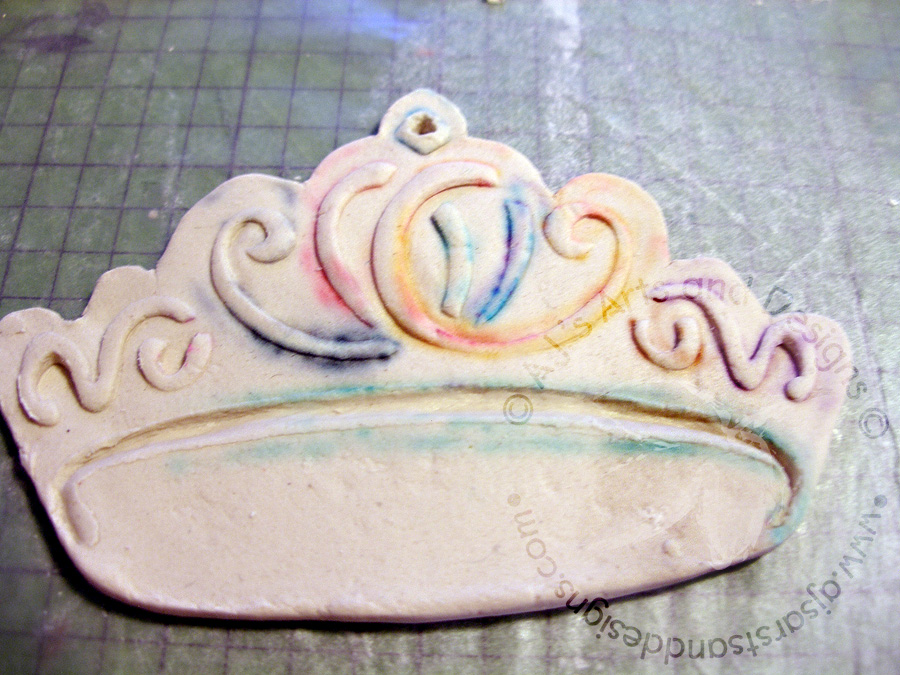
5. Refine edges and let dry for 24 hours.

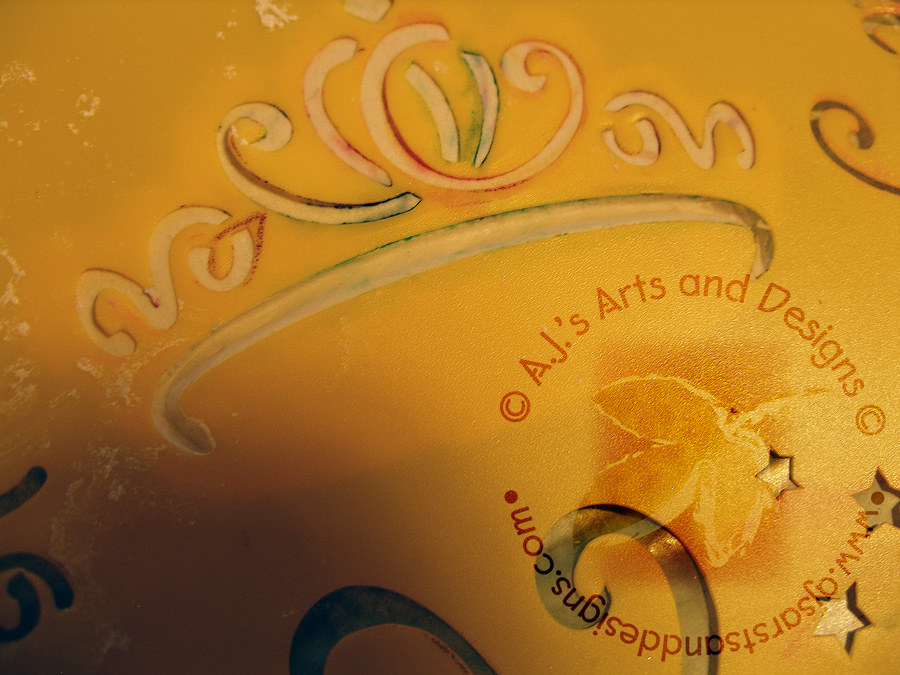
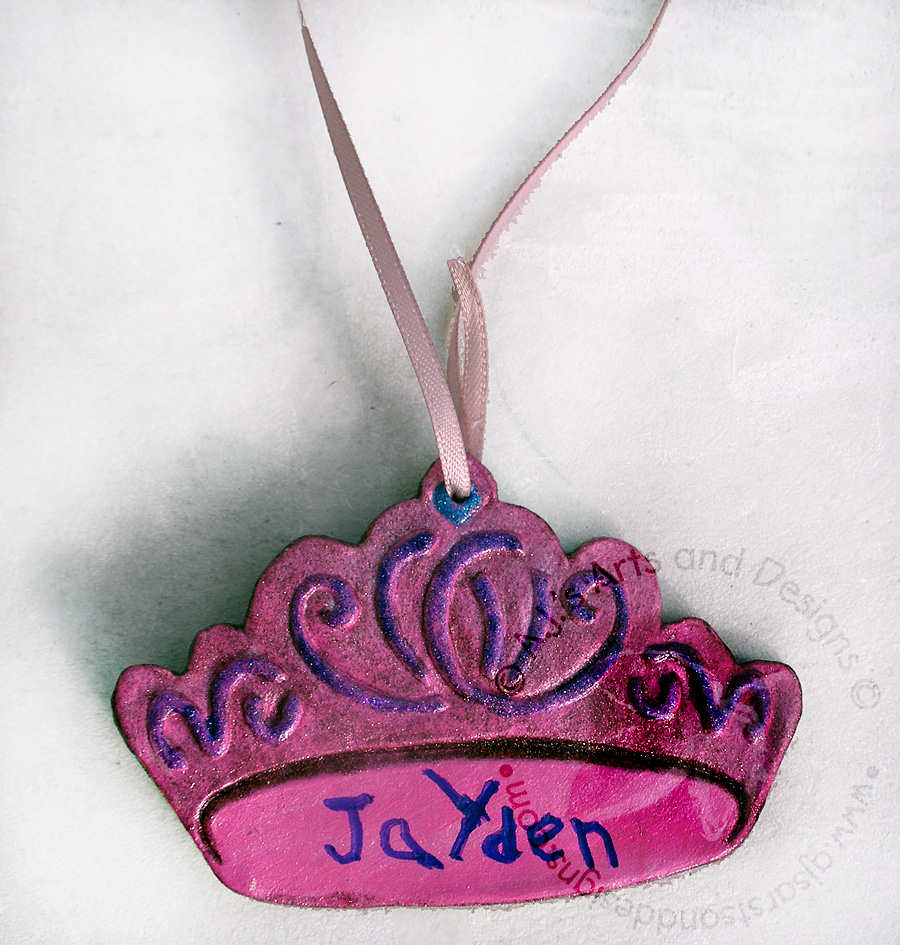
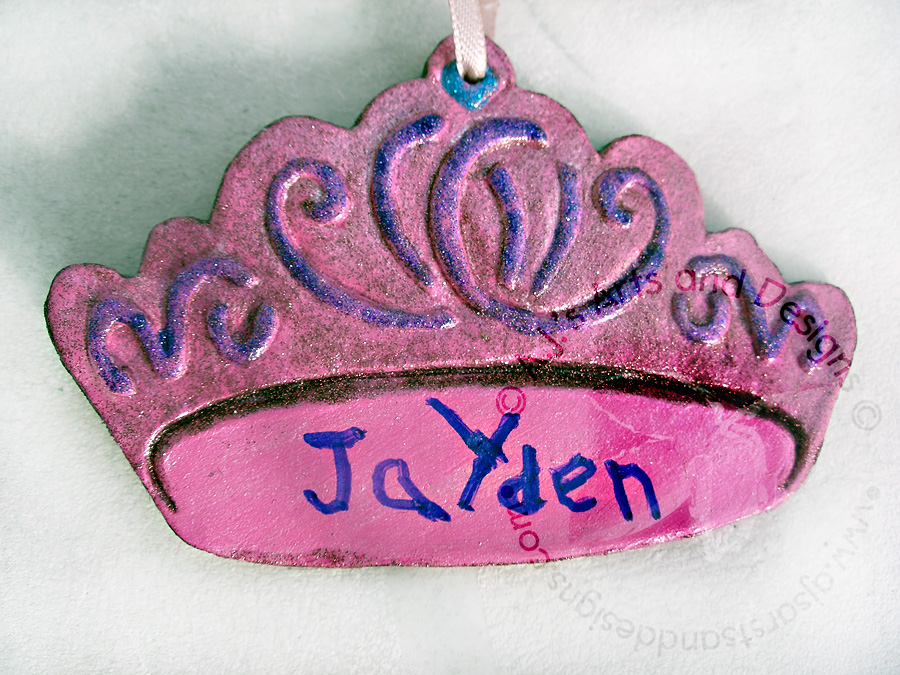
6. Paint – we used Liquitex Iridescent Medium and Liquitex Soft Body Pink Paint for a base, then used Extreme Glitter to add the appropriate bling for a princess. I let my daughter write her friend’s name on the front and a To: From: and the date on the back. Seal with a sealant. Add ribbon for hanging.
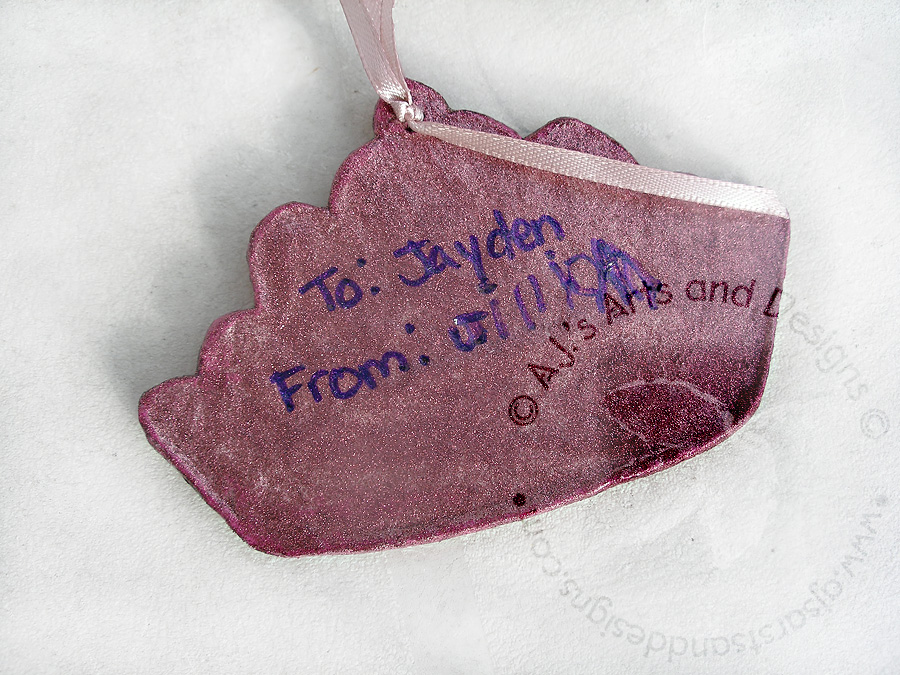 |
| Back of ornament – I also added the year. |


I think that's just a wonderful thing to make for your daughter's friend! Great tutorial. I can see myself using other stencils too!Hugs XXBarbara
Pingback: Gift Tag Ornaments | Who Are You Calling Crafty?