
I found out about this Design Team Call, I was really excited because I love Pearl Ex and the Mica Flakes always remind me of my Historic Preservation Days at SCAD. Here is my submission – with a how to create a frame when you have no wood or glass and turn it into a wonderful display for the Holiday Season. I hope everyone enjoys it!
Materials:
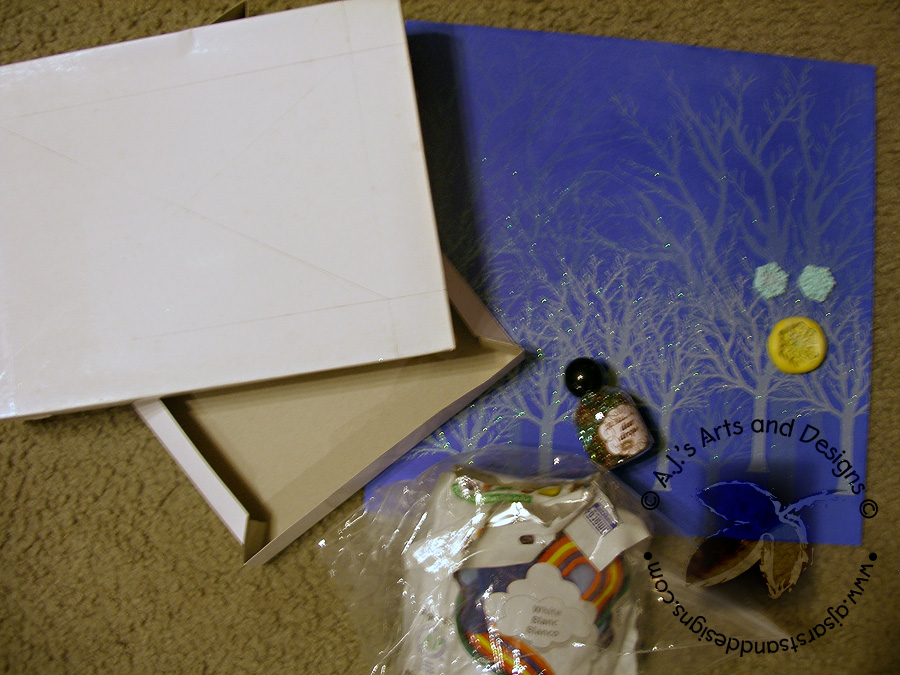
T Shirt Box
Scrap cardboard from a cereal box
Blue Forrest Paper from Robin’s Nest
Glue Stick
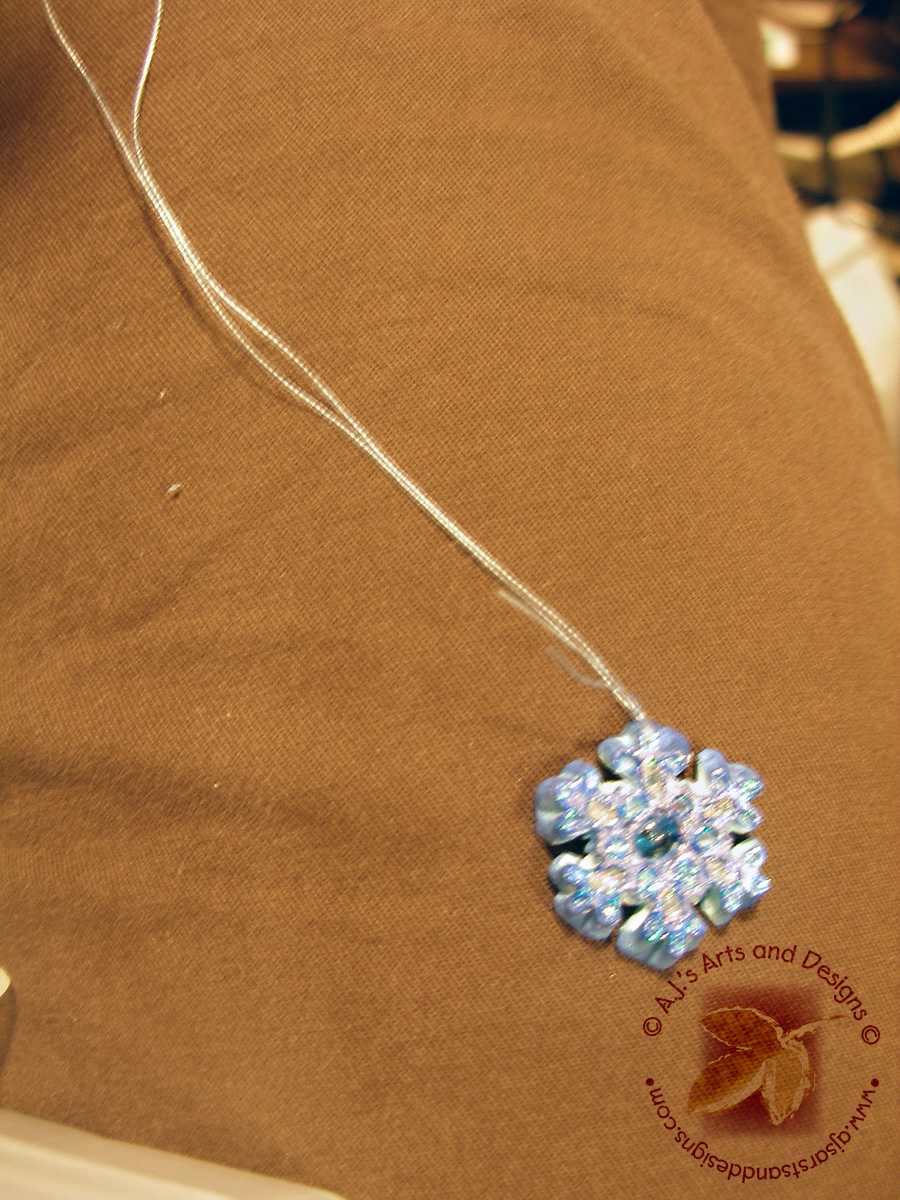
Cloud™ Clay Snowflakes
Light Blue Dew Drops
Pearl Ex Micro Pearl
Studio G Silver and Light Blue
Metalic Paper
Staz-On Azure Ink
Veramark Watermark Pen
Acetate
Metalic Blue Paper
Coaster
Metal Tape
Ribbon
Resin Snowflakes
Metal Ruler
Exacto Knife
Scissors
Needle
Thread
Tim Holtz Broken China Distressed Ink

1. Measure out the edge of the box the width of a metal ruler. Draw a broader around the box.

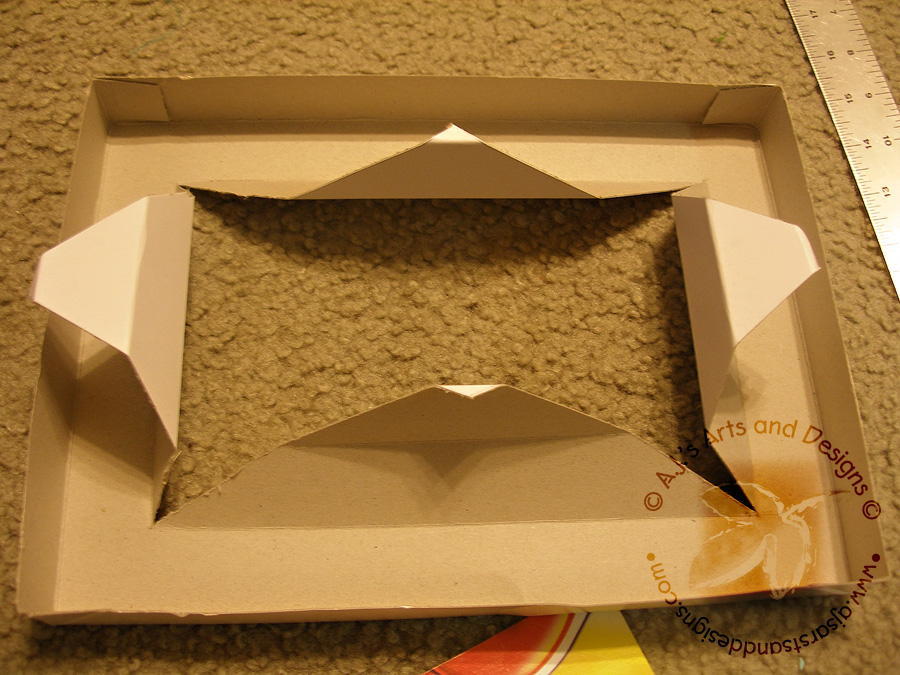
2. Make an X from corner to corner. Taking an Exacto Knife cut the X. Taking the Ruler again score the width of the ruler so it will fold (this will create the frame). Attach with glue. Add corner strips to the inside of the frame.

3. Cut Scene Paper adhere to the back and cut strips to place around the edges.
4. Take snowflakes and decorate. Add Dew Drops to the center and used Broken Glass Tim Holtz Distress Ink to add color. Add Micro Pearl Pearl Ex mixed with Gloss Gel Medium over the Distress Ink. For the final touch add Studio G Glitter to the inside of the snowflake.

5. Taking a needle and thread. Thread the snowflake to the frame. Repeat the process with the second snowflake.
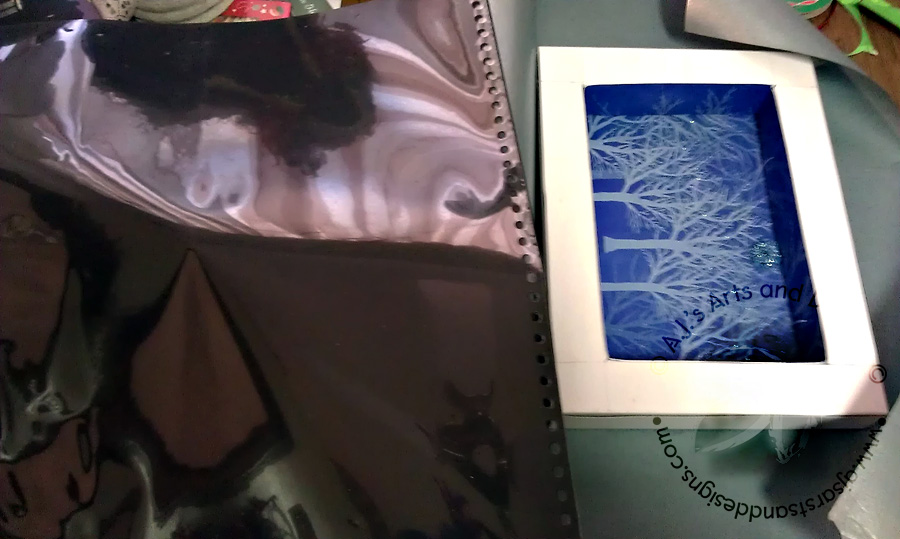
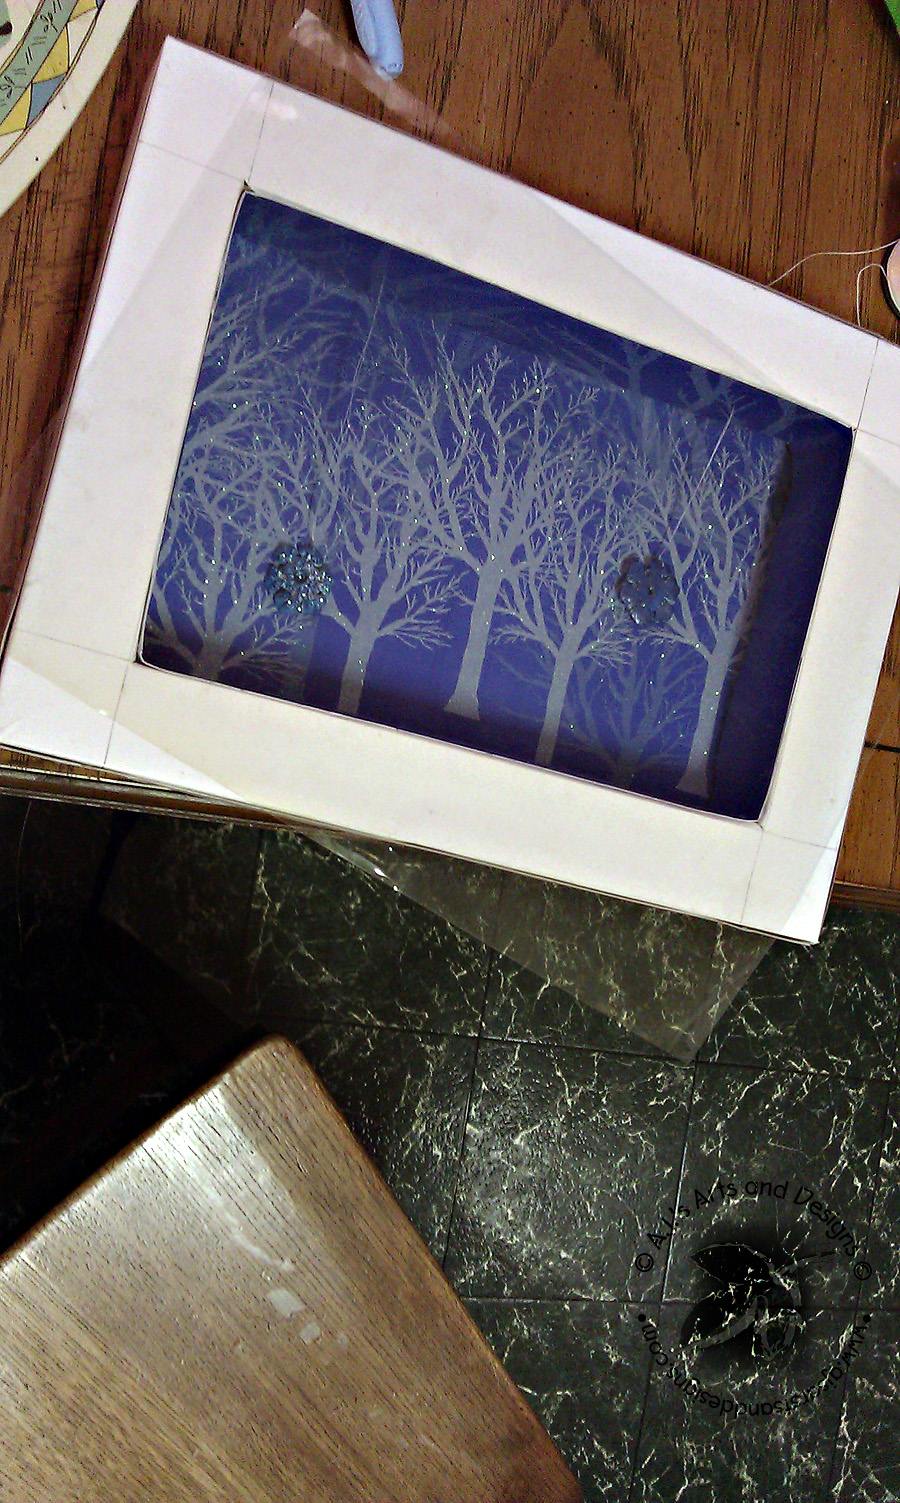
6. Cut a piece of acetate to fit over the frame. Stamp with snowflake stamps (I used Close to my Heart Winter Wonderland Stamps) with Staz-On Azure ink and Versamark Watermark ink and covered it with the Micro Pearl.

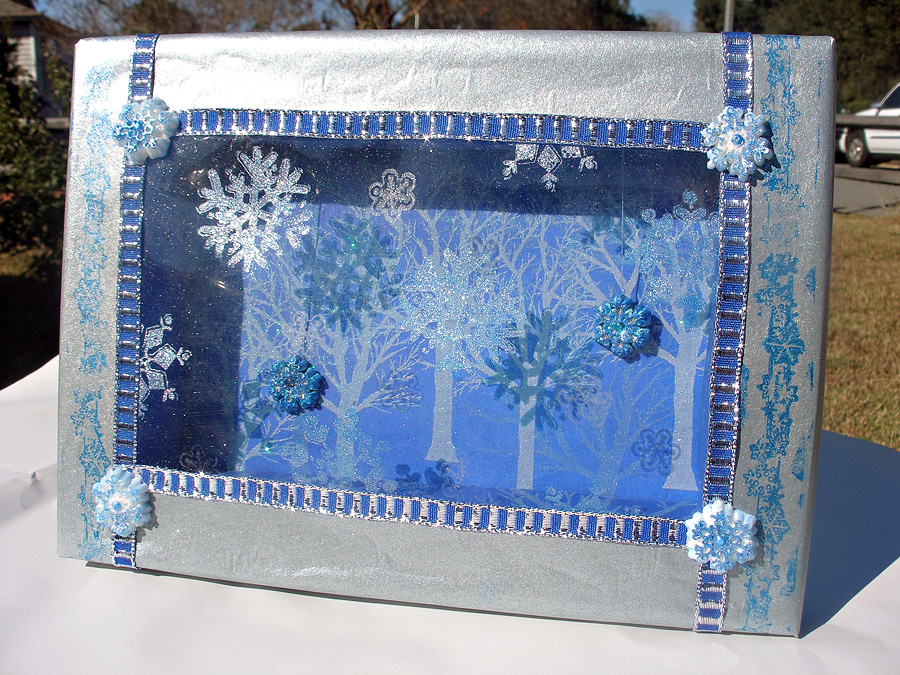
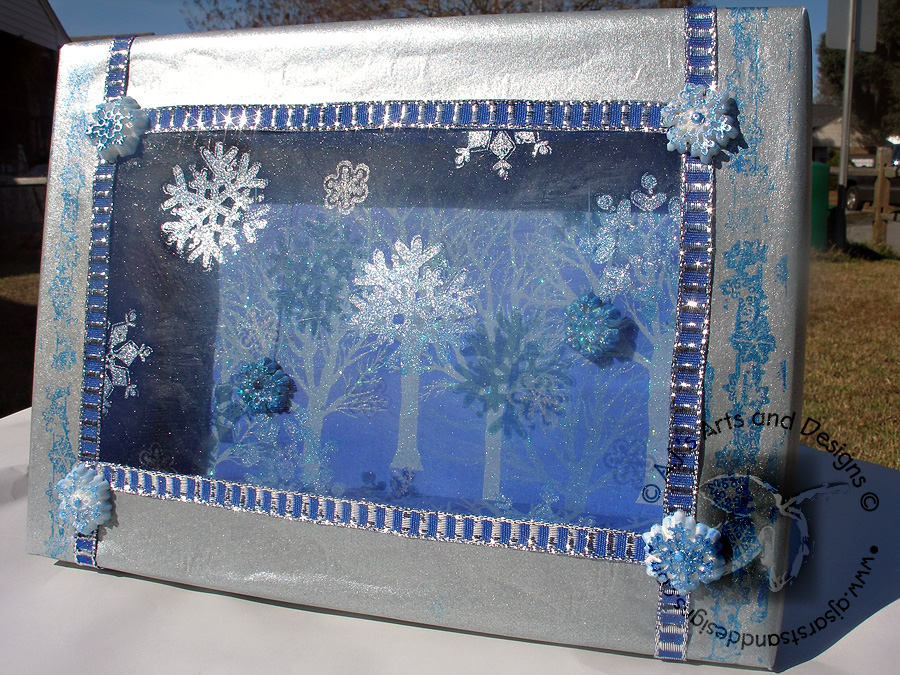
7. Glue the acetate to the frame. Cover the acetate with light blue paper, cut a hole out of for the picture. Wrapping the frame like a present and securing with glue.
8. Add ribbon to cover the imperfections of the paper cutting. Add snowflake with stamps to the side and glue resin snowflakes to the corners to hide where the ribbons meet.
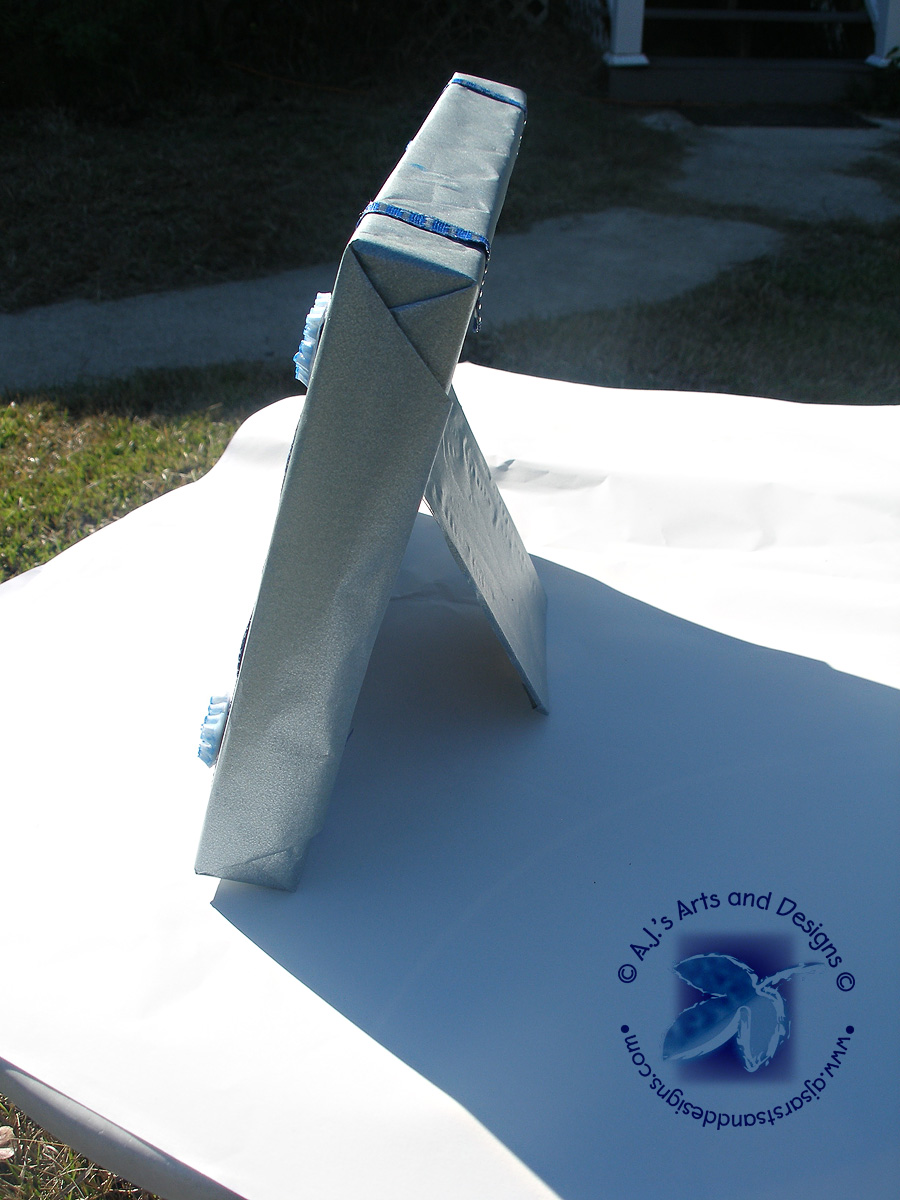
9. Add the coaster to the back with Metal Tape so the frame can be supported on its own.


Beautiful creation! I love your snowy shadow box!
wow, this really looks like it's snowing. thanks for your submission to be apart of the UsArtQuest DT.
That's stunning Manda, love the atmospheric feel of it with all those lovely trees, phenom ! xoxoxo
Your snow box is awesome. Might have to try my hand at this so as to have one for each season on our mantel. Nice Amanda 🙂
Wow! That IS christmasy! Well done Manda. Love it! :0)x
Thank you everyone 🙂