Pin It


Don’t forget:
Did you hear Robin’s Nest is doing a Monthly Challenge and you can win prizes?
Check out the Robin’s Nest Blog for more information on how to enter the Page Map Challenge.
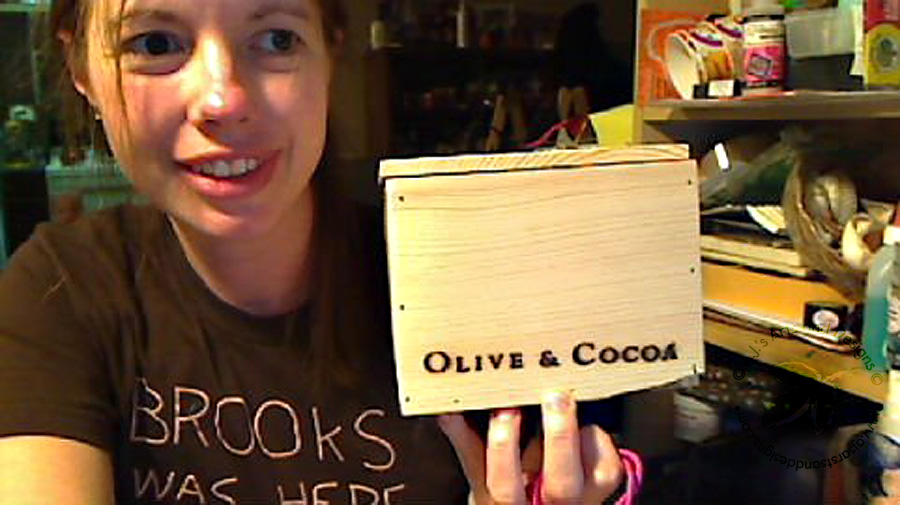
My husband brought me home an amazing wooden box from work. I was excited but I had no idea what to do with it. My favorite paper from The Robin’s Nest is Glitter Copper Butterfly – I love butterflies, copper and my daughter loves the color purple.
I realized my desk is seriously lacking in storage and pictures of my children so that had to change.
I wanted to experiment with my Tim Holtz Distressed Inks and Embossing Powder which I used on the Frame. If you want to see the complete project please check out The Robin’s Nest Blog.
I wanted to experiment with my Tim Holtz Distressed Inks and Embossing Powder which I used on the Frame. If you want to see the complete project please check out The Robin’s Nest Blog.
Materials:
Wooden Box
The Robin’s Nest is Glitter Copper Butterfly Paper
Mod Podge®
Apple Barrel® Black Paint
Folk Art® Metallic Antique Copper
Elmer Glue-All
Chip Board
Metal Ruler
Plexi-Glass (I break real glass)
Purple Cows® Winter Punch-It
Dew Drops
3D Crystal Lacquer
Scissors
Tim Holtz Distress Ink Dusty Concord
Tsukineko #11 Iridescent Embossing Powder
Brown Card Stock
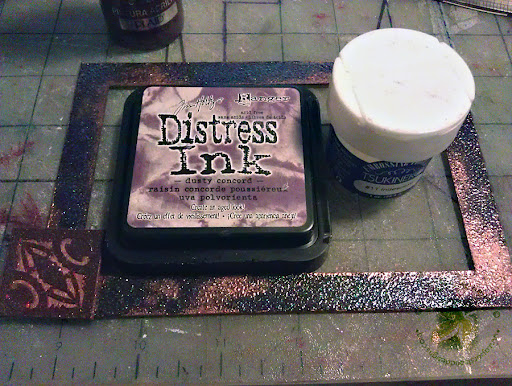
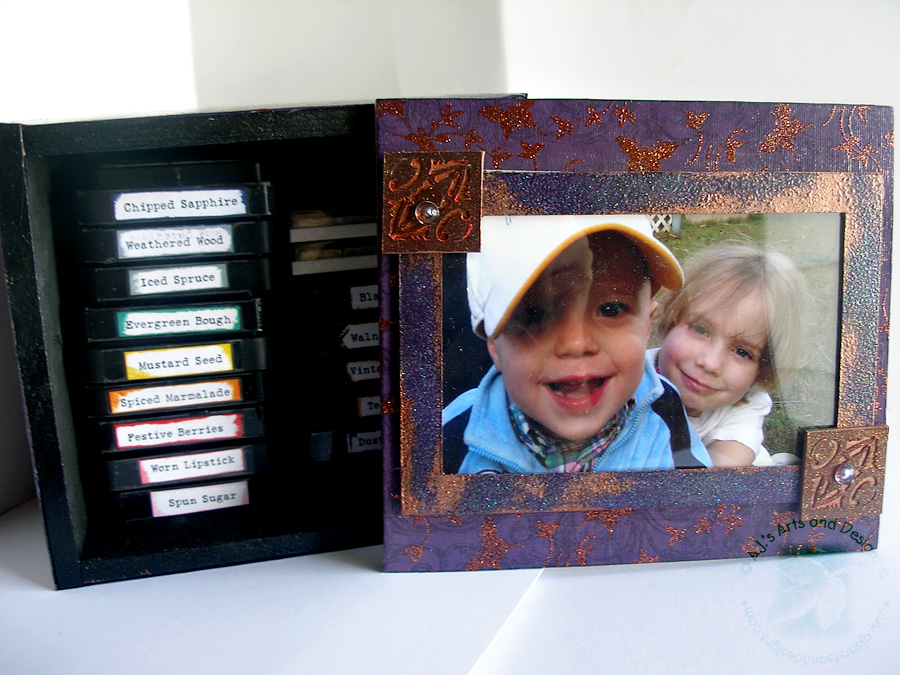
Cutting the chipboard with an Exacto Knife to form a frame. I used the Dusty Concord as the Embossing Ink and poured the Embossing Powder over the frame. Using a Heat Gun set the Embossing Powder. The spots that were missed I covered with the Metallic Copper Paint. I glued Plexi-glass to inside of the frame and added a piece of brown card stock to cover the back, leaving the top part opened to slip a photo in. I added the paper to the frame to make gluing the frame to the box easier. I added the Dew Drops center of the square to complete the box.
 |
| Where some of my Ink Pads reside |

