
I decided a while back (Tuesday of last week – Thank you Robi for the kick in the butt) that I was actually going to do a couple of submissions for the Creative Paperclay Design Team. I have made my own Paper Clay – for the record the Creative Paperclay is far superior than the stuff I made. It is smoother and works more like an earthenware clay. I can say I don’t remember Paperclay being this easy to use but I am officially sold on this product and even if I don’t make the Design Team, it will become a regular in my supply collection. My idea for my first submission came from lack of sleep. I was laying in bed staring at the ceiling Tuesday night and I thought that butterfly painting would be so cool if I could make it 3D. Jeff was nice enough to go to the Art Supply Store downtown and pick me up a brick before work. Once I had the Paperclay I knew what and how I was going to do it.

I have basic sculpting knowledge, my mom is a professional doll artist and I remember watching her build armatures as a kid. I knew I needed some type of base to build upon.
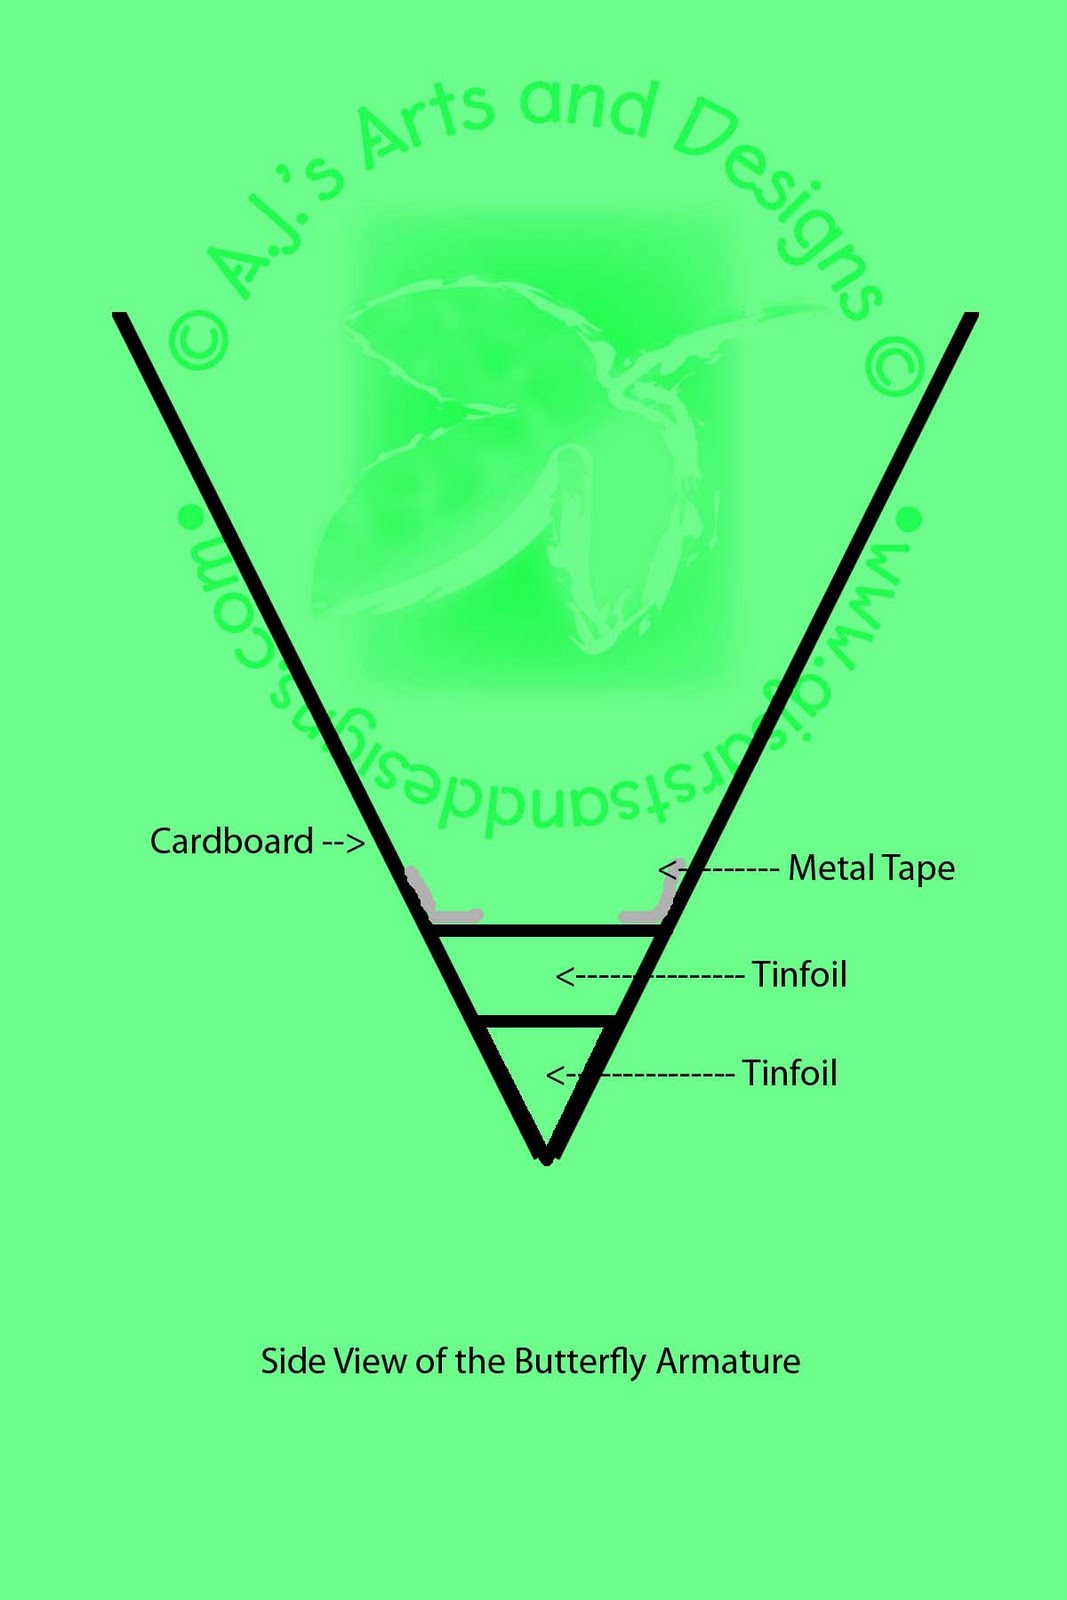 |
| Armature of the butterfly – created from a cereal box, tin foil, bamboo skewer and metal tape. At first I thought card board then I thought wait a cereal box. I bent the cereal box in half and free handed the butterfly wings. I cut them out and applied the clay – it of course collapsed because there was nothing in the middle supporting it. I added a piece of rolled tinfoil and realized it needed more support. I added a piece of cardboard and another piece of rolled tinfoil I covered that with metal tape. I once again tried to put the clay on it. It bent the cardboard because the wing did not have enough support. I added two bamboo skewers to the wing with metal tape. It worked perfectly. |


I did put the armature together on my April 7th show In the Paint Box. I painted the canvas background on my March 31st show and had a wonderful background to start with. I added the armature to the canvas board with white glue and rolled the paperclay out with a fondant roller to about a 1/8″ thickness. My goal was to create the illusion that the wings of the butterfly were very thine without compromising the entire structure of the design. I took the paperclay and squeezed it between my thumb and fore finger to create a very delicate looking edge.


I then decided I also wanted the Milkweed Plant the butterfly was on to be 3D also. I had some Styrofoam balls and cut them very carefully in half to create the flowers. I originally added an additional flower to the bottom left side of the painting but I removed it because I thought it was too much.

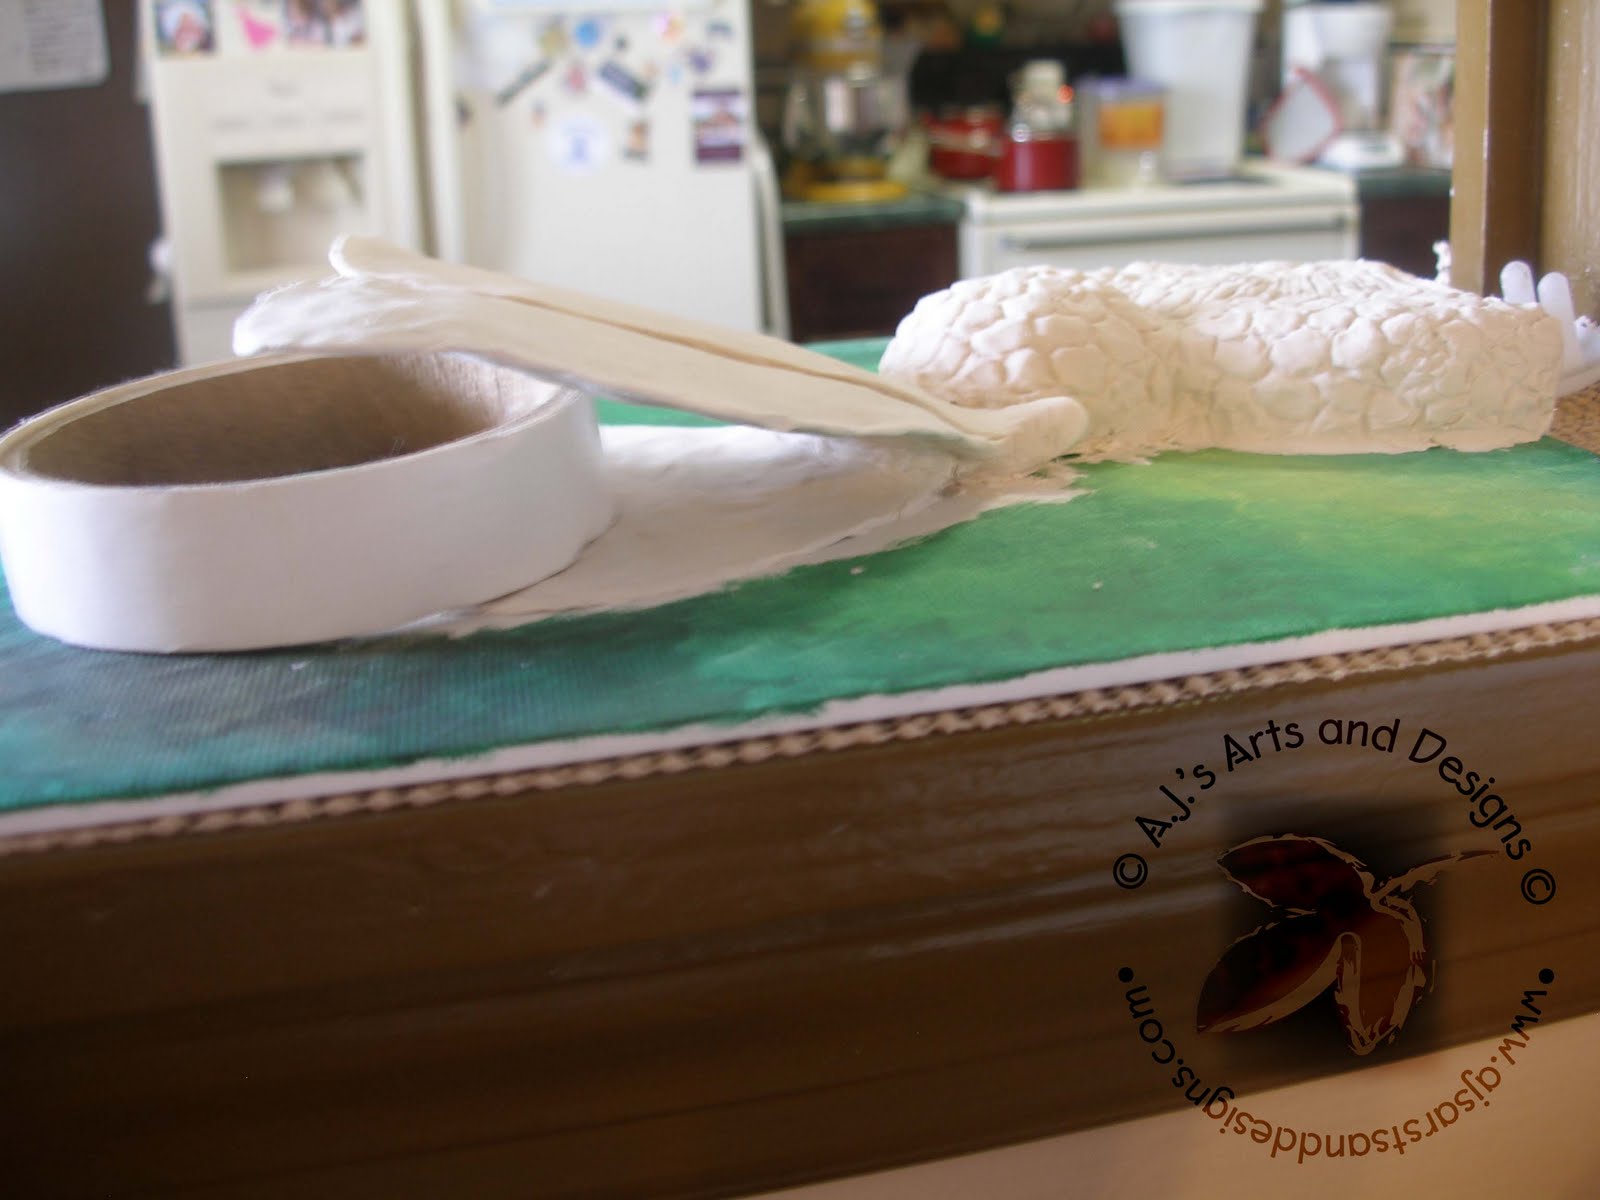
I needed to prop up the wing while it dried so I used a roll of masking tape to prop between the wings. I also did detail on the flowers of the milk weeds.

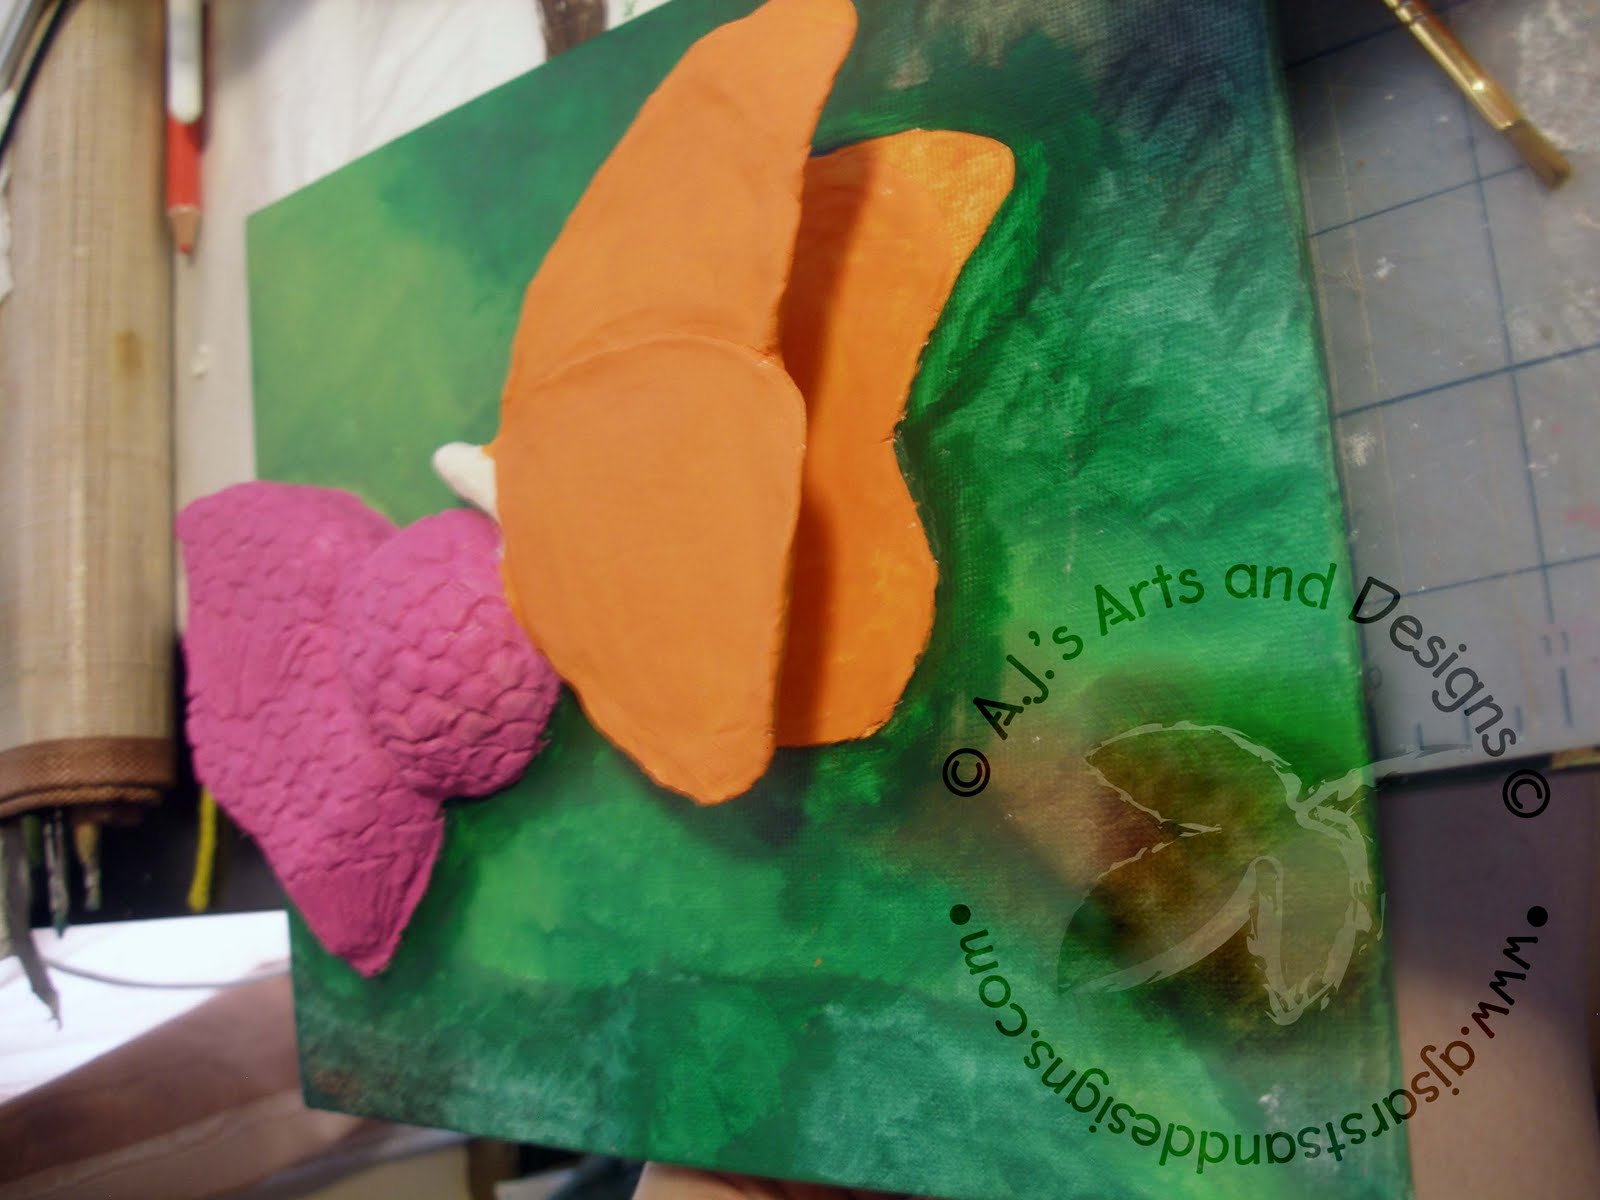
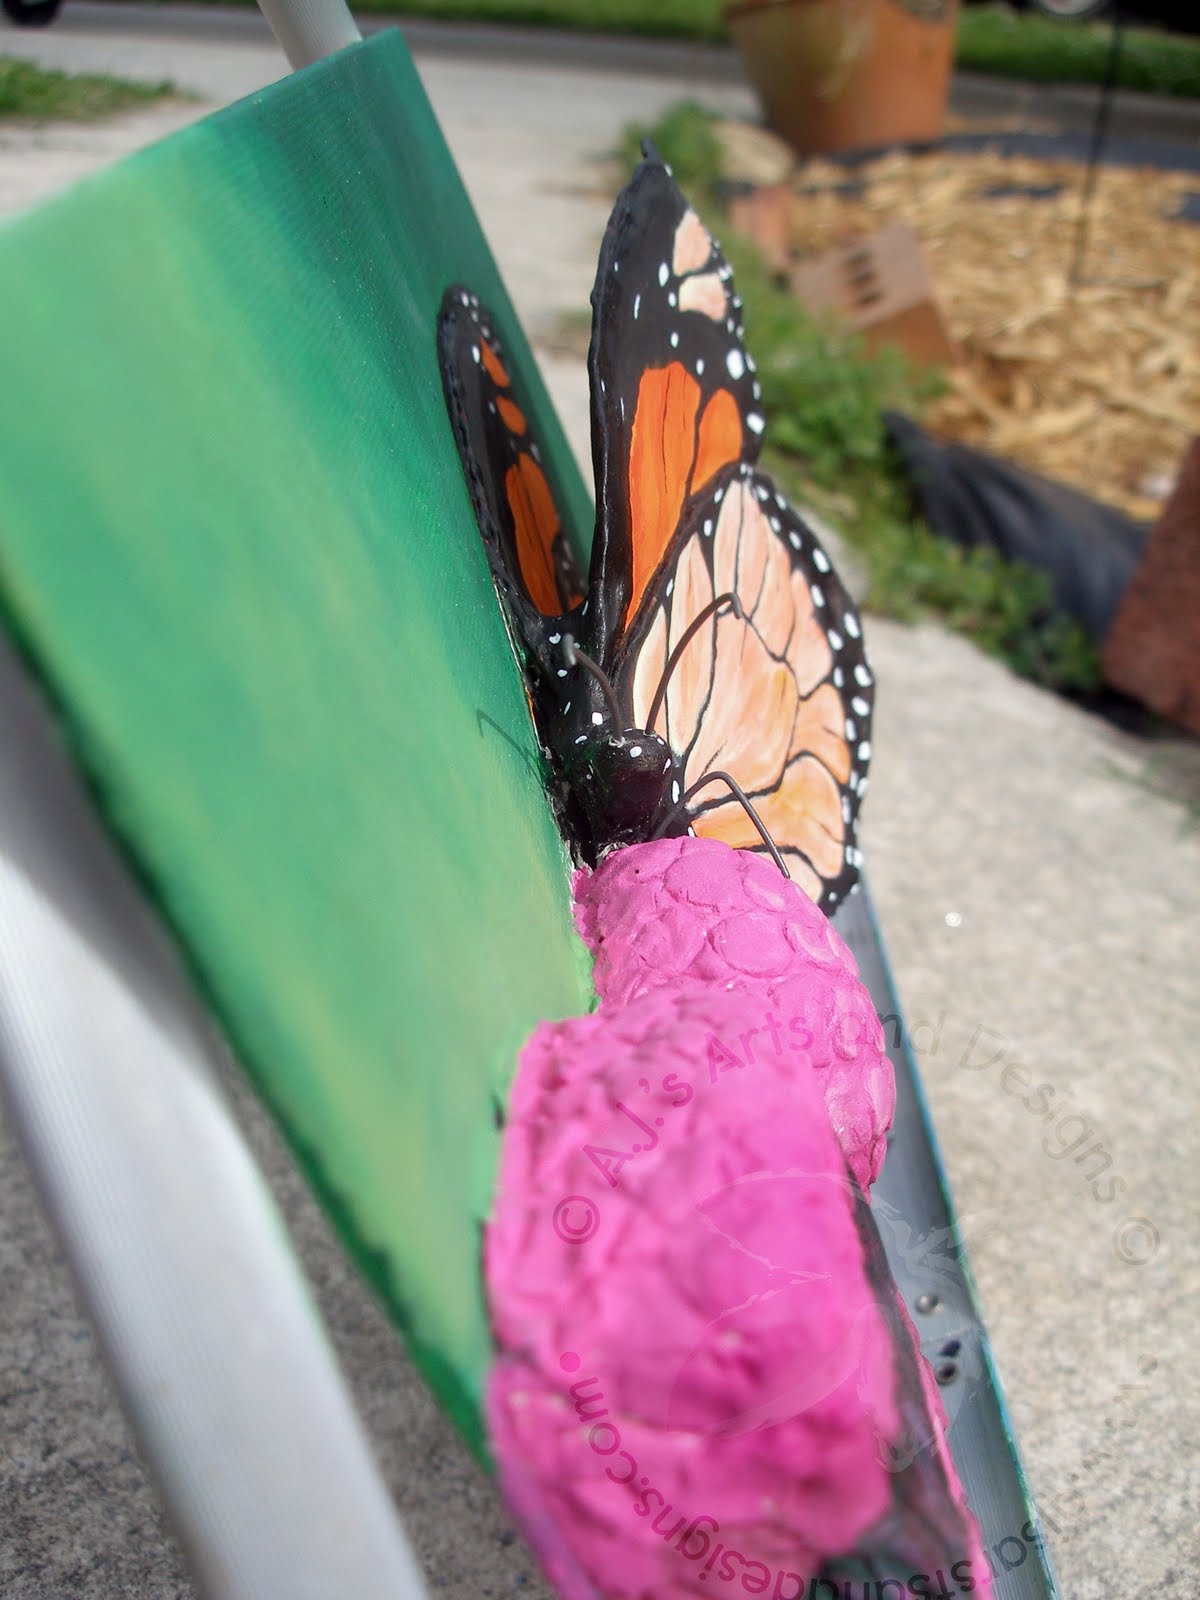
Once the everything was dry (it took approximately 24 hours I did speed up the wings of the butterfly with a hairdryer and it worked great!) I painted the flowers and the butterfly solid colors. I find when painting butterflies it is easier for me to get the detail I need when the butterfly is a solid middle of the road hue (color). I thin my paints out so much that I use the lighter colors almost as a wash to bea able to slowly bring out the highlights of the butterfly.


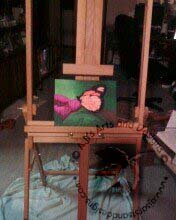
So I had my butterfly sitting on my easel with the strict instructions to my daughter DO NOT TOUCH the butterfly. I guess the wings were to tempting and she decided to try and make the butterfly fly. Instead of making the butterfly fly she cracked it. I had a small breakdown and then fixed the butterfly with paperclay. It was an easy fix but I was still really mad that she broke it. After the wings dried once again (hairdryer was a huge aid with this) I got back to painting.

I painted the lines (veins) with black craft paint and then added shading to the flowers. I also added a small leaf on the lower left hand side to make the flowers look less floaty. For the antenna and the leg, I used 21 gauge wire and made a hole into the head and body of the butterfly – I did secure them with tacky glue.


I was really impressed with the ease of incorporating a 2D painting into an almost 3D Design. I do not consider myself a mixed media artist but after this piece I think my horizons have been broadened. The paperclay takes paint wonderfully and for any painter who is looking for a way to create a unique 3D effect the paperclay is wonderful. It takes paint well, I did not put any gesso on my pieces but I did seal them with a sealer to protect the paint (paint can fade or chip easily this is not reflective of the paperclay). I was impressed on the ease of painting the piece it really did paint like a freshly gesso canvas. I hope everyone enjoyed this piece as much as I did making it (expect for the broken but easily fixable wing).
****Please note I purchased or found all items in this project. I was not given any item from any vendor or sales representative from any company.

