We bought a travel table back in 2009 we went on a road trip to New Jersey and my daughter complained she could not color very well. We got her the “Target Table” for our trek home. I love the table I used it when I was on bed rest with Booga, I use(d) it to raise items up to be closer to the camera during my show and of course for meals. I asked my daughter if there was anything she wanted me to do with the Target Table and she said, “I want it magnetic” Being completely dumbfounded I decided to think about it — how in the world could I make the table magnetic? I decided against paint because I couldn’t have the table out of commission for that long and the reviews I read are only so-so. I decided to look at the Dollar Store for something I could use to make the table magnetic. I found a cookie sheet and decided that it would be perfect for my needs and I also didn’t feel bad cutting it up because it cost a dollar. Booga also got some Thomas stickers for his birthday that I decided to make into magnets because I didn’t want Thomas stickers all over my walls and furniture.Materials Needed for Magnets:
Old Magnets (our phone books come with magnets – my stash is running out)
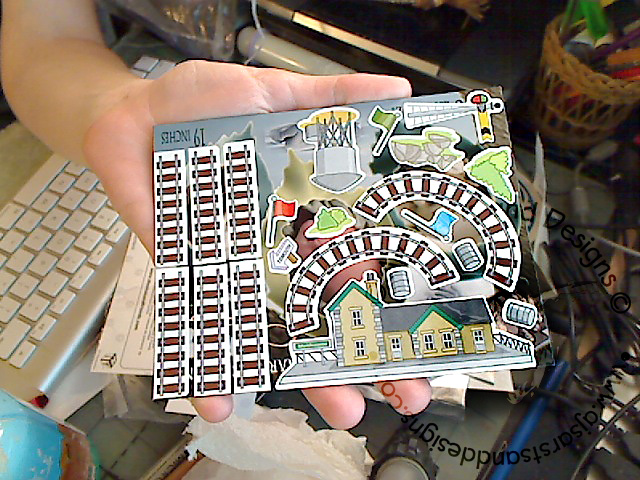
Stickers (Thomas Stickers for this project)
Scissors
This is really easy project. Take the stickers and place them on the printed side of the magnet. Cut them out. Presto! New magnets!
Materials Needed for the table:
Travel Table (our came from Target)
Cookie Sheet
Red Line Tape
Tim Holtz Scissors (or Tin Snips)
 |
| Materials |
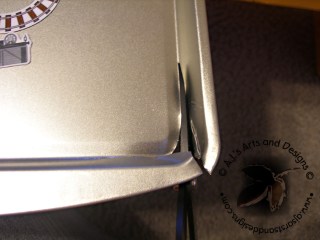 |
| Look how awesome my Tim Holtz Scissors are – they cut through metal! I trimmed the edge of the cookie sheet off so it would lay flat. |
 |
| The cookies sheet cut out ready to be mounted onto the plastic cover. The corners were not sharp like I expected them to be. If your edges are sharp you may need to sand the edges. |
 |
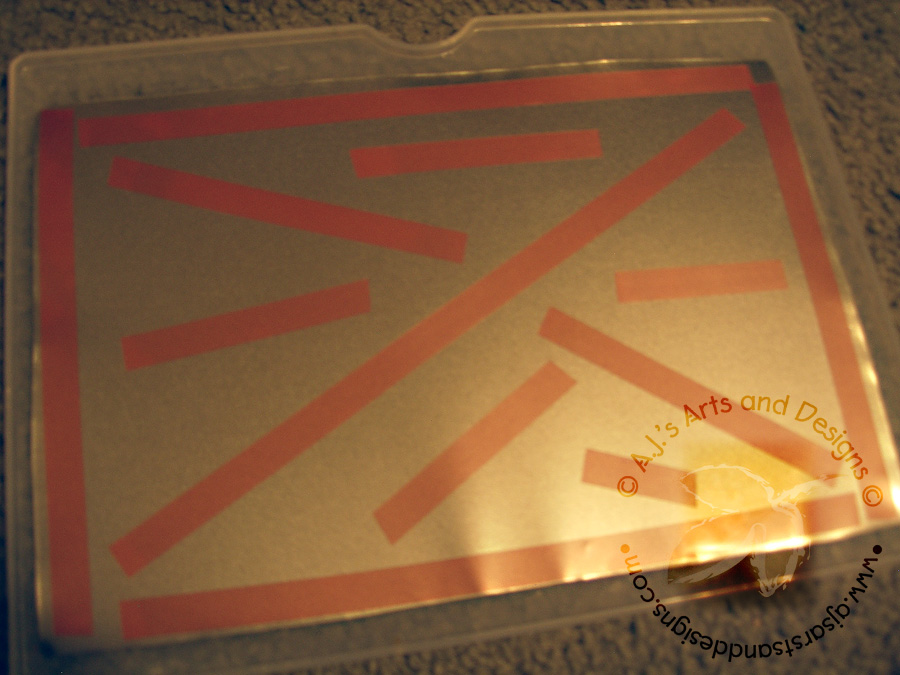
| I removed the plastic table part to make it easier to put together. I added the red line tape and pressed it to the plastic. |
 |
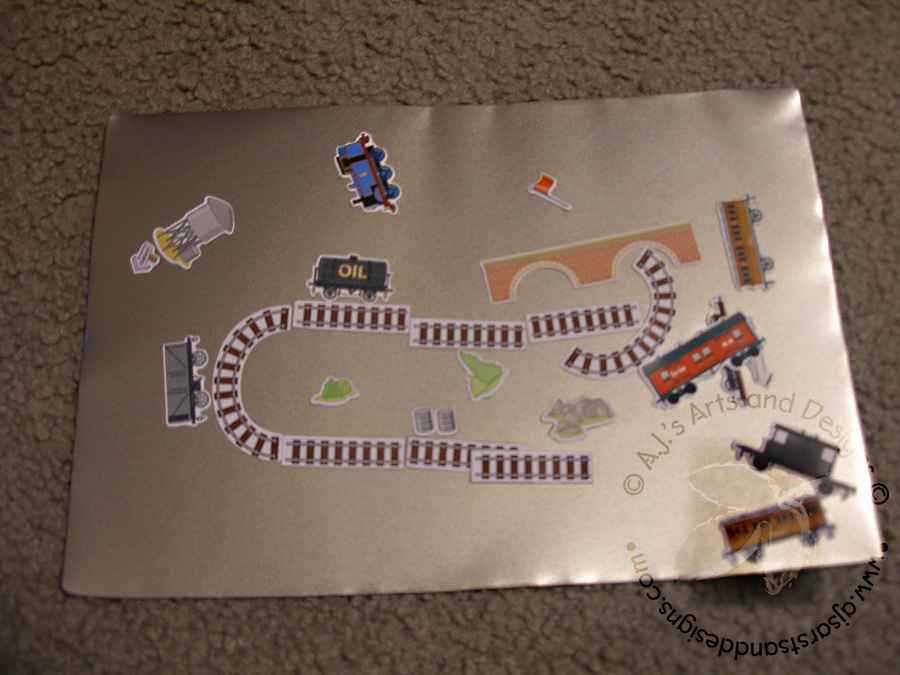
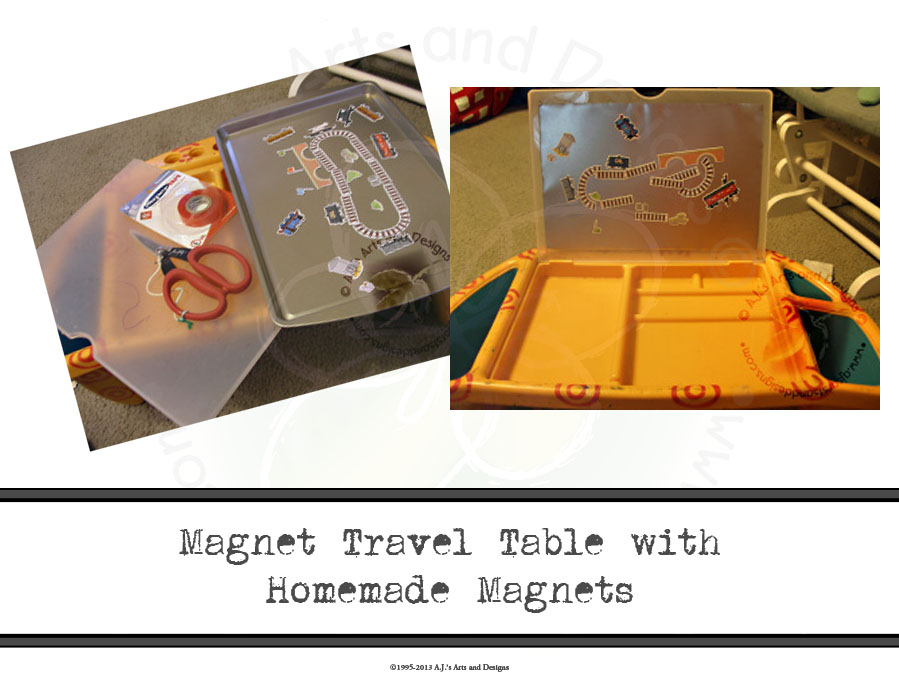
| The cookie sheet ready to be used for travel or rainy day purposes. |
 |
| The table back together. My daughter told me of other “modifications” she would like done to the table: chalkboard and dry erase board. I do plan on doing the chalkboard on the cover of the table (I have plastic primer spray paint and chalkboard paint). The dry erase board is a little trickier – I am thinking of taking an old one and attaching it to a string but make it so it fit on the inside of the table. |
 We bought a travel table back in 2009 we went on a road trip to New Jersey and my daughter complained she could not color very well. We got her the “Target Table” for our trek home. I love the table I used it when I was on bed rest with Booga, I use(d) it to raise items up to be closer to the camera during my show and of course for meals. I asked my daughter if there was anything she wanted me to do with the Target Table and she said, “I want it magnetic” Being completely dumbfounded I decided to think about it — how in the world could I make the table magnetic? I decided against paint because I couldn’t have the table out of commission for that long and the reviews I read are only so-so. I decided to look at the Dollar Store for something I could use to make the table magnetic. I found a cookie sheet and decided that it would be perfect for my needs and I also didn’t feel bad cutting it up because it cost a dollar. Booga also got some Thomas stickers for his birthday that I decided to make into magnets because I didn’t want Thomas stickers all over my walls and furniture.Materials Needed for Magnets: