Welcome to my last Creative Paperclay® Design Team piece. I have throughly enjoyed being on the team for the past year and would like to that Terri and Michael for this amazing opportunity. I plan to reapply in the future but this summer is going to be CRAZY!


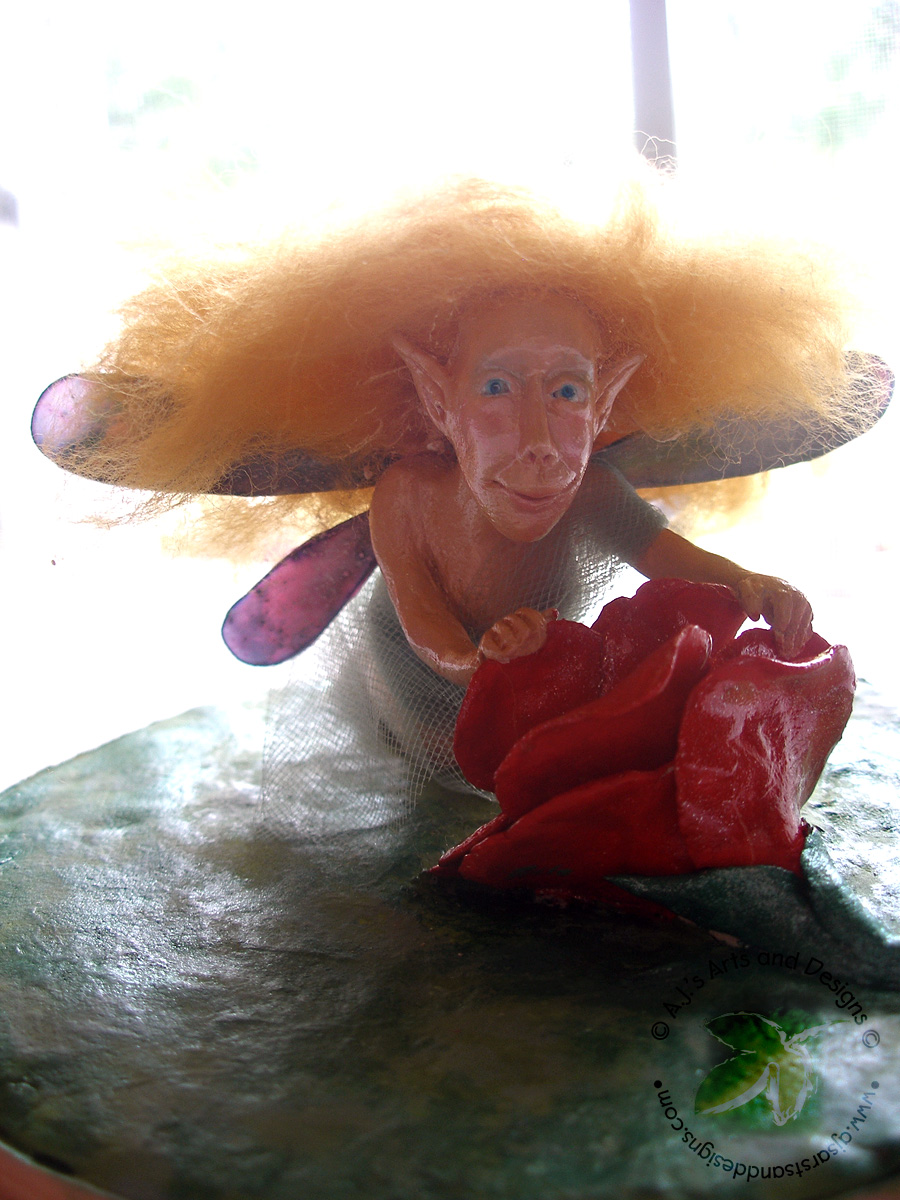
Welcome to my final post for Creative Paperclay® Design Team. I have had a wonderful year and am sad to see it come to an end. I will be reapplying but I was unable to reapply this session (my little brother is getting married in August so I am really busy.) I figured I would finish with a project that is similar to my first submission piece – a fairy.
For this piece we needed to include Sakura Hobby Craft 3D Crystal Lacquer and Terri Sproul Mixers. I had so much fun creating this I hope you like it!
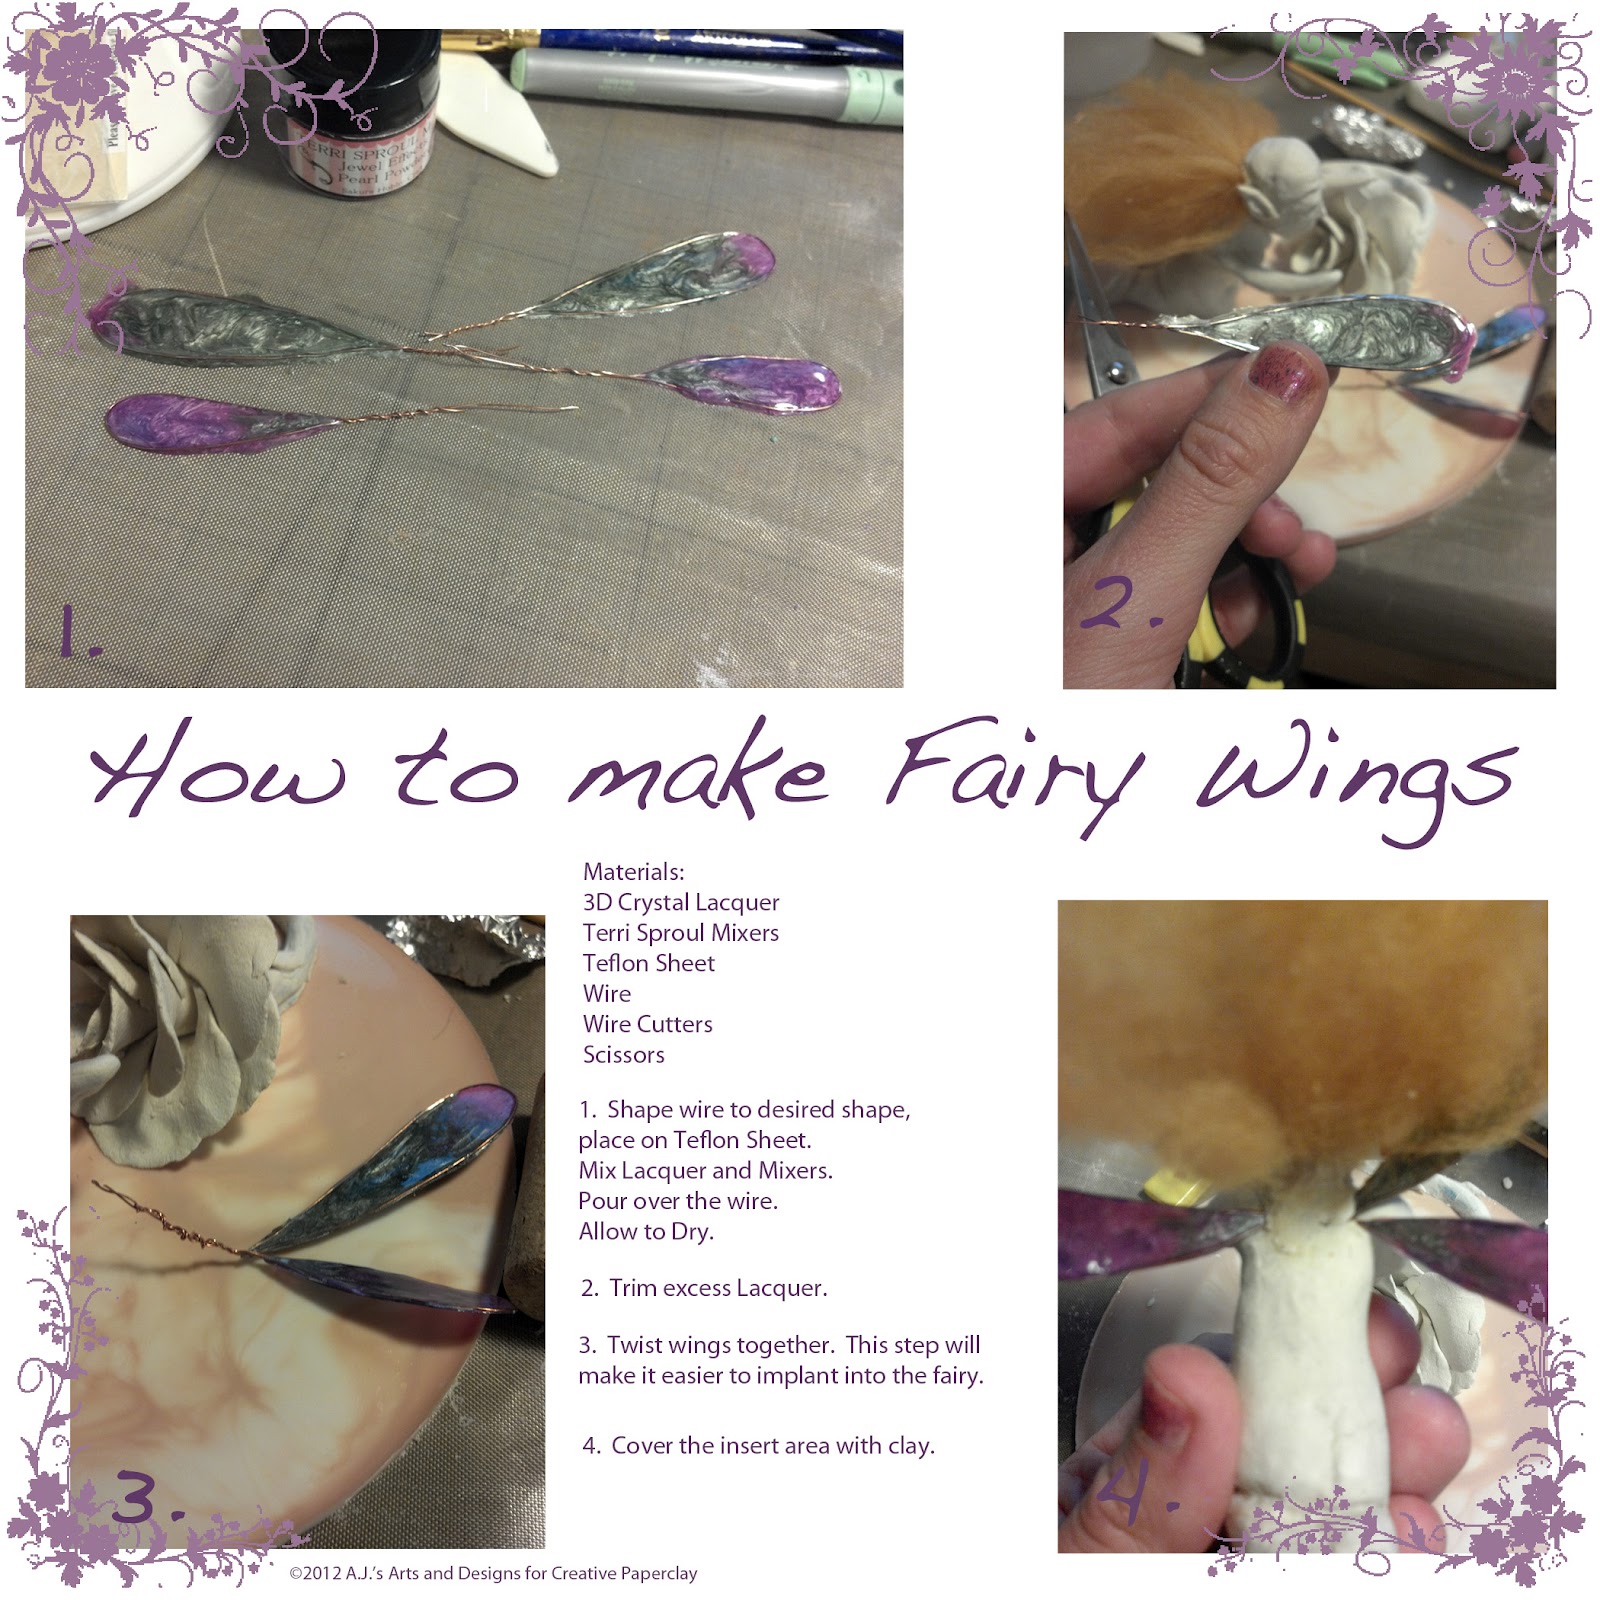 |
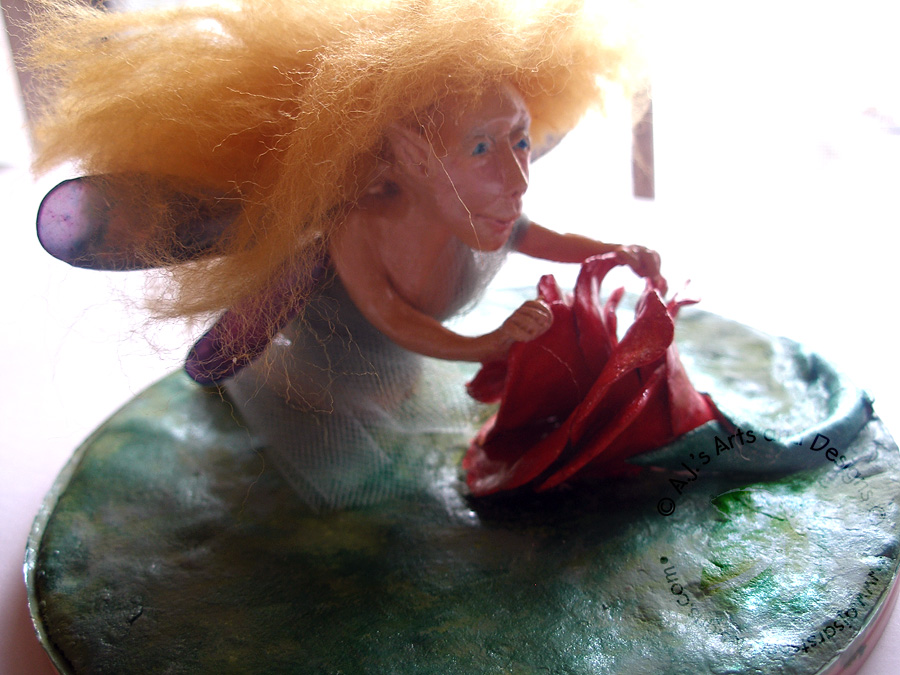
| How to make Fairy Wings Step-by-step. Terri Sproul has made these several times and I thought it would be prefect for my fairy this time around. |

1. Roll two balls of tin foil. One large and small.
2. Attach tin foil together with a wooden skewer.
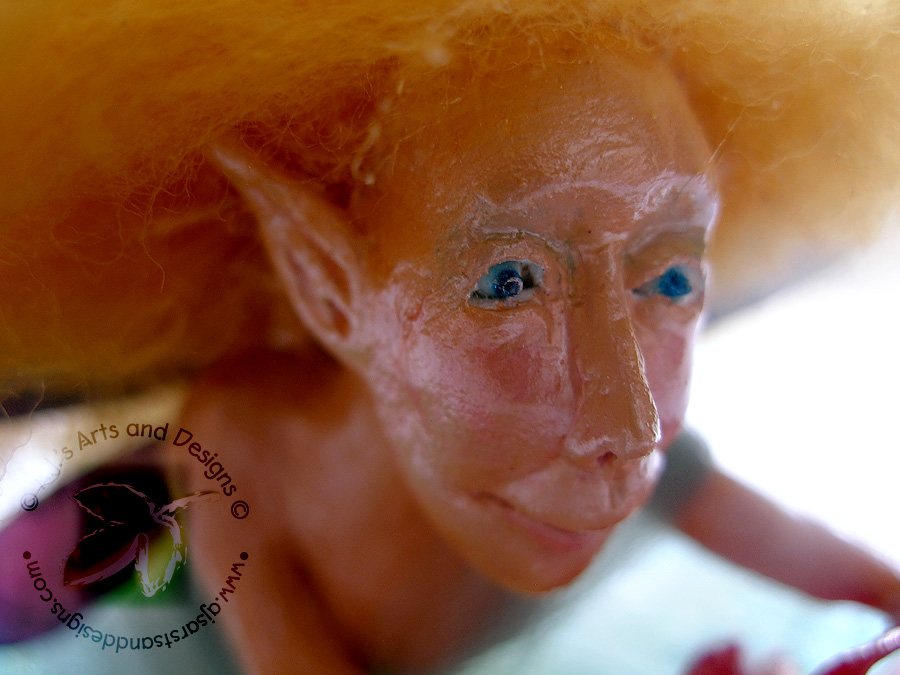
3. Cover with Creative Paperclay® Modeling Material . Add eyes.
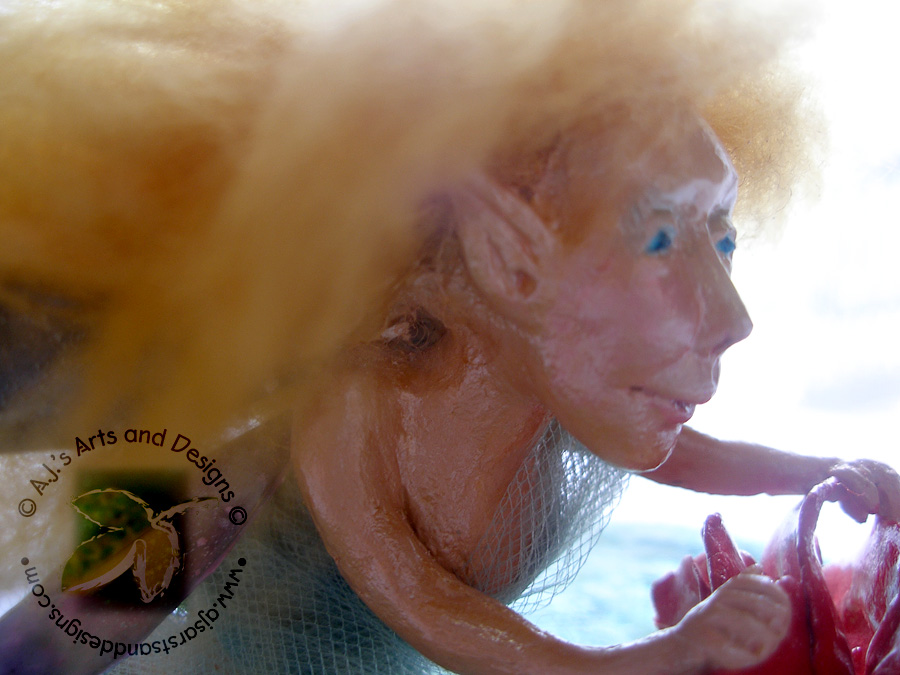
4. Add nose, mouth and ears.
5. Add hair – try not to smash the face.
6. What happens when your thumb slips and you destroy the face.
7. Face rebuilt.
8. Added additional clay to the forehead to make her a little less fugly.
7. Add to base and paint.