The one thing I didn’t want to touch in the bathroom was the floor. I was completely okay with the grayish linoleum that was in there it matched the basic decor and replacing the floor is a huge pain.
When we went and put vanity in we discovered it was 1/2″ too big despite measuring the vanity space four times and matching those measurements to the box at Home Depot. The box was mislabeled and the vanity was 1/2″ too big meaning I had to remove the baseboard. No big deal I could remove the baseboard cut 1/2″ off and put it back up. I took the flat bar and slowly pulled up the base board, so I would not damage the corner round and base board. I started lifting and the floor came with the baseboard to the toilet, showing its dirty little secret, mold. My heart sank because there was no way I could let the mold stay and fester for years to come. I needed some input from others first Jeff.
Me: Honey you need to see this.
Jeff: I really don’t want to.
Me: Mold
Jeff: New floor.
Me: Yep that is what I am thinking let me call my dad.
So I called my dad.
Dad: What did you break now?
Me: I think the floor needs to be replaced.
Dad: Why?
Me: Mold around the toilet and I haven’t even lifted the floor around the tub.
Dad: Do it and see.
Flat bar meets corner round around the tub.
Me: Shit (yep that was my response because the lovely black mold was 12 inches out from the tub).
Dad: That is your answer. Going to leave the tub?
Me: Yep
Dad: Very wise young grasshopper.

The lovely mold that I discovered around the tub. I know it looks orange but it is from the lighting and the walls.
Jeff and I both agreed it had to go, along with the baseboards and corner round. Have I mentioned how much I dislike painting baseboards and corner round? Our list for Home Depot grew by the minute and my To-Do List was far larger than I had wanted. All this was suppose to be was a faucet replacement, a light replacement and a wall color change. It now turned into a giant unexpected bathroom renovation which I was slowly coming to terms with. Jeff went to work and I ripped up the floor.
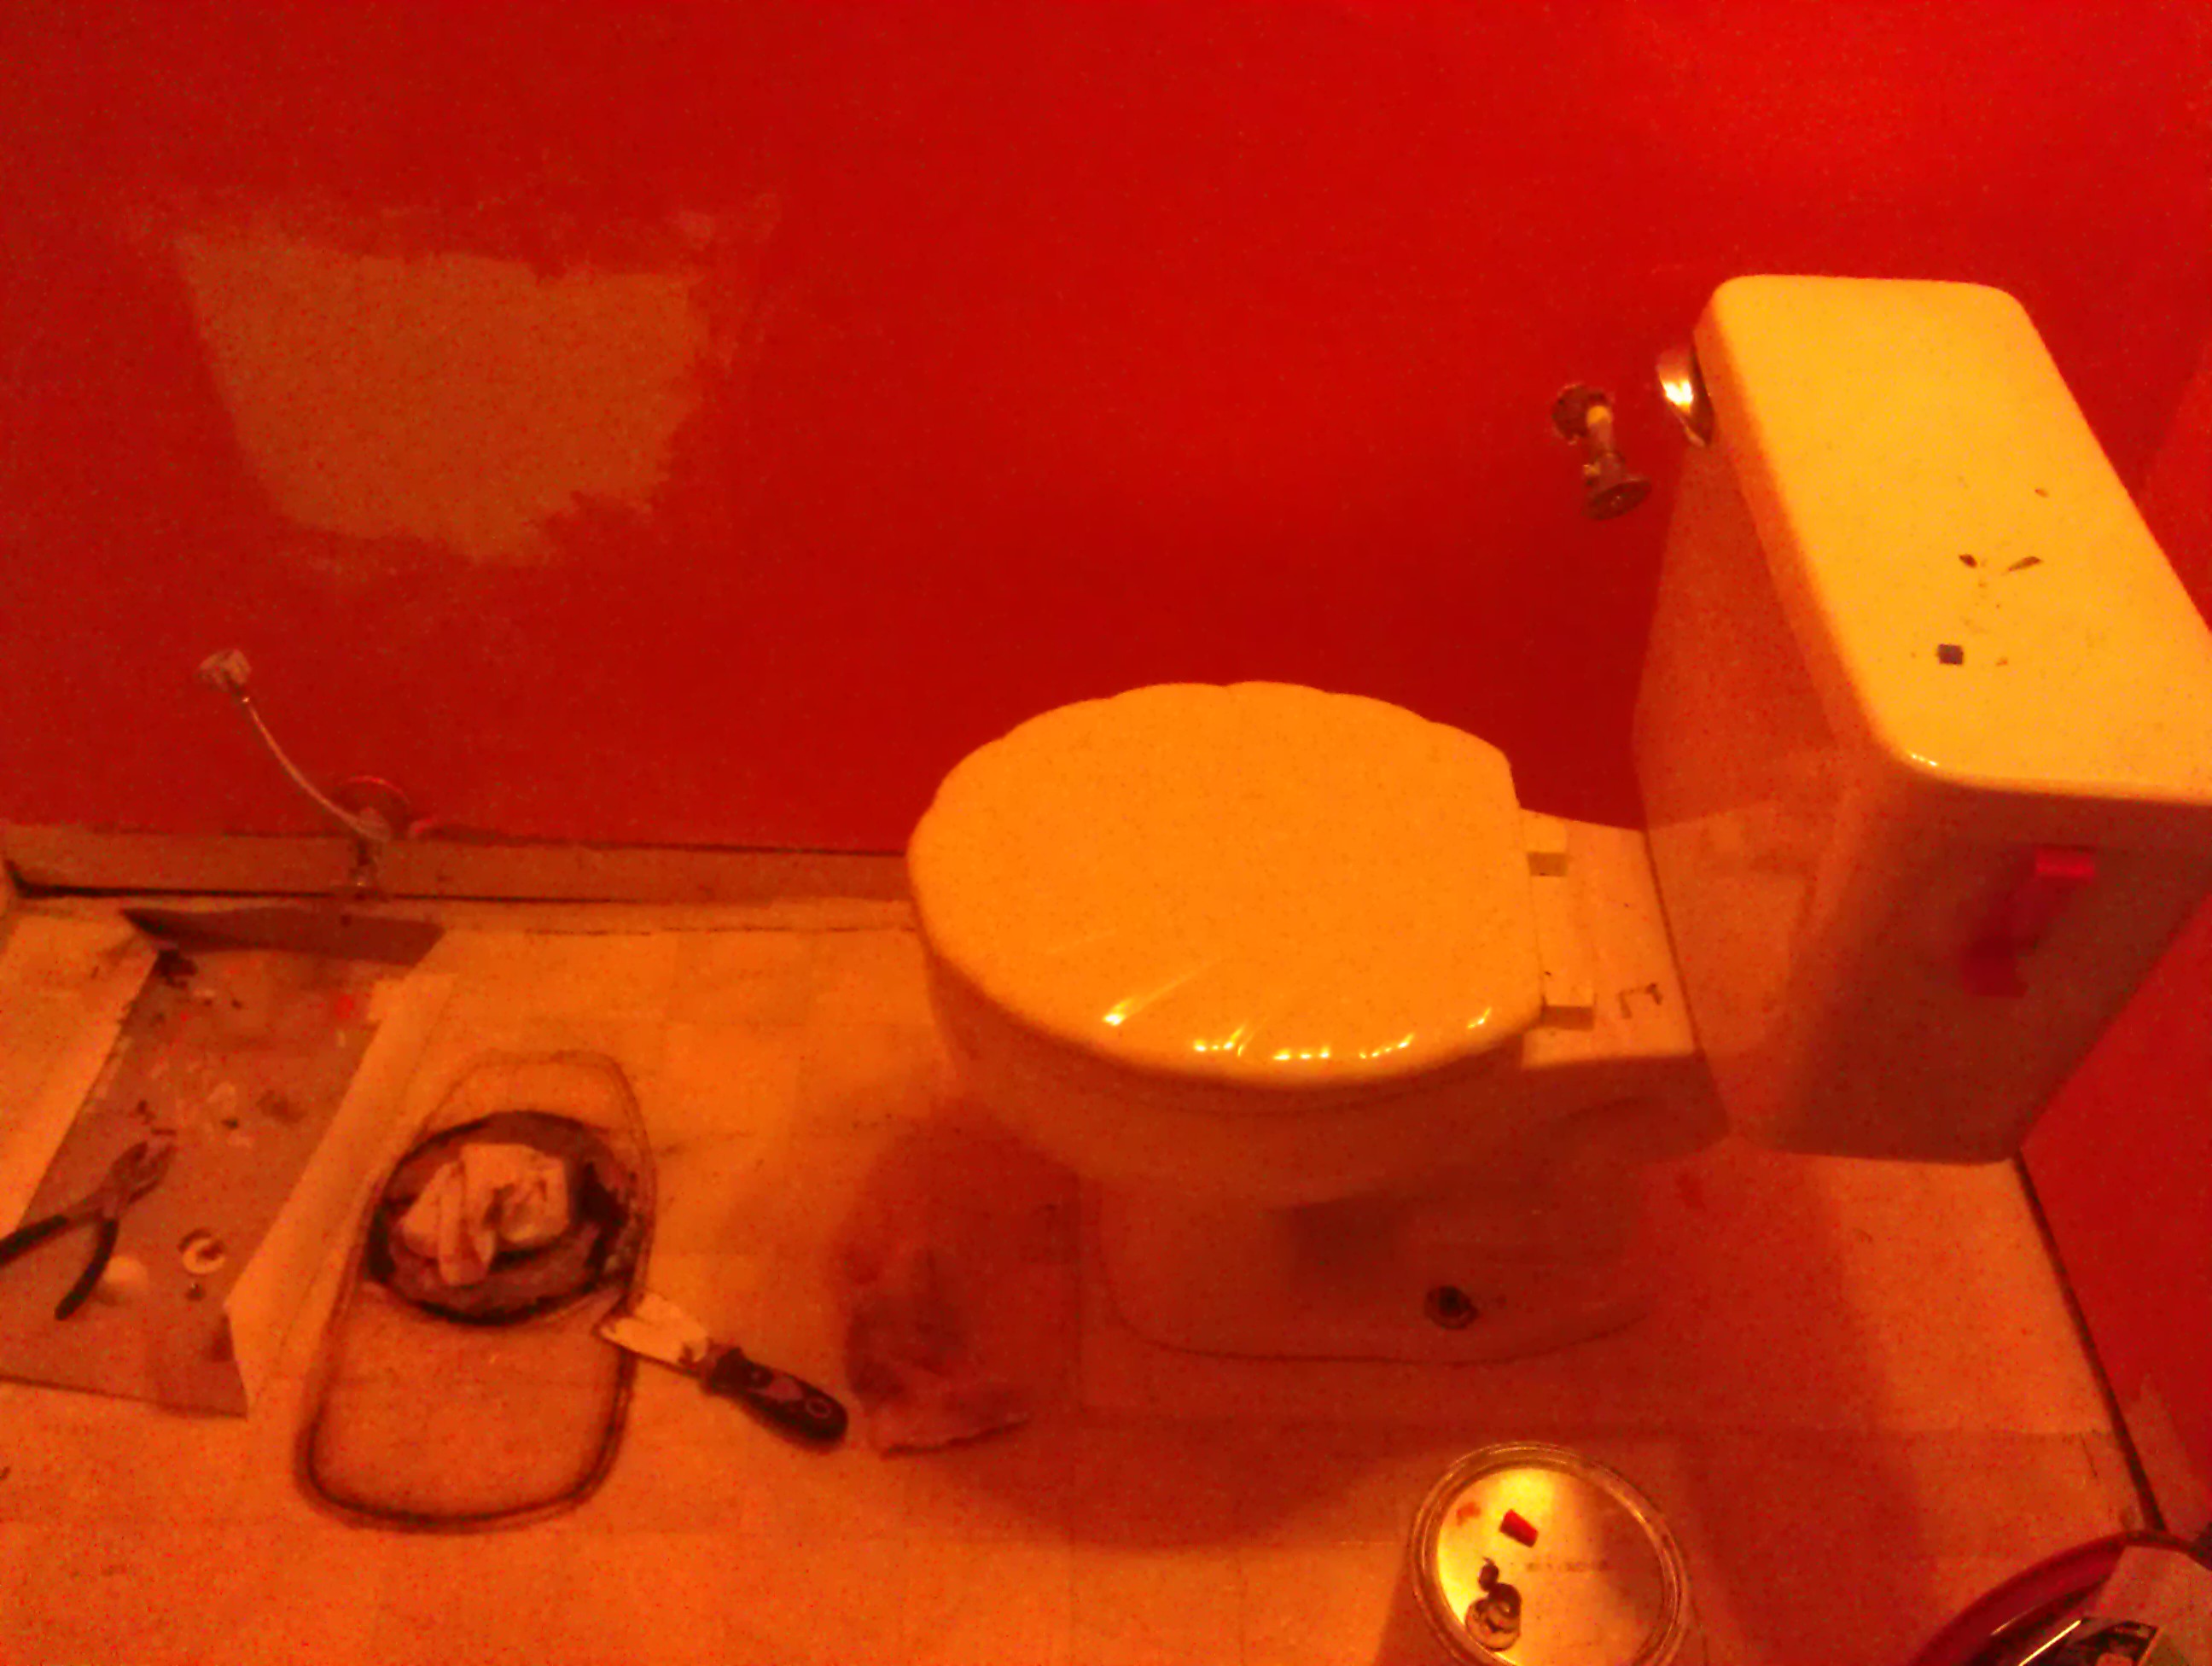
I was so proud, I moved the toilet by myself.
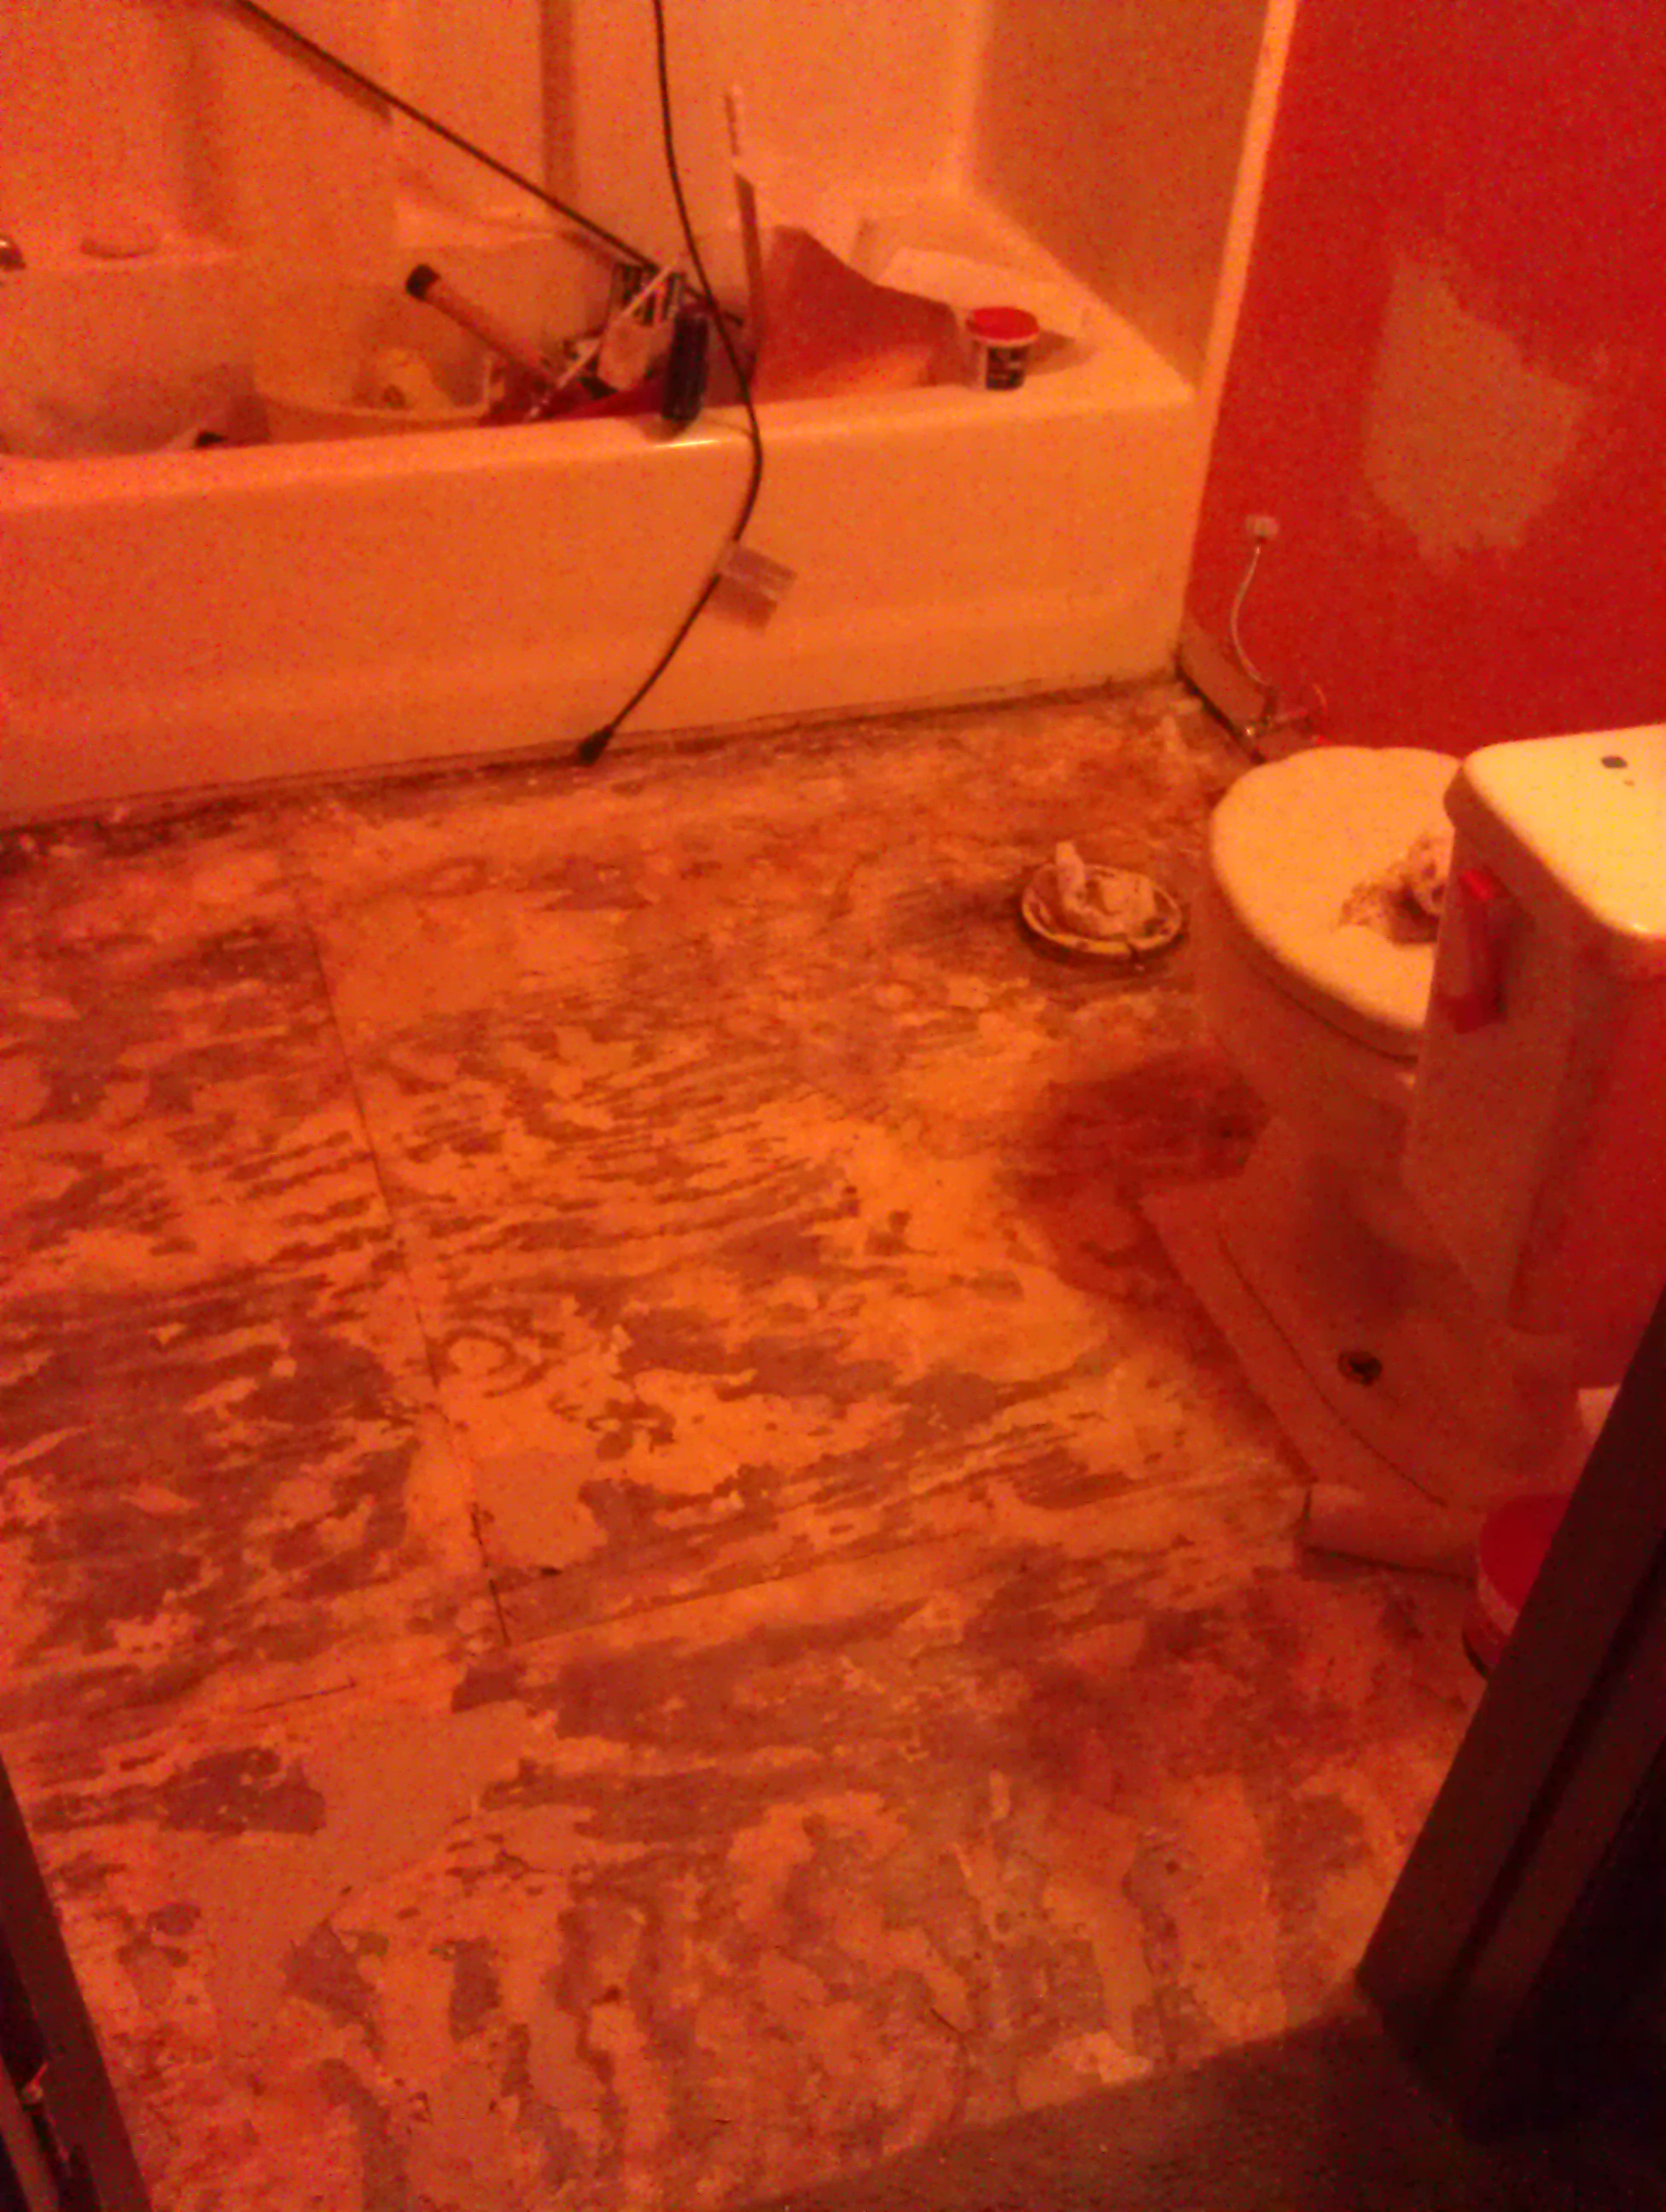
The old floor gone but it had to be smooth for the new floor.
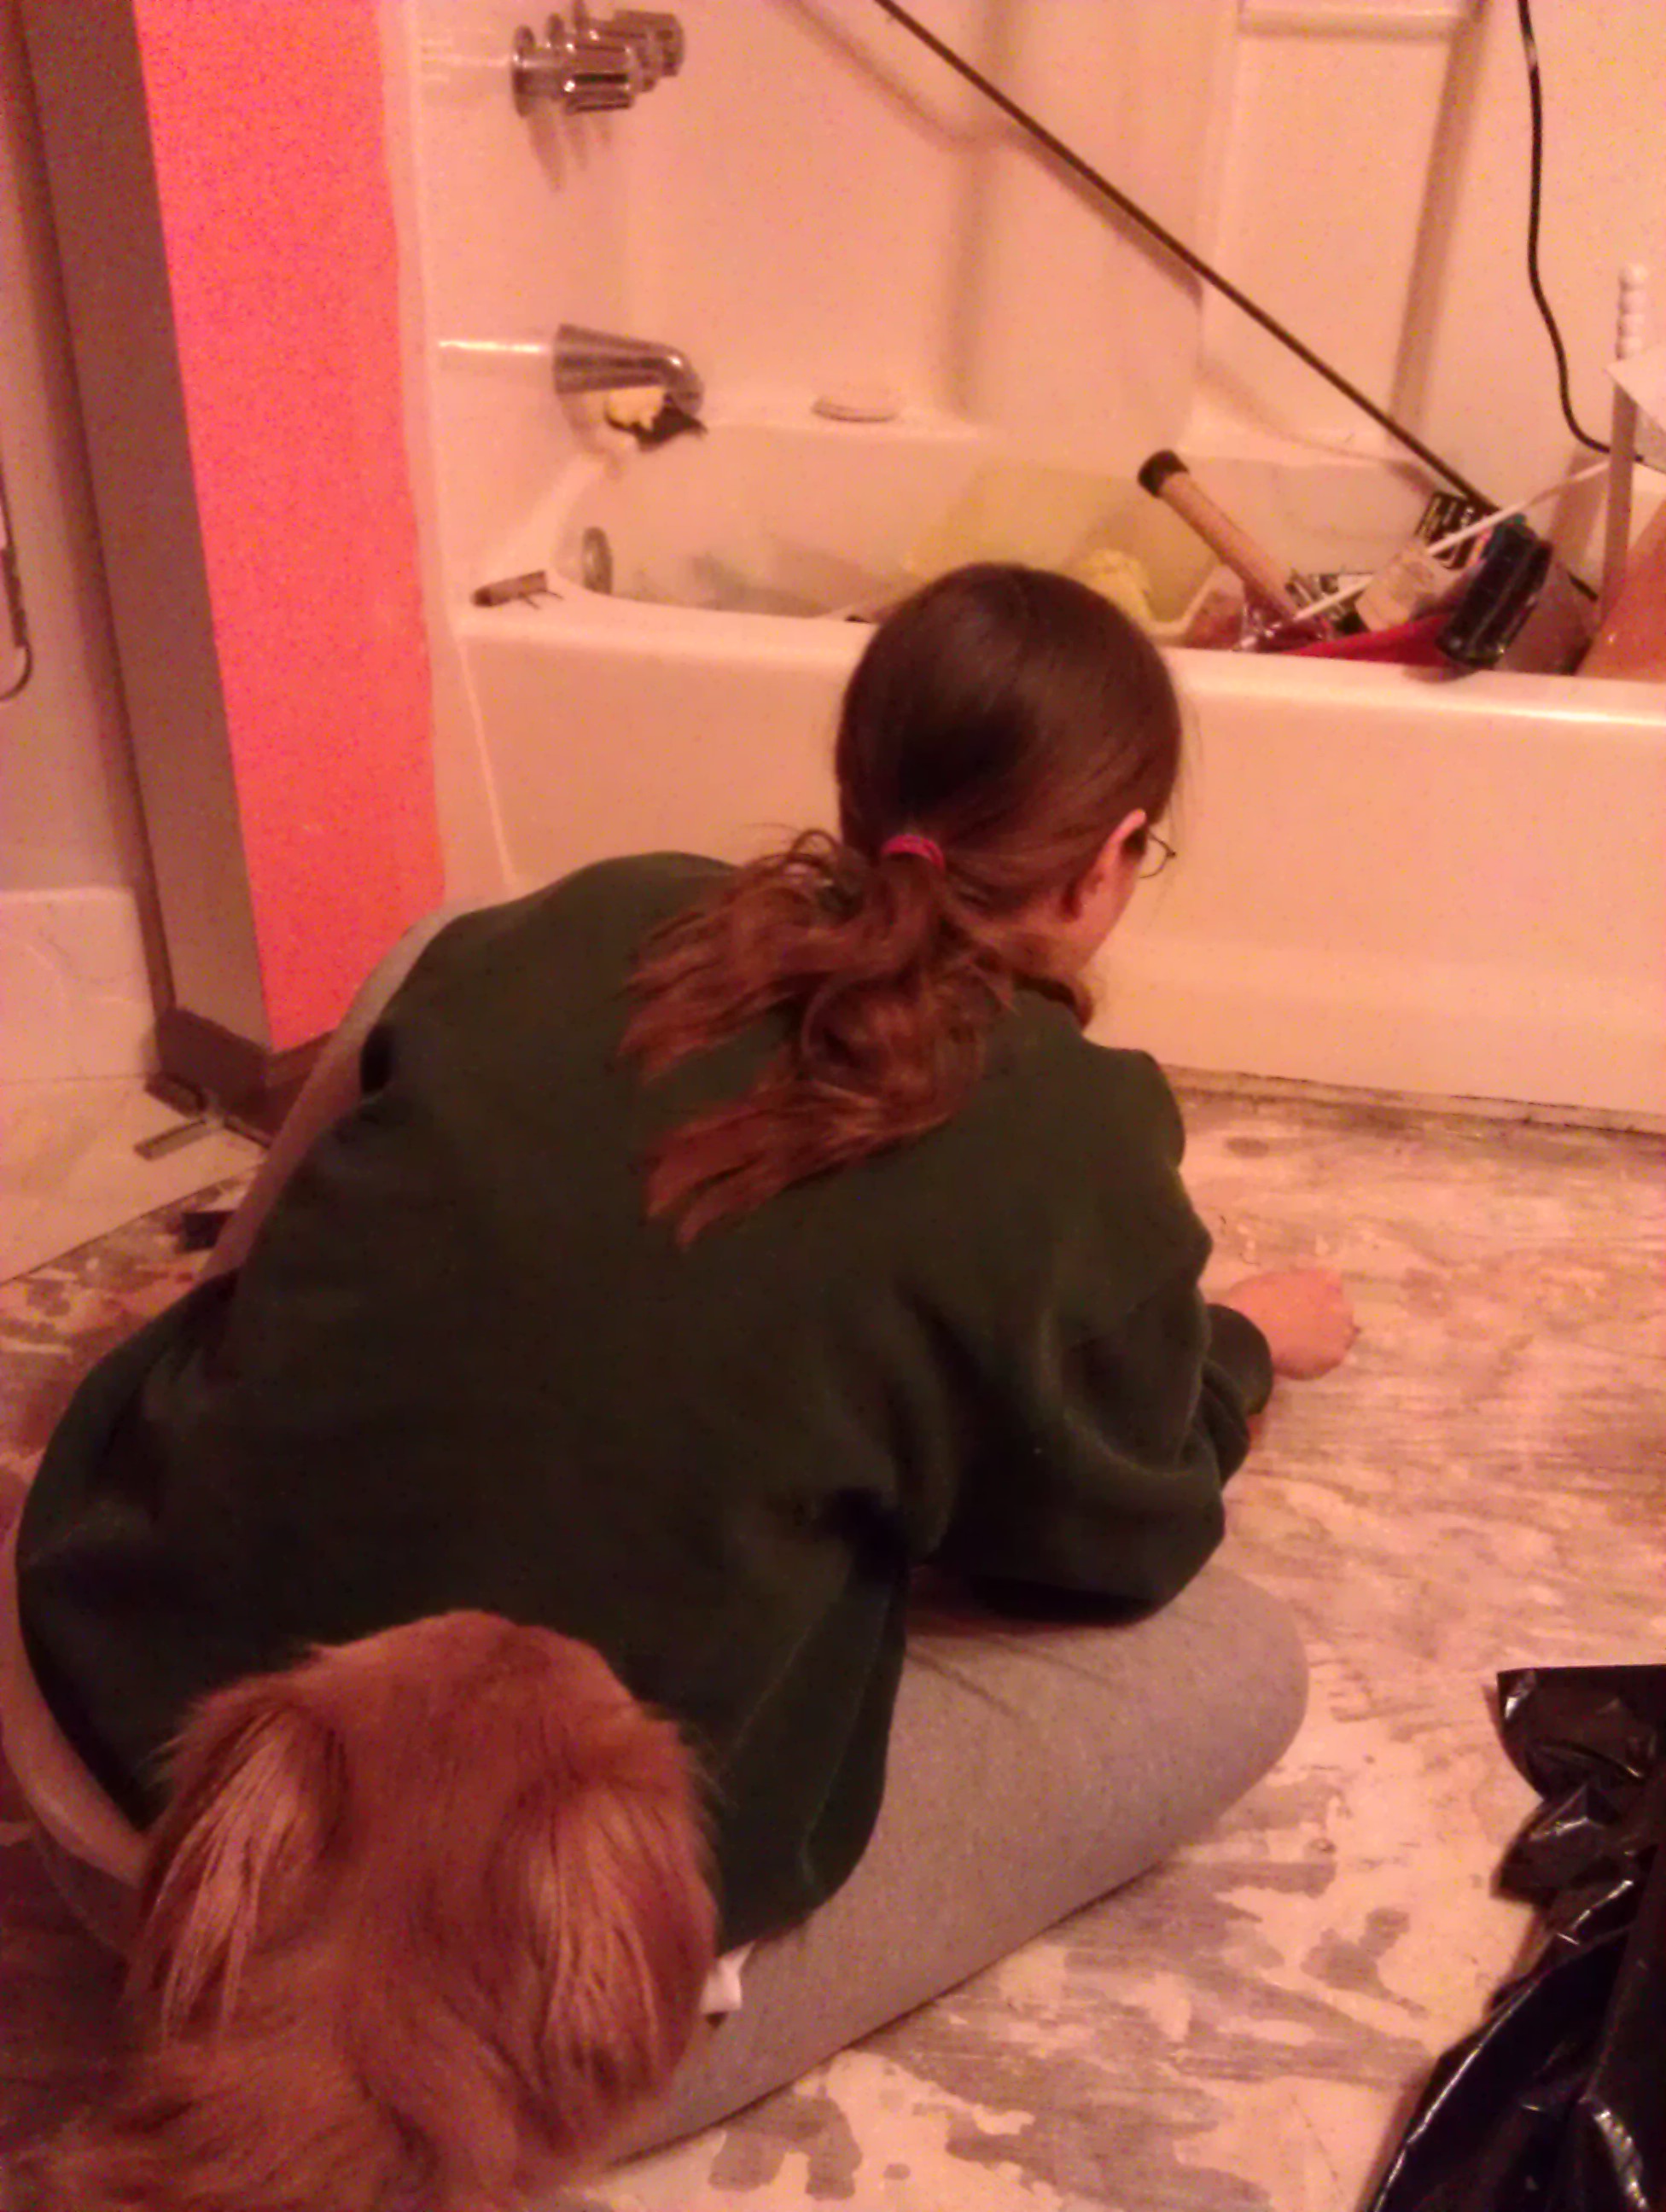
Me scrapping so I could install the new floor.
Once the floor was gone I knew there were certain things I wanted in the bathroom mainly a tiled backsplash. By this point Jeff and I were both of the opinion we have gone this far might as well go the extra mile. The backsplash worked for several reasons one decorative, two hide the patch on the wall that I couldn’t get smooth and three make our bathroom look less Frat Boy Like. After scrapping the floor that night I looked on-line found the floor and backsplash tile and made a Home Depot List of everything I wanted in the bathroom (bathroom outlets, tile, grout, mortar, etc.) Keep in mind everything expect the tile for the backsplash and the floor was already purchased meaning whatever I got at Home Depot had to match the wall and the vanity.
We went to Home Depot and purchased the tile and because the vanity we had was on display I was able to match everything (including the paint for the trim). Jeff even bought me a nice ergonomic utility knife and a staple gun (true love 😀 ).
The flooring we purchased was Armstrong Bodden Bay 12″x12″ Peel and Stick I wanted easy, durable and something that looked good with the colors I had going. I grew up with Armstrong Flooring (it is pretty much the only flooring my dad ever uses) so for me it was a no brainer. I can not tell you how easy it was.
First: Vacuum and mop the floor allow to dry completely. You can put a barrier sheet down, I was told at Home Depot that is wasn’t necessary if you are going over flat sub-flooring (no glue, or paint).

My nice ergonomic utility knife (yes it is a STANLEY® and yes my dad is extremely jealous!)

My helper with my flooring (she matches).
Second: Lay out the floor to see exactly what you are going to do. Always start from the furtherest corner and work towards the door.

I laid it out to see exactly how well it would work and what it would look like. My neighbor even came over to give me a “second pair of eyes”
Three: Start peeling and sticking. As you can see for me the second tile I was already cutting into. Create a template from scrap paper to ensure correct angles and circles. It will make your life easier.
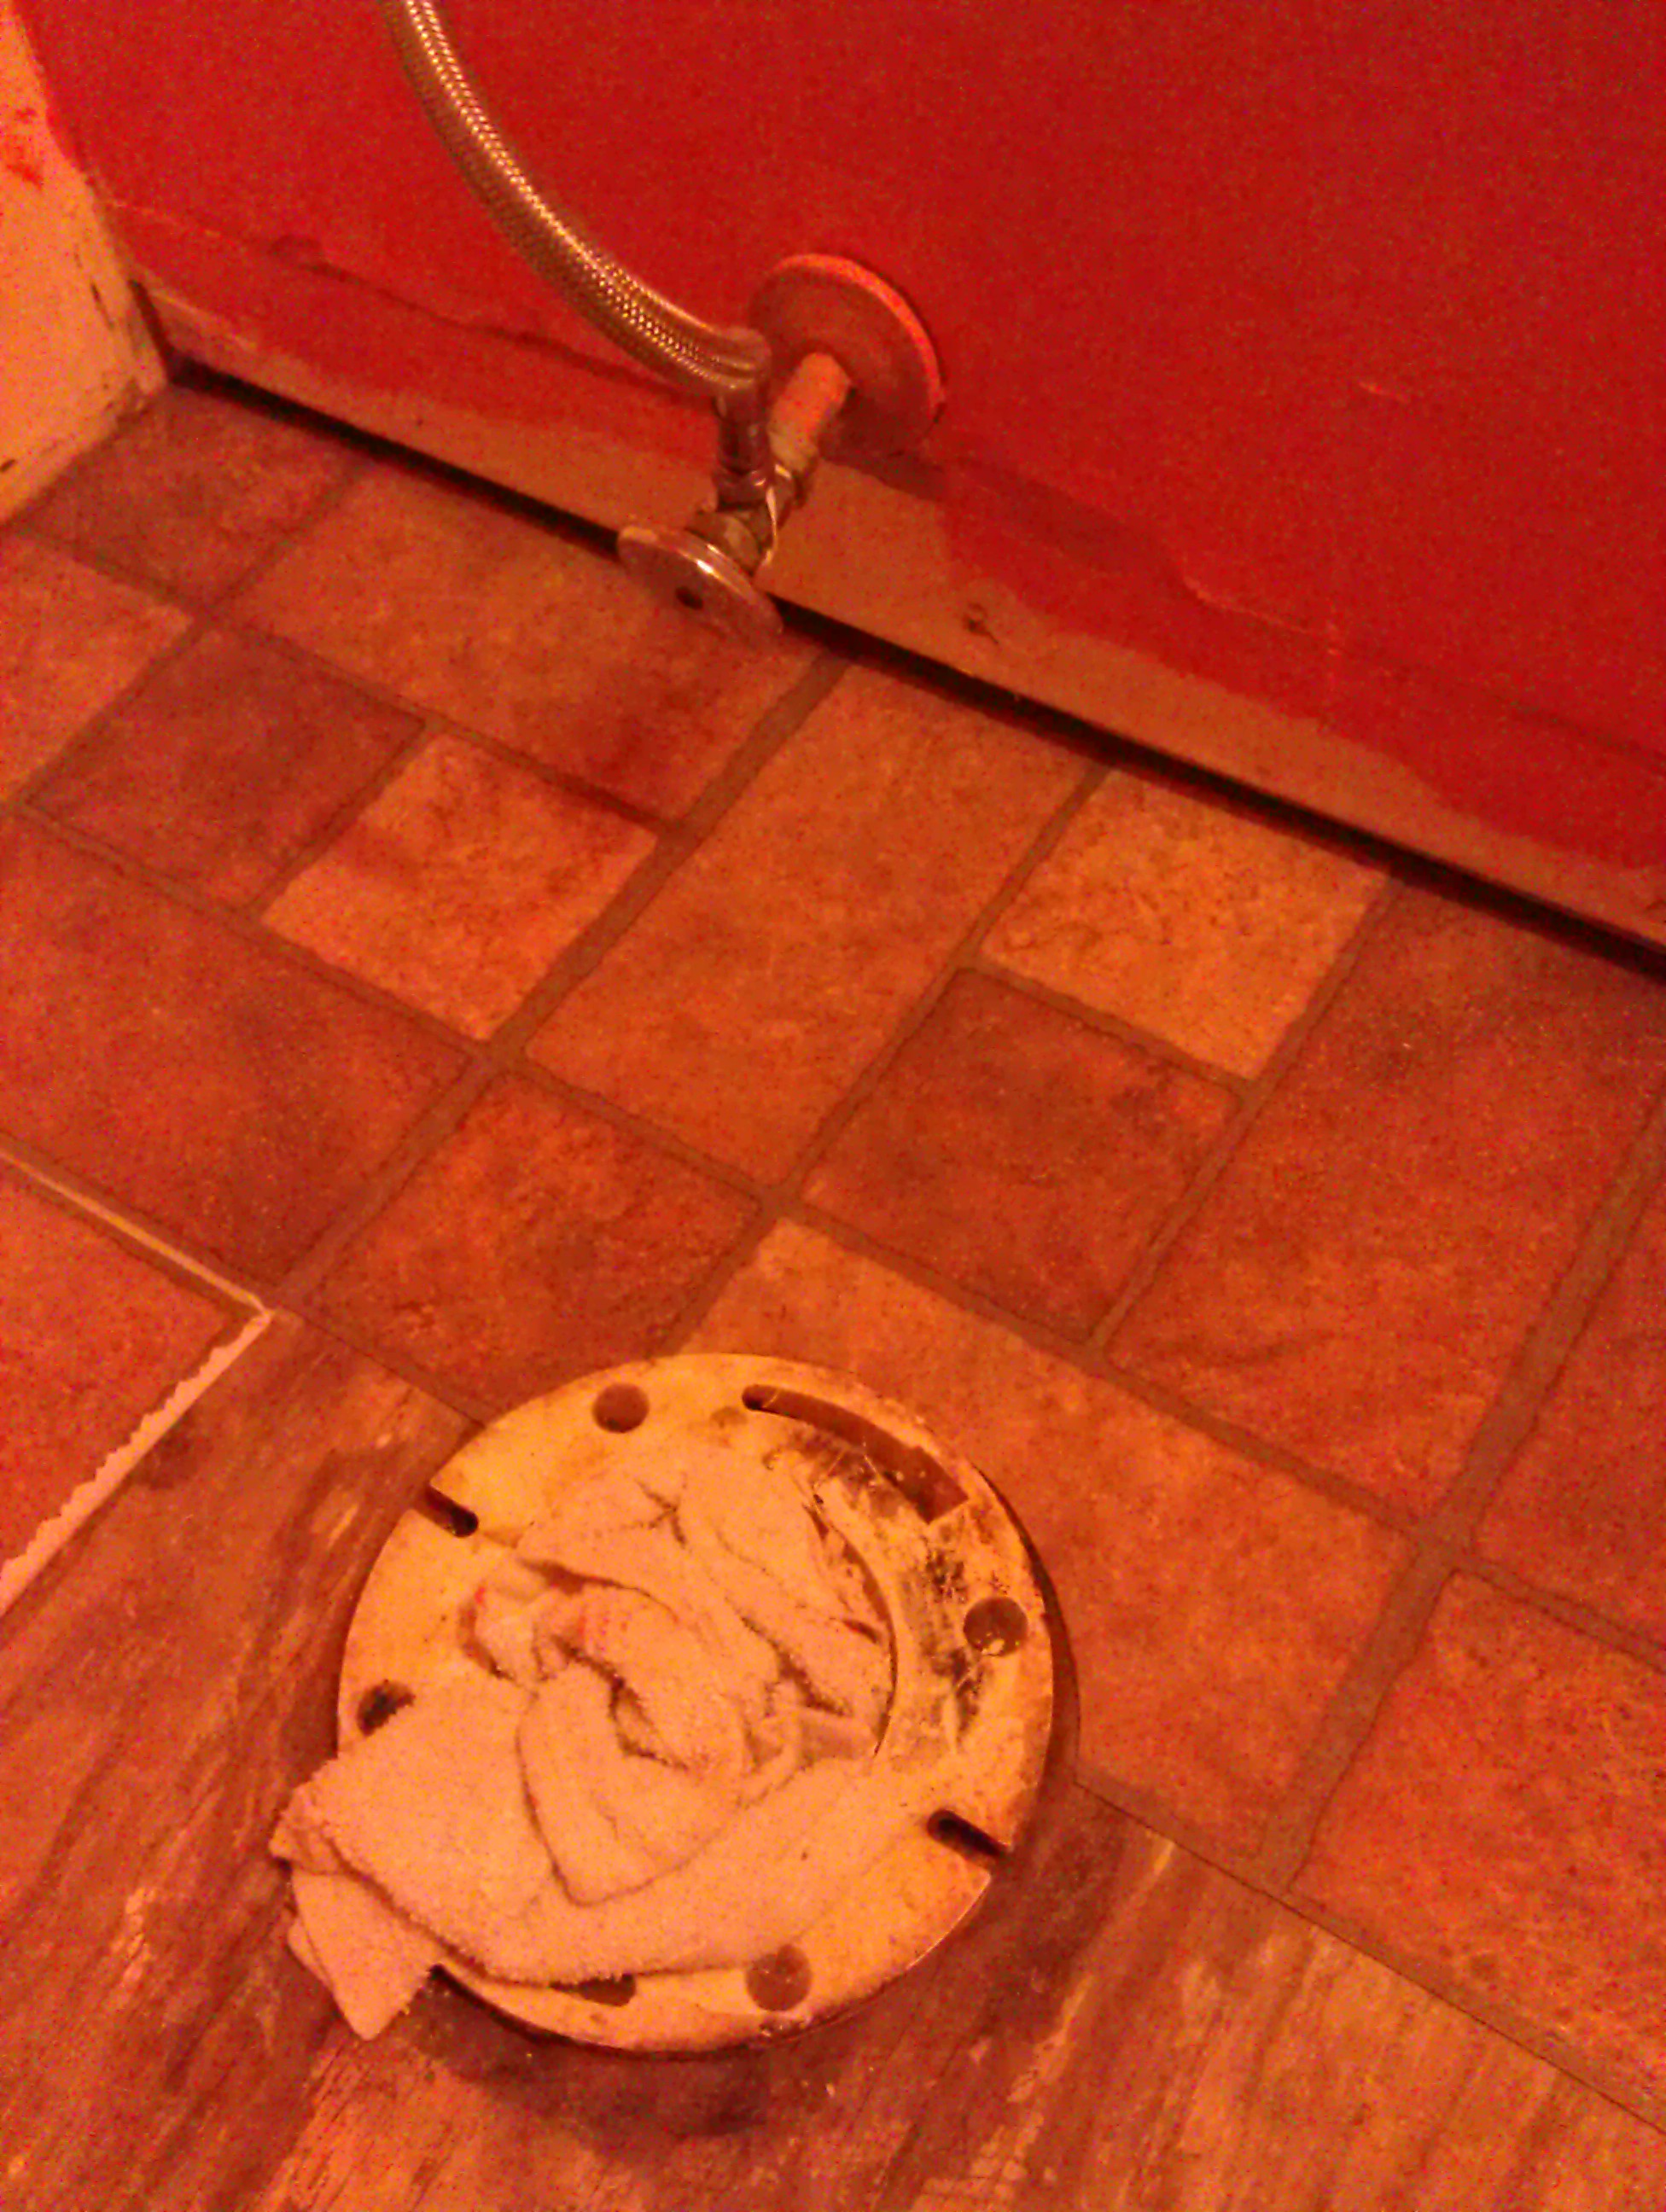
Cutting around the sewer for the toilet was the hardest part.
Four: Peel and Stick. Put some music on or a DVD and get to work.

Look it peels off
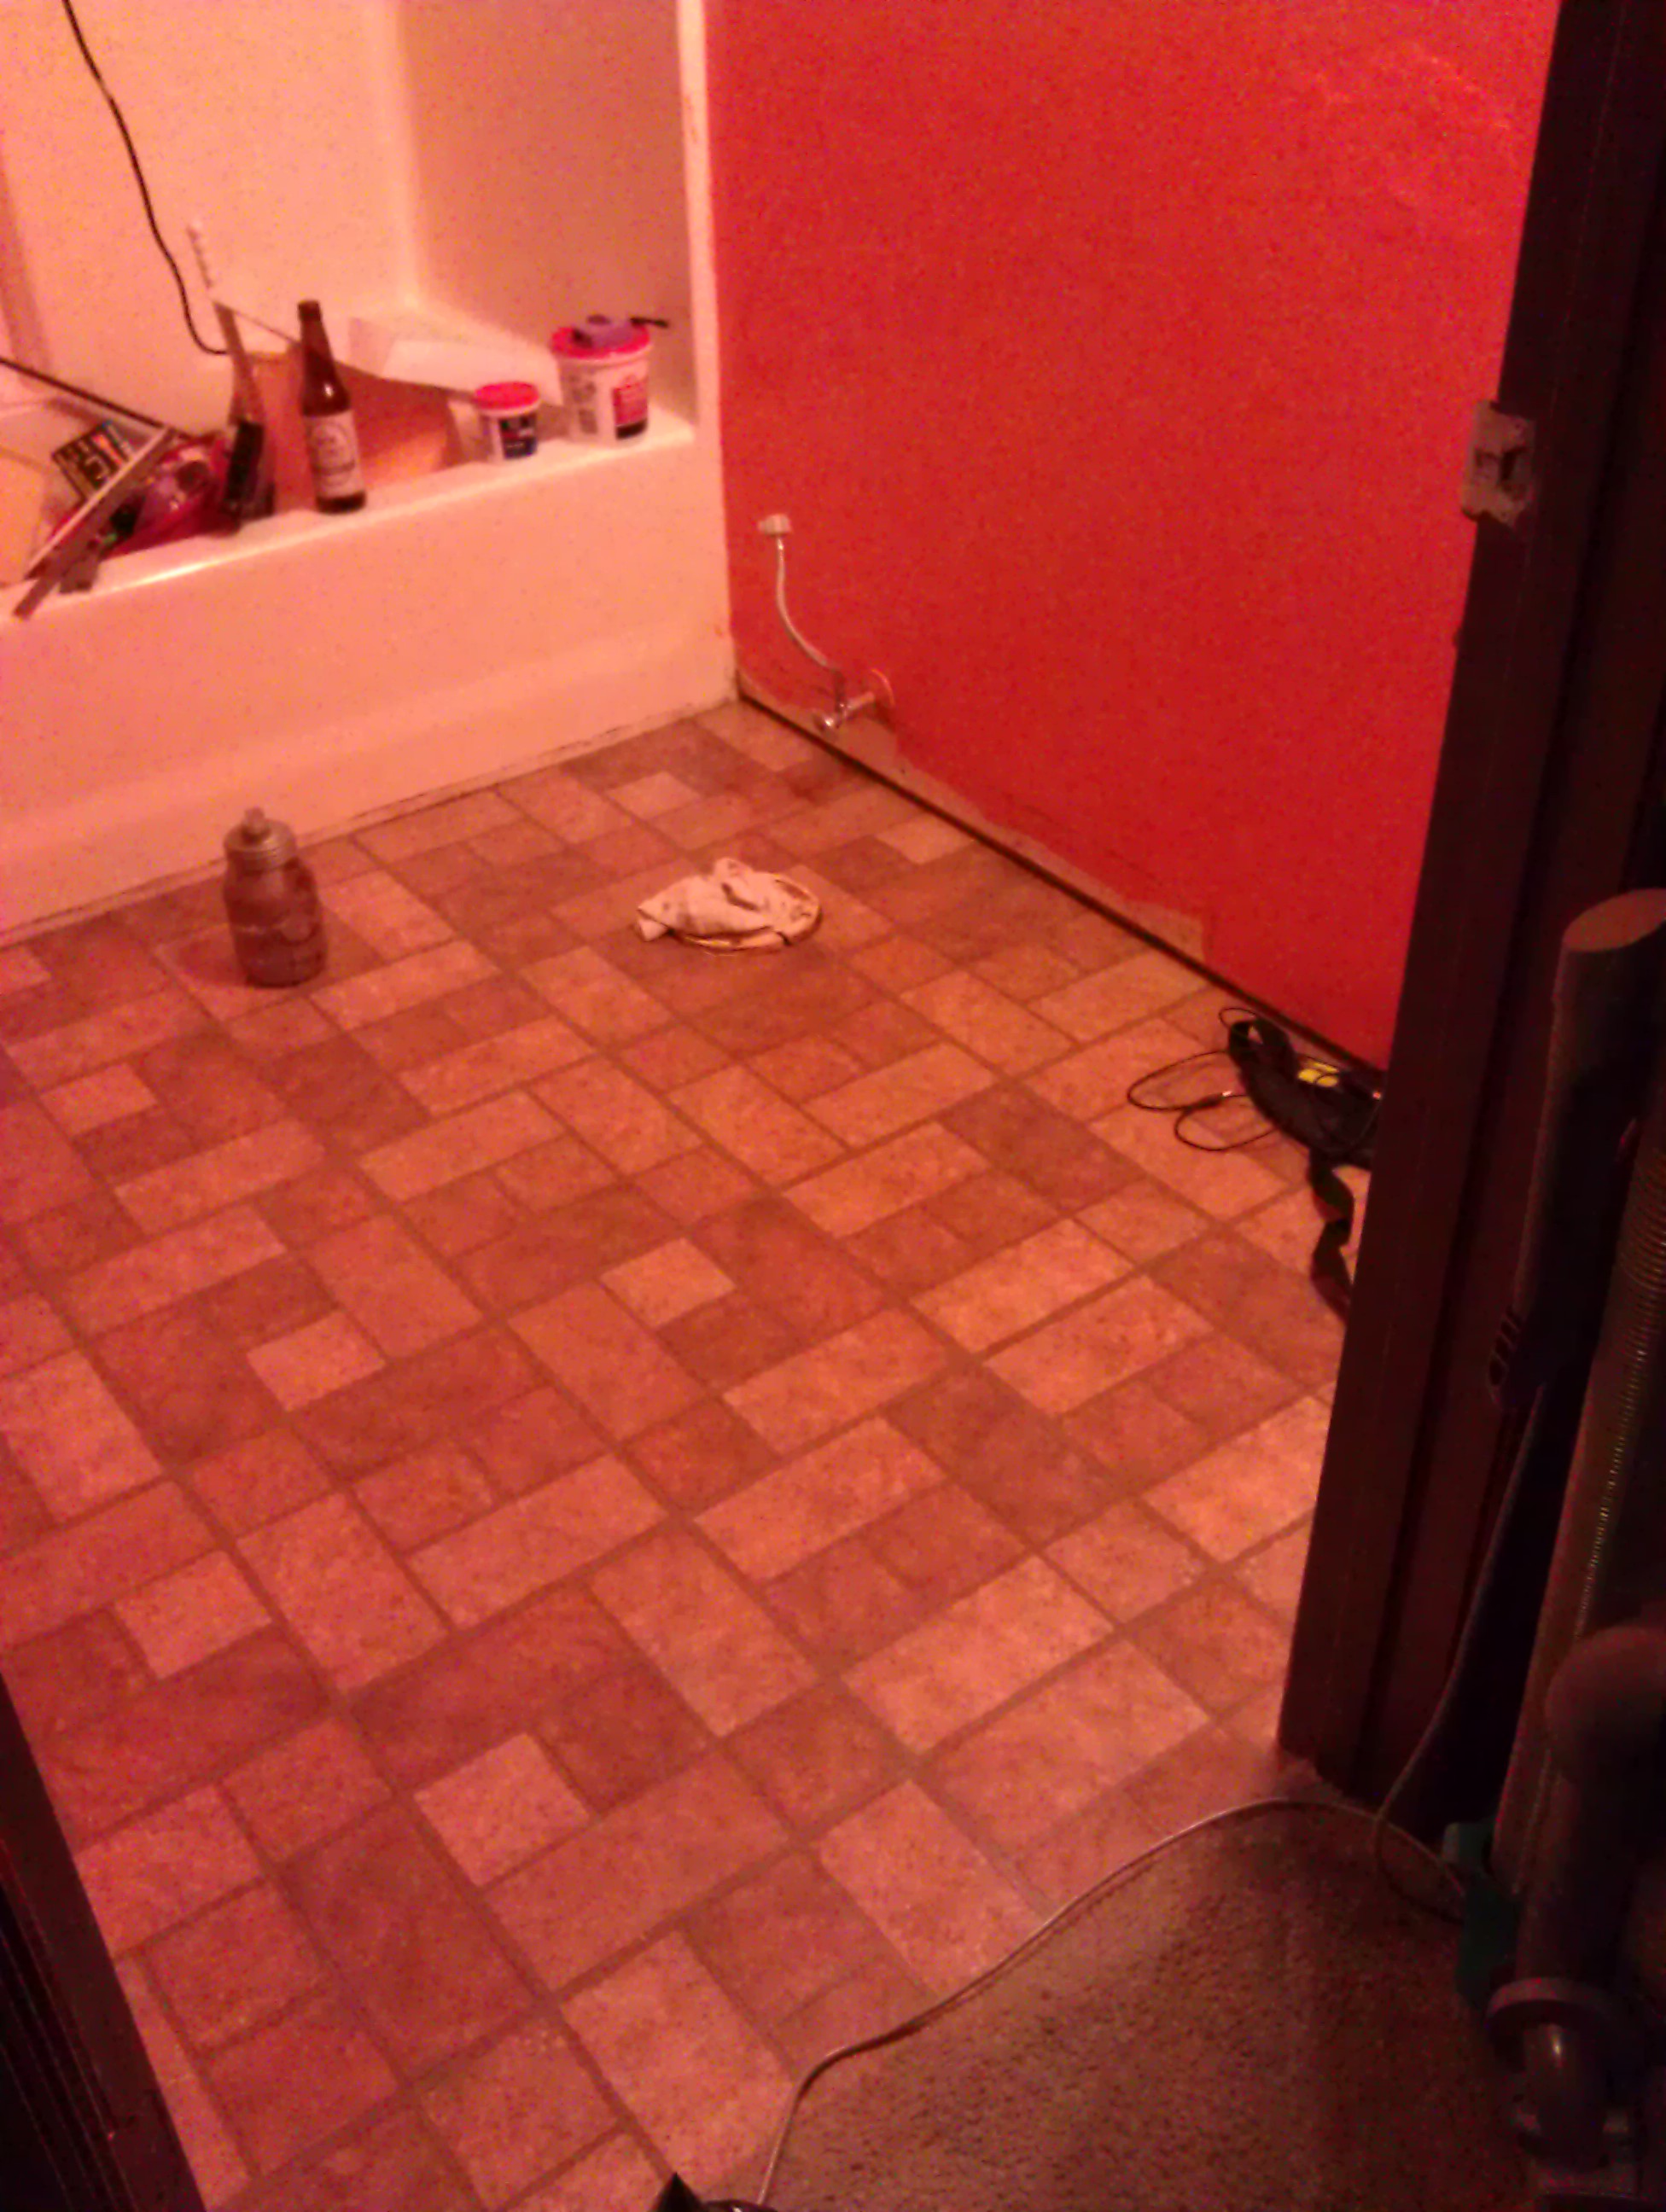
The floor finished! It took me about 4 hours to do this so it was a little time consuming but I am a HUGE perfectionist so it had to be perfect.
Pros:
- Extremely easy to install, if you have a flat surface that has not been primed.
- Fit together nicely
- It cut well with my Tim Holtz™ Scissors
- Reasonable priced flooring $31.05 for 45 sq.ft. which was enough to do the bathroom. We bought 2 boxes just in case we had damaged ones and ended up doing the hallway with it.
- Easy to clean (trust me Booga is potty training, ugh)
Cons:
- None
Things I learned from my floor:
Kneepads the next floor I do I will invest in kneepads, I still have bruises from kneeling. If you end up replacing the vanity in a bathroom replace the floor at the same time it will save you the headache of having to match everything at the store. For little investment and time I have a wonderful new floor and it now makes us want to do more rooms in our house (Booga and my living room).

Pingback: Part 7: The Big Reveal | Who Are You Calling Crafty?