First I want to state you need a Paypal account to do this next section. I personally love Paypal and love the services they offer. I recommend using the ADD TO CART button opposed to BUY NOW because the ADD TO CART feature lets your customers continue shopping.
Another item I want to point out is if you want a “Custom Button” you will need to set up a Photobucket account and input the direct link (which I did for the Digi Shoppe.)
For me this way was the cheapest. On Etsy I would have had to pay $0.20 per listing and the Paypal fee, this way I only have to do the Paypal fee. Also I don’t charge shipping so my overhead is low.
 |
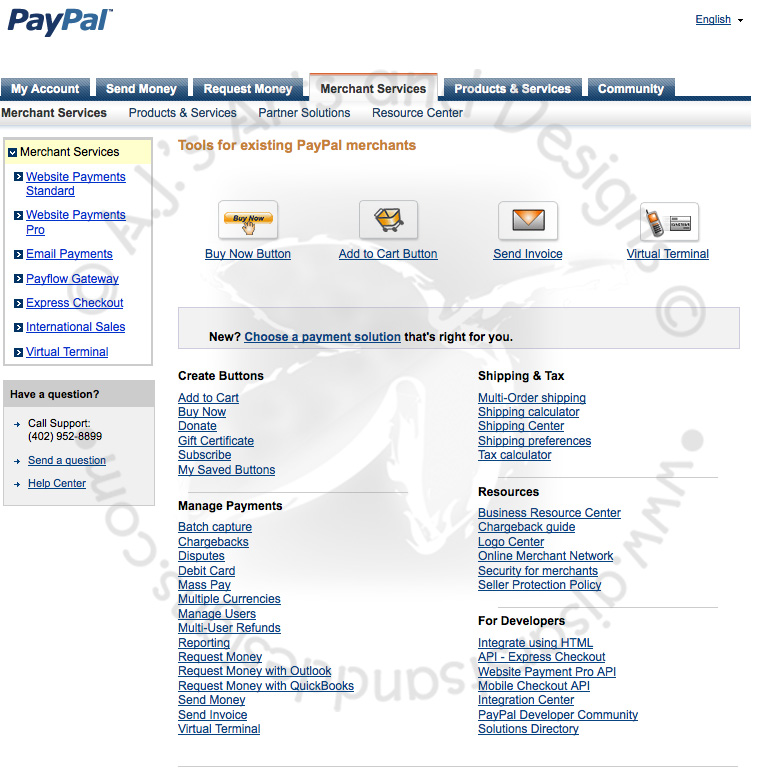
| Go to the Merchant Services of your Paypal Account. The screen should look like this. |
 |
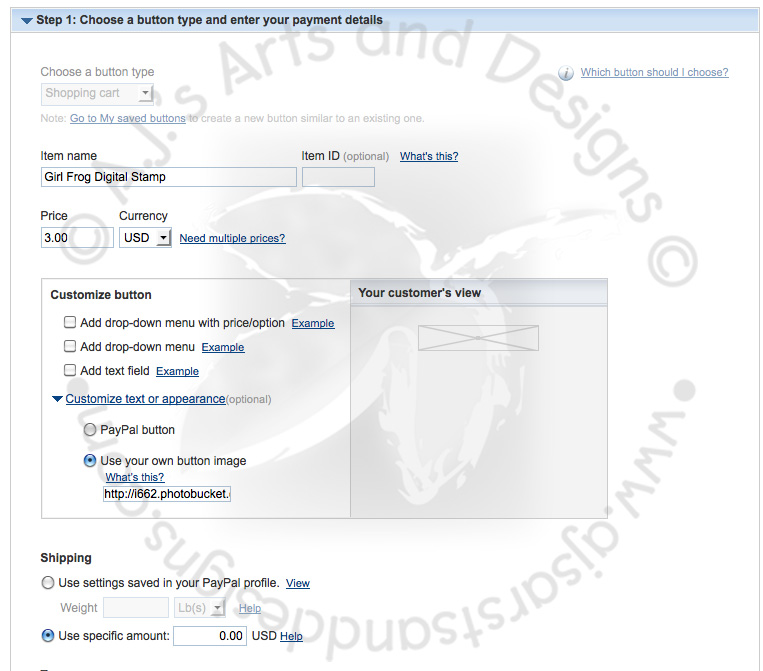
| Title your item – I would recommend not doing something generic because you will have to remember what to send your customer. Add Your Price (chose currency). The next part deals with customization of your button. If you chose not to customize your button will look like the standard Paypal Button. It then asks if you want to charge Tax, Shipping, Etc. Save your button. |
|
 |
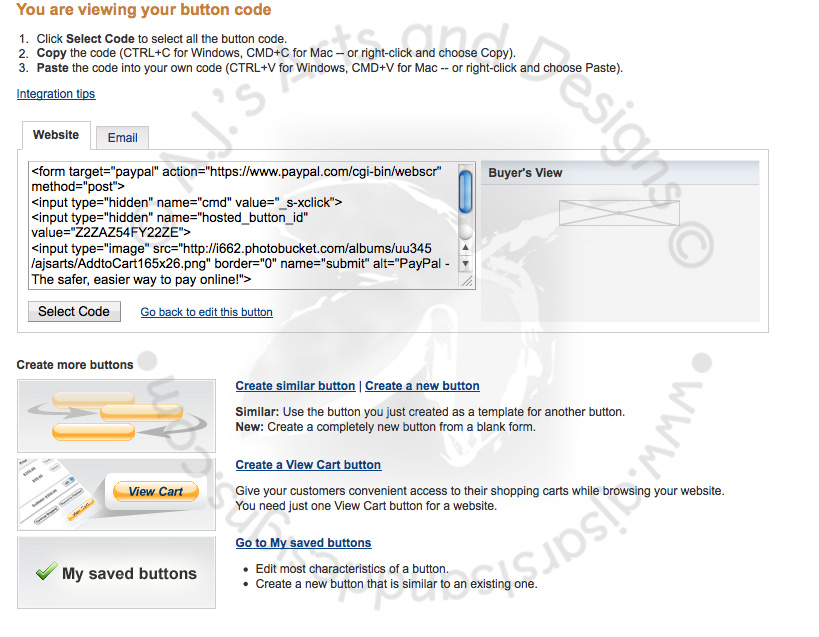
| Select Code and Copy (by selecting the code this will prevent you from missing any part of the HTML code.) |
Open Blogger Dashboard –> New Post –> Edit HTML and input code –> Click Compose –> Add picture –> Publish blog and test to see if the button works.
If you are curious on what it looks like visit the A.J.’s Digi Shoppe to see how it is set up.