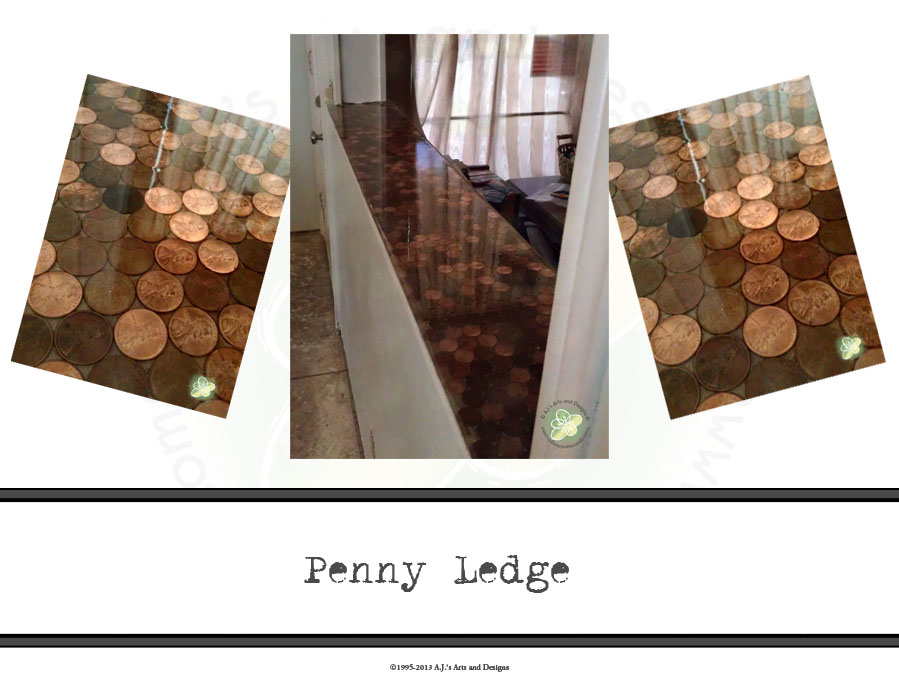
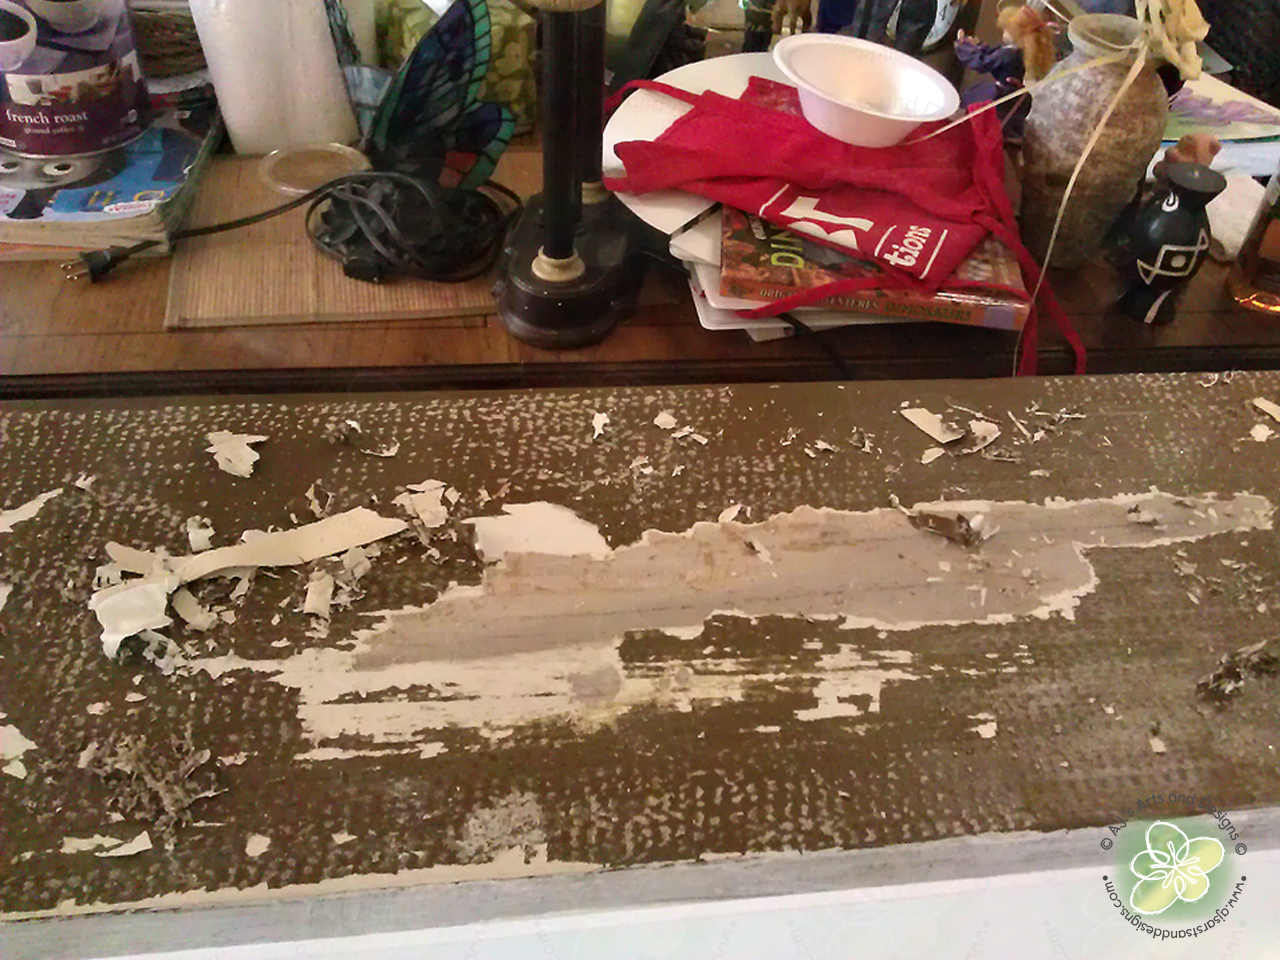
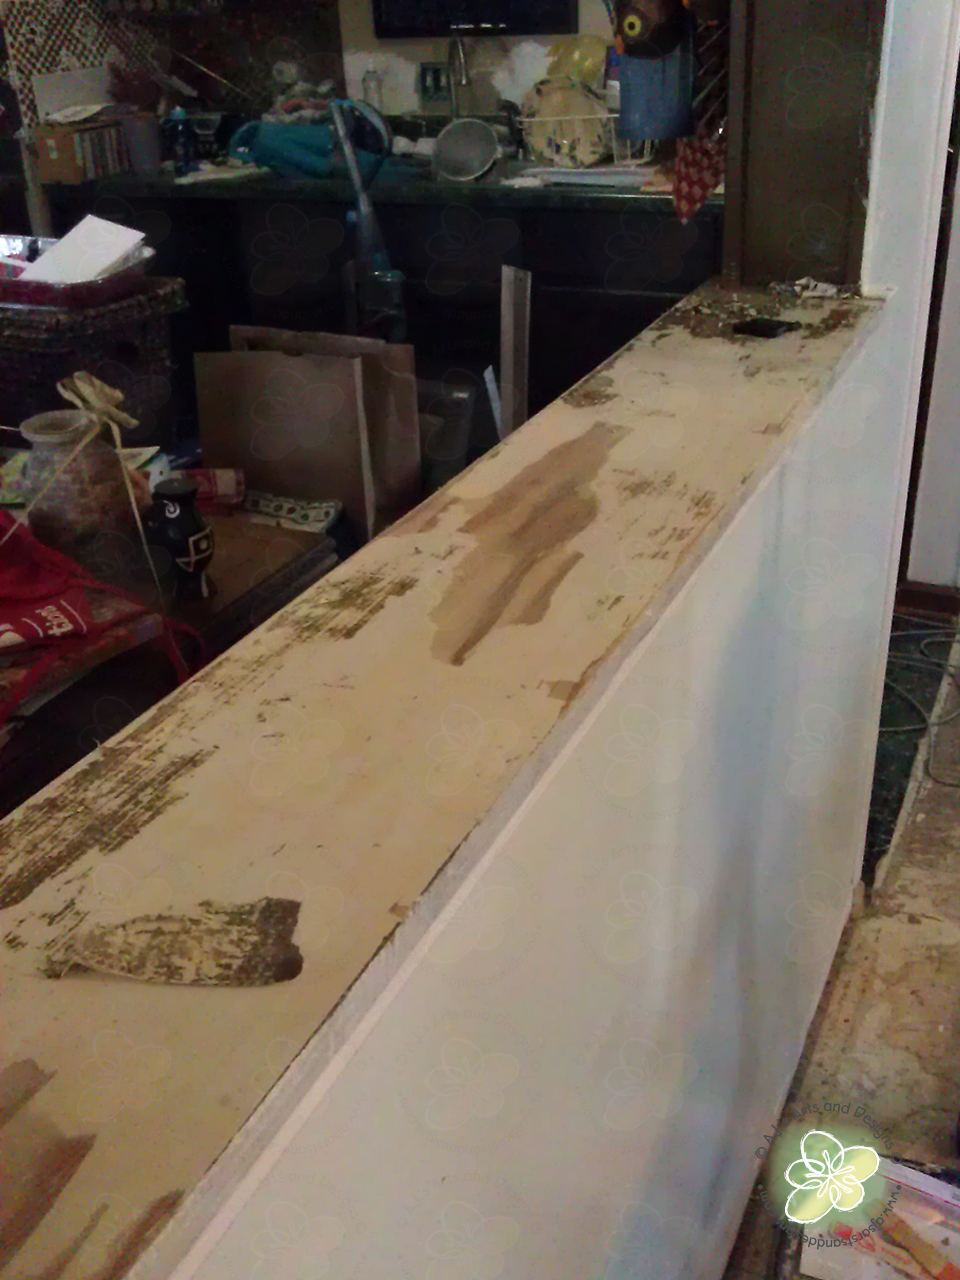
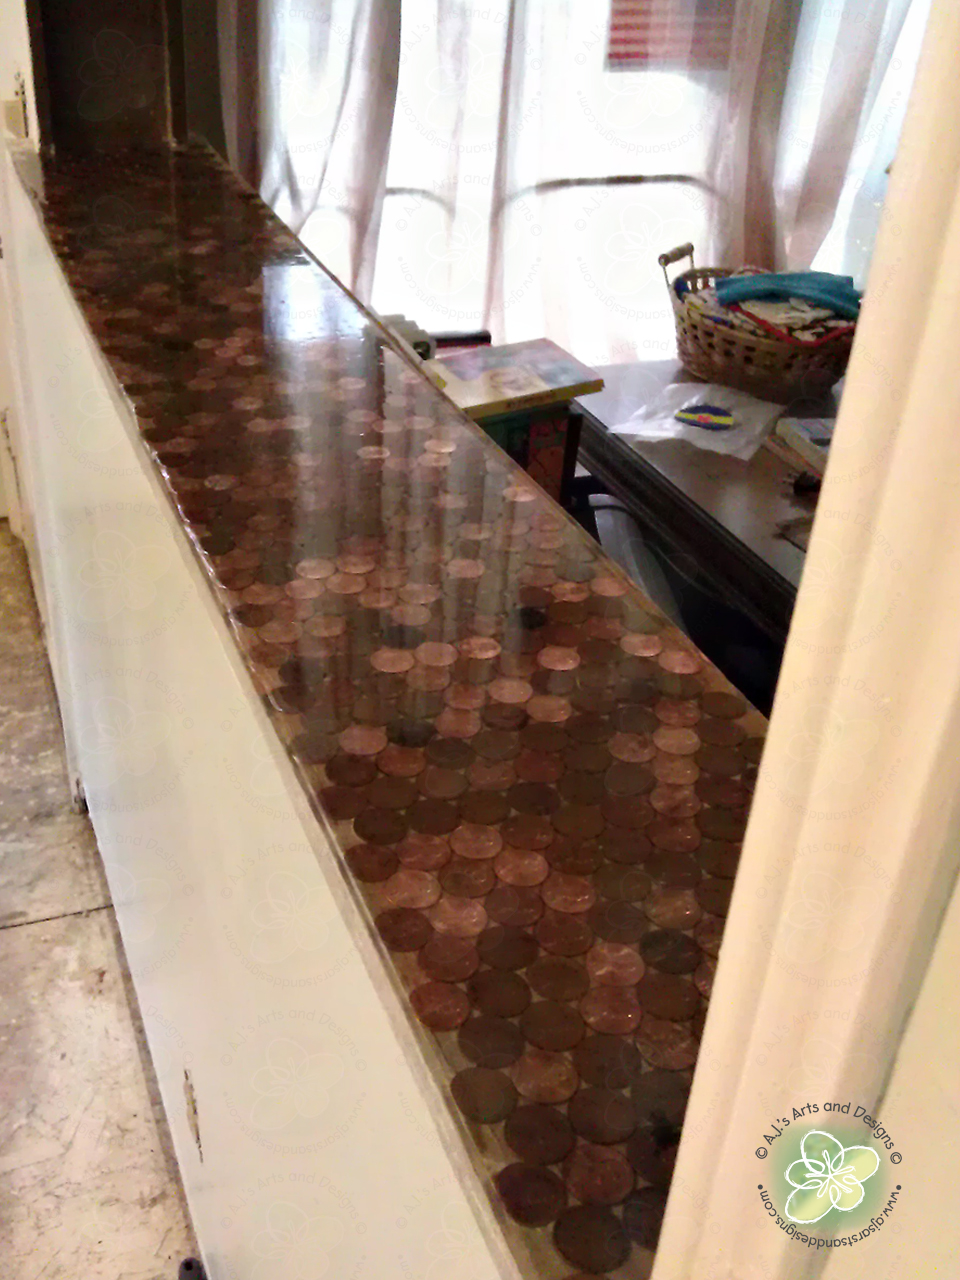
 The penny ledge started by me scrapping the ledge down to the bare wood. It took several hours to remove all the paint from the ledge I admit I was hesitant to add the pennies because it took so much time to scrap the ledge. I am trying really hard to tie all the main rooms together little elements in each of the rooms. The kitchen has the penny back splash which is still a work in progress but is coming together nicely. I wanted something different almost like a conversation piece when people come over or a wow that is amazing piece. I love pennies it doesn’t matter how horrible a day I am having if I find a penny it immediately puts a smile on my face. I figured with the headache the living room has been I needed something to make me smile.
Materials:
- Pennies (my ledge is 7 1/4″ x 52″ – I used $8.00 worth of pennies)
- Gorilla Glue
- Clear Packing Tape (Mine was the Duct Tape Brand)
- Amazing Clear Cast Resin
- Sand Paper
Prep your surface – my surface consisted of scrapping and sanding for several hours.


- Glue pennies either randomly heads up, heads down, all one direction, etc. Remember once you glue them they will be there forever unless you want to pry them off and risk wrecking the wood underneath.

- Once the pennies are glued allow them to dry – I let mine dry 24 hours because I didn’t want the glue to interact with the resin.
- Take packing tape and place it firmly around the edge of the ledge.

The picture shows how I did the packing tape. There was about an inch of tape above the ledge.
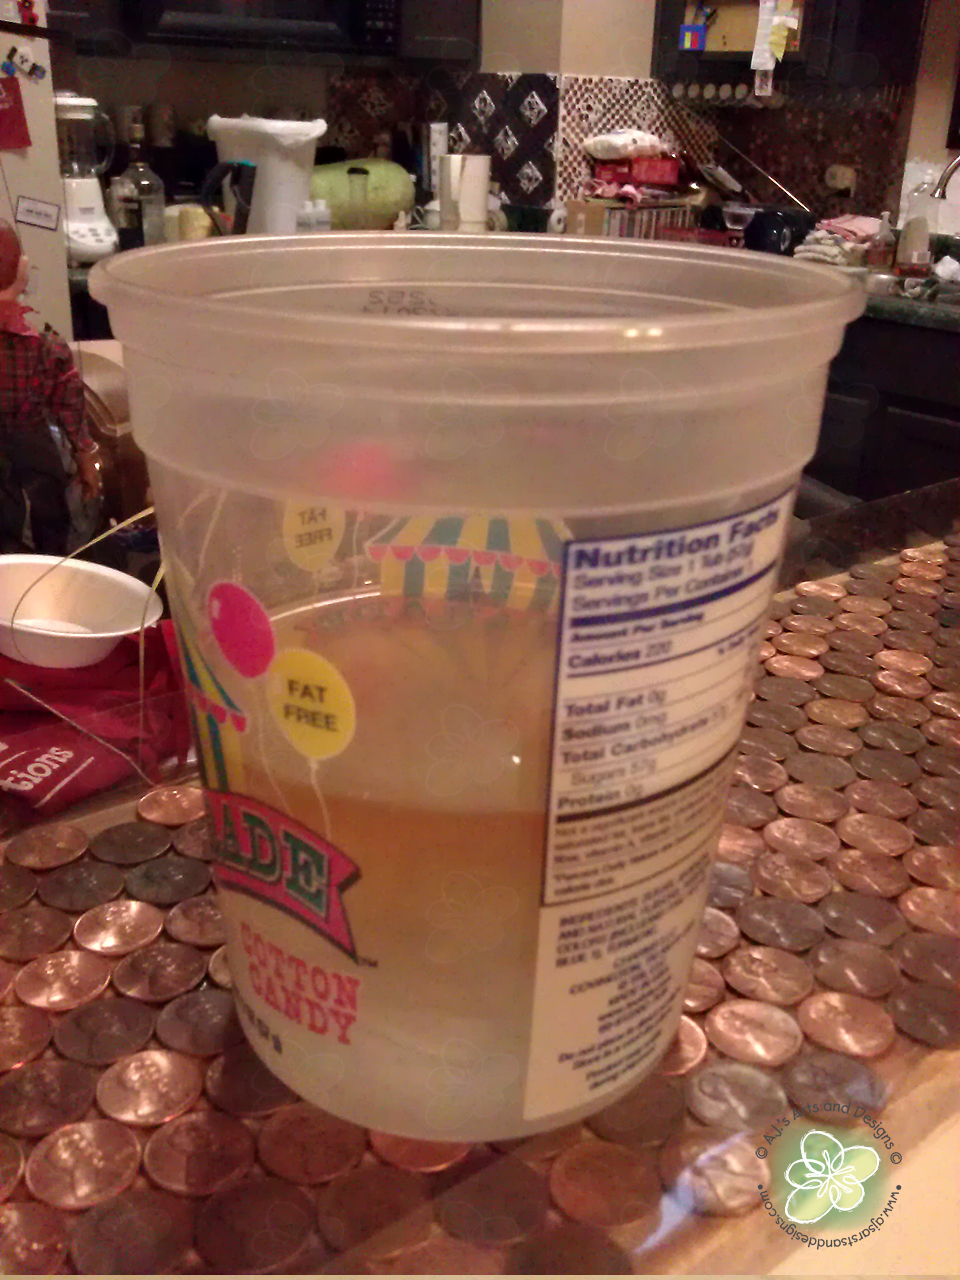
- I mixed the Amazing Clear Cast Resin with Equal Parts A and B. For this project I used the whole box.

- Pouring the resin in the middle and push the resin outwards towards the edge with a craft stick. Be careful to work quickly but not too quickly or you will get air bubbles. Once the resin has flooded the area push the packing tape to ensure there are no leaks. I checked frequently for the first hour especially the corners for drips.

- Allow the resin to cure with the tape on for 12-14 hours. Remove tape and allow to cure for another 12 hours before sanding. I sanded my edge and am pretty sure I am going to leave it because I was able to round the edge with sanding.

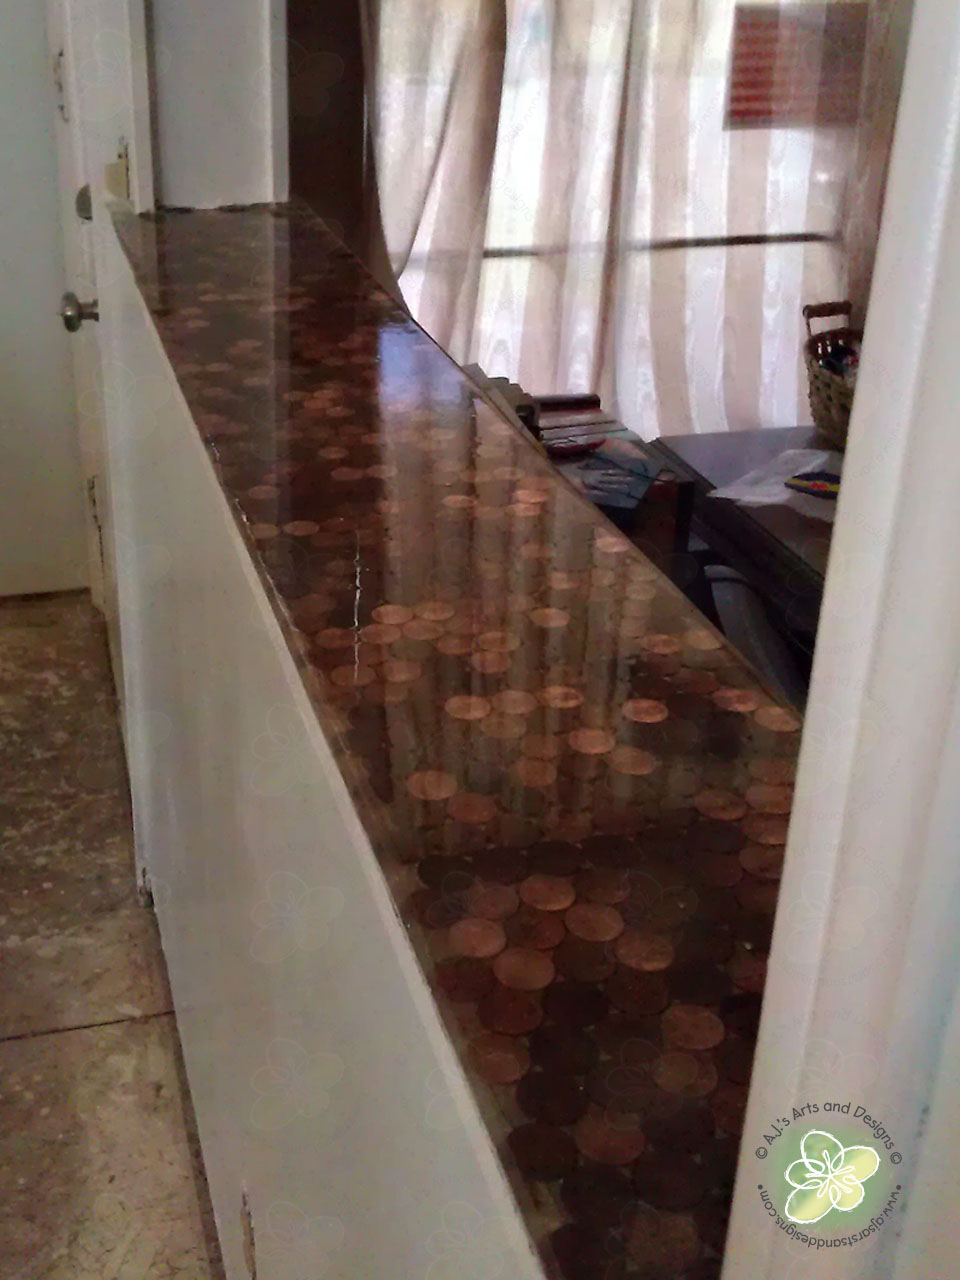
Penny Ledge before the trim was finished

Finished with trim

Close up of the pennies


very interesting project, looks so pretty on the close up!
Really beautiful, do you know how many pennies you used?
The penny ledge took 825 pennies to complete.