I know I talked about it and even posted some snippets of the floor. I have gotten many questions about the floor I wanted to see how the floor has held up before posting about it. I finished the floor back in August (the 16th to be exact) which means it has been a little over a month since our forced home renovations.
Many of you know I am cheap and the thought of spending $2000 on hardwood floors seemed a tad ridiculous. Don’t get me wrong I love hardwood they are beautiful but in my world completely impractical. I have a dog, a Princess and a Booga, my concern lies mostly with the dog and a Booga who chases her throughout the house. I envisioned the floors laid and Booga pulling out a ball point pen and scribbling on my floor or Reeva scratching the floor because Booga was chasing her. Better yet Jeff and I moving furniture and the felt foot comes off and we tore up the floor. Those nightmarish scenarios ran through my head repeatedly. The price tag also was a complete turn off and I really didn’t want laminate because we already had a mold problem. A while back I pinned a paper bag floor and told Jeff as a joke hey we should do this. I revisited the Paper Bag Floor when we ripped up 364 square feet of carpet. I figured if nothing else it would be a stop gap until we could do something in the spring.
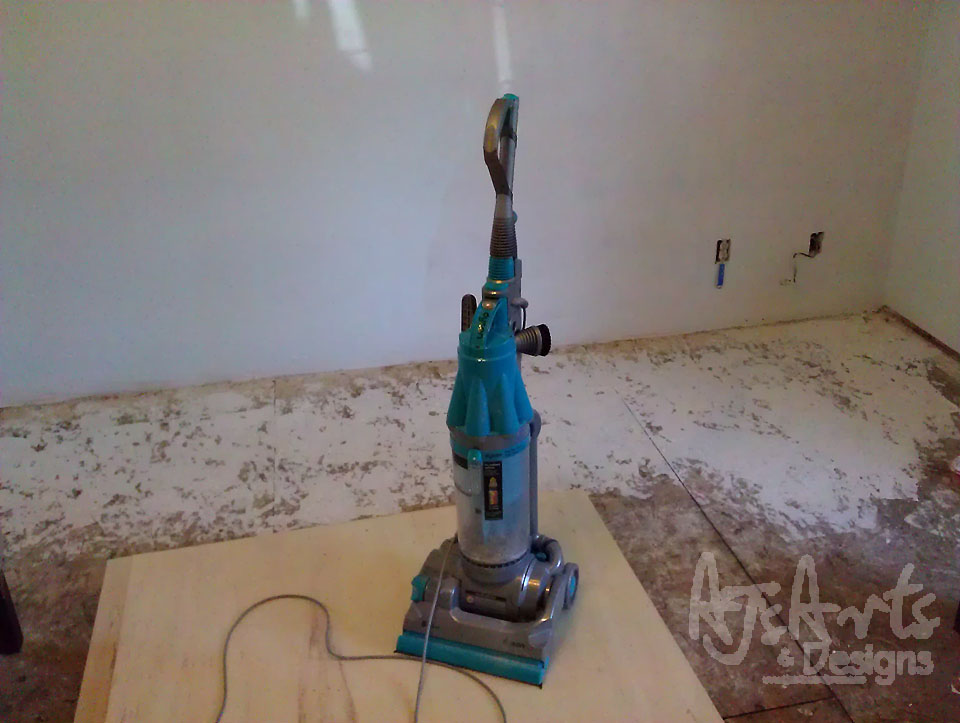
Our house as I have mentioned in the past was not built the best (Booga could have done a better job) the floor really showed me how poorly this house was constructed. There were several spots were the gap was at least 1/2″ on the stud. Also we have no insulation under the house and the floor is not insulated either, something we were unaware of until the floor happened. We knew there was no insulation under the house but we assumed they did a barrier before the carpet, not the case. Our carpet was laid right over the OFB Board leading to stains in the OFB board from pet accidents (not ours but the previous owners). We decided to add a little bit of insulation to our floor we laid felt paper and then covered the whole floor with 1/4″ moisture resistance luan (remember the mold thing, yep that is why we went this route).
So it begins – we cleaned the OFB Board and sealed the mold
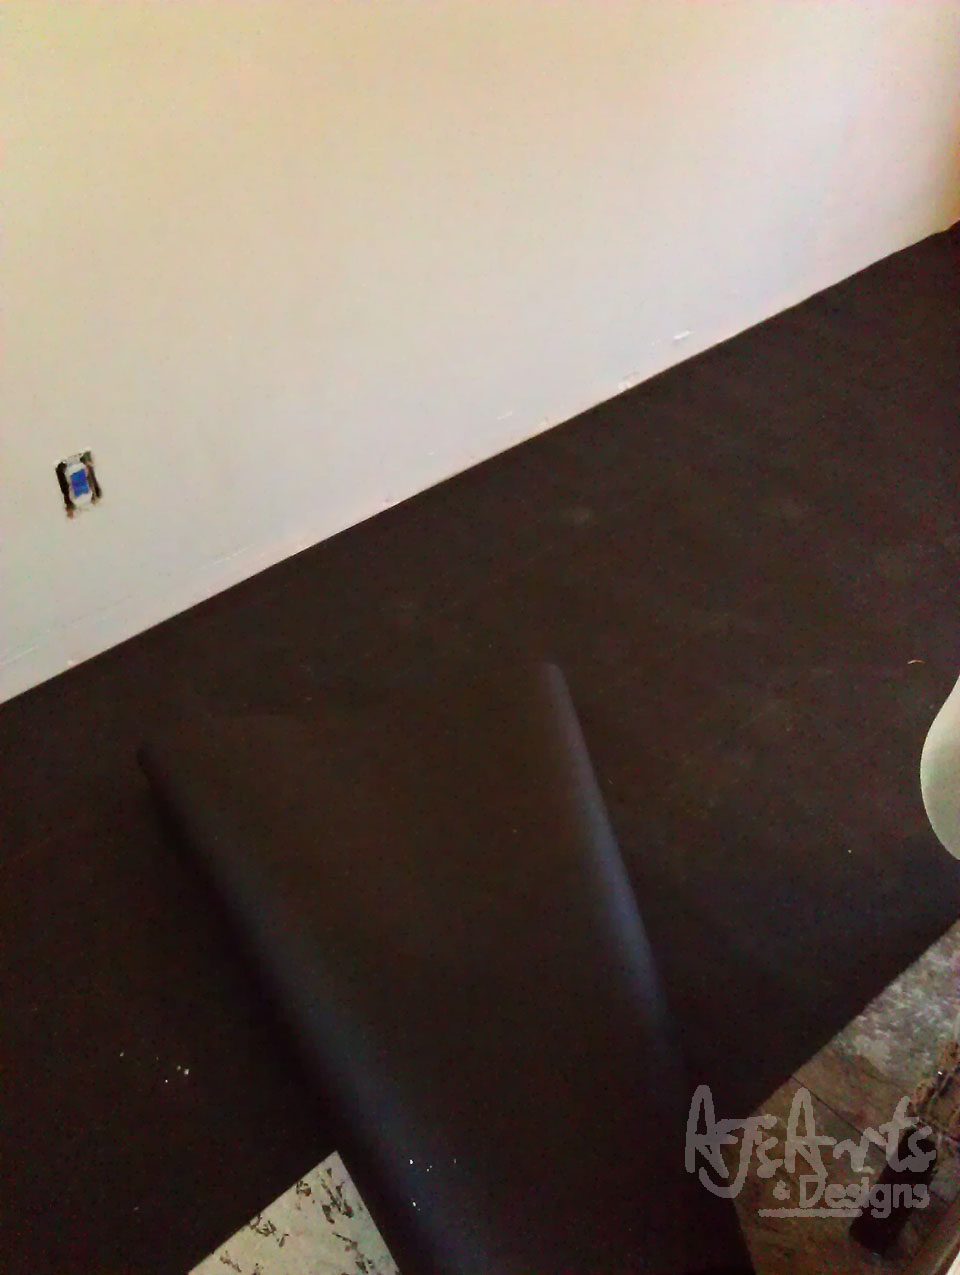
Felt Paper

Nail gun – Jeff and our neighbor Ron using the nail gun

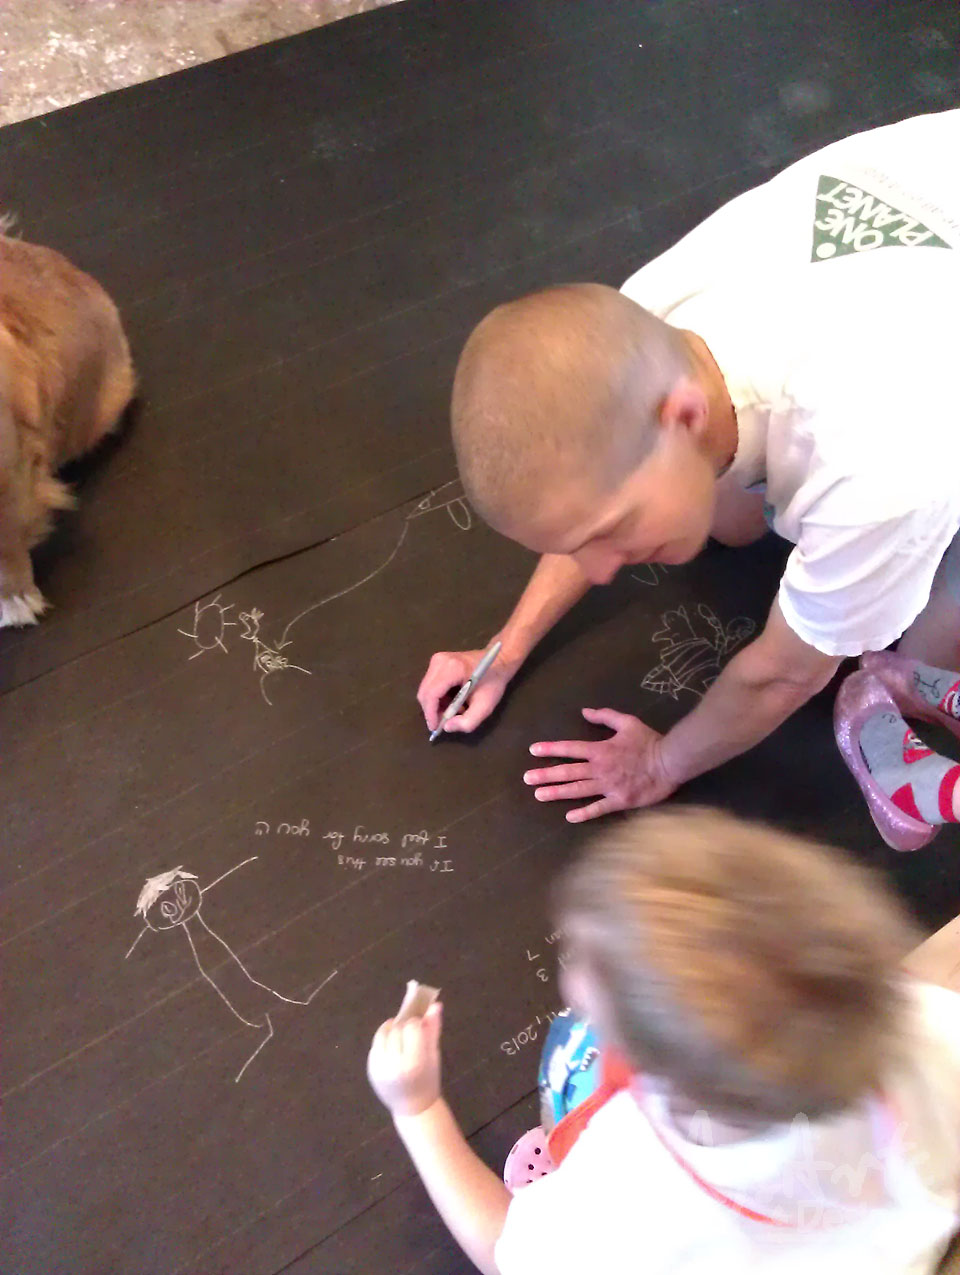
Booga drawing pictures on the felt paper

My message to the next person
Jeff and Booga

The Princess using the nail gun with help

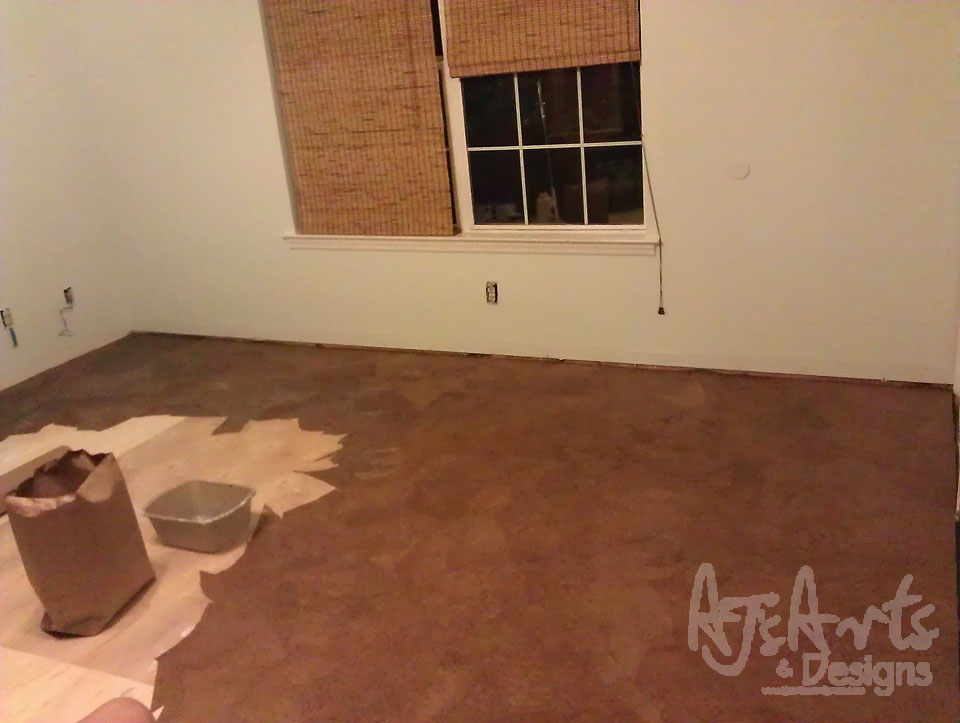
New floor – I could have stopped here but why?

I ripped paper – lots of paper

I started applying it to the floor

Yes I am wearing gloves. It made it easier to smooth the paper out.

More paper

One section done

Starting to realize this is going to take a while

Back to work so I could have a living room
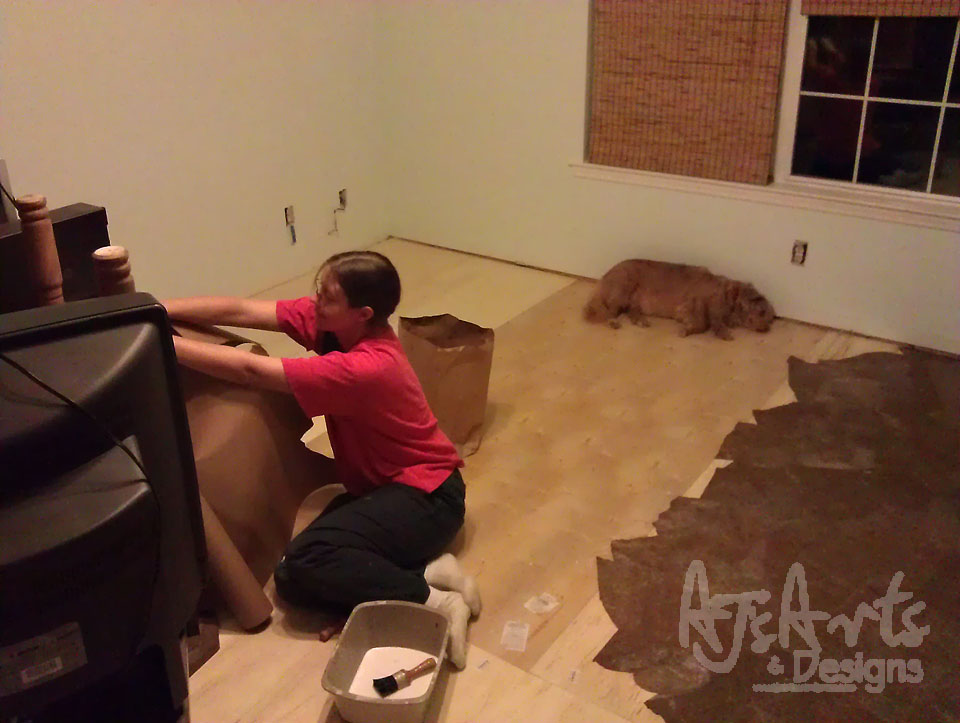
As you see Reeva was quite pleased with her new floor
Yes I made Reeva move so I could get under the window

My sad doggie because I kept making her move

Making progress

First of twelve coats of polyurethane

Oh shiny

Twelve of twelve

Did I mention I had to do my living room in sections? Yes I had to do one half finish it move everything and do the other.

Showing the “line” of where I began and stopped
Doesn’t look bad

Look no seam

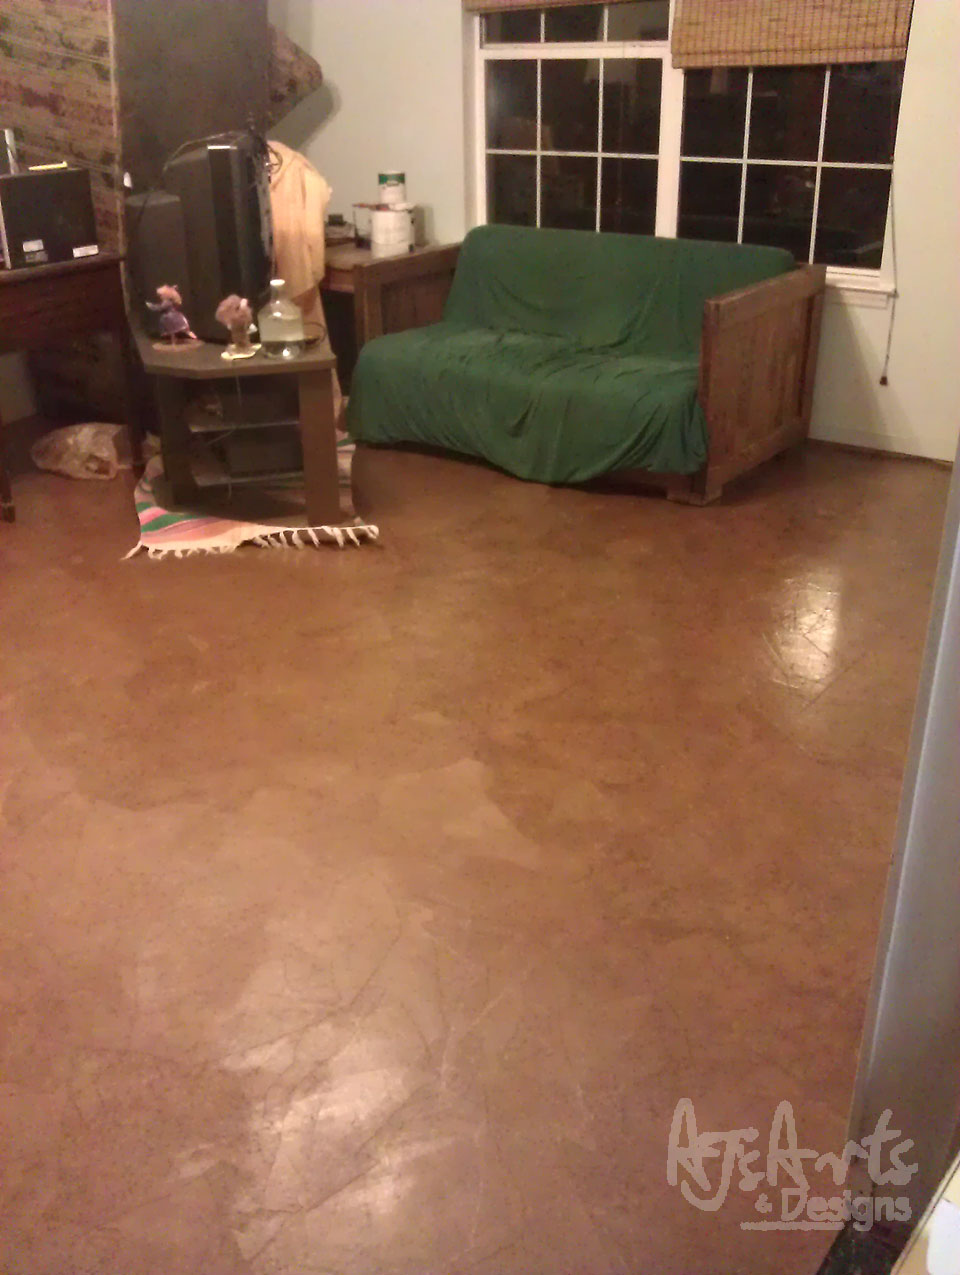
YAY I have couches

The other part of my living room finished – I ran out of glue, I raided my white glue supply. I also ran out of brown paper, which I raided our paper bag supply so I really did use paper bags on my floor.

My reward for finishing 364 square feet of decoupage

You can see the lighter color of the bags but I like it. In my opinion it gives the floor character.
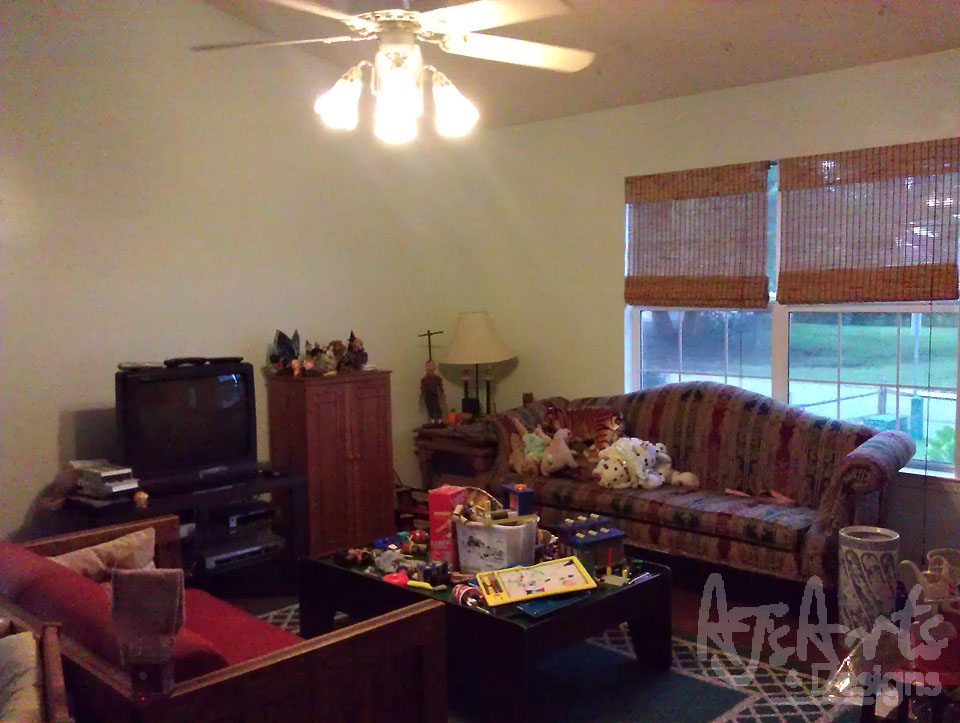
Living room pretty much back together we added a rug
Things I learned with this project:
- Buy extra whether it an extra gallon of white glue, roll of paper or another gallon of polyurethane.
- If you can take all the furniture out of the room – DO IT! We did not have that luxury so we did it in sections it will take less time if you can remove everything.
- Invest in knee pads or a garden pad I spent 4 days on my knees and had bruises for a couple weeks.
- You can fix scratches with more paper, glue and polyurethane.
- Don’t fill your cracks if they are small – I did not fill the cracks on half the floor and did it on the other I am much happier with the non-filled side than the filled side (yes I did sand everything too). Remember a floor swells and shrinks with the change in weather so somedays my “cracks” are far more noticeable.
- Don’t skimp on the polyurethane, I only did 8 coats on one half of the floor – it hasn’t held up as well as the 12. Besides running out of polyurethane I have some patches I have to do because I dropped a paint brush on the floor. I will get to it eventually but it is holding up pretty good considering there was only 8 coats.
I used this post from Lovely Crafty Home and her glue mixture (3 part water to 1 part Elmer’s White Glue). I used the Brown Builders Paper from Home Depot as the majority of my base and nine paper bags from Pulbix to finish it. I did NOT use the stain it was already the color I wanted so I put the polyurethane right over the top – I used Rust-oleum Clear Polyurethane.
I love this floor my house feels cleaner and is far easier to clean than it ever was with the carpet. My neighbor also gave me a steam mop which works great on the floor. If you are looking for a cheaper alternative to hardwood floors this is a great option.
How has it held up?
Considering I have a Booga and a dog surprisingly well. I honestly thought it wouldn’t last a week, I have been proven wrong. I do have a couple places that need a patch but they aren’t bad and really don’t bother me. If it does get bad I can patch it with some paper bag, glue and then cover it with polyurethane.
Total Cost (includes felt paper, luan, paper, glue, polyurethane, lamb head applicator): $400 sure beats $2000
Time: Depends mine was over 4 days (that was after almost 2 weeks of waiting for insurance)
Link Parties:


Thanks for another great post. Where else could anybody get that type of information in such a perfect way of writing? I have a presentation next week, and I’m on the look for such information.
Regarding the variance in color between the two paper products. Personally I intentionally utilize that technique as a landscape professional when installing patios and walkways. Great job, especially with the lighter tones, wouldnt have nearly the uniqueness without it.
,
Did you put trim on the walls afterwards?
I’m thinking this is perfect for me.
Just wondering if I could use actual paper wall paper in the same way? I found some I really love and it looks like beachy wood. If I seal it in the same way,
could that work just as well?
lorrijansen424@gmail.com. after I put the glue on it looks terrible is that normal
I am not sure what you mean by terrible. It was darker because the paper was wet. It will give it a leather like look, I personally liked it. Once it dried completely it was lighter, until I put the polyurethane on it. I will say do not skimp on the polyurethane that was the mistake I made not enough coats of polyurethane. I did 8 coats, I would do closer to 12-14 especially if you have dogs and kids. It served me well for several years, it was only meant as a stop gap. I felt it turned out better than I had hoped. I hope this helps – Amanda
I’m going this right now, too. Mine did not lay smooth after the gluing. It dried smoother, but maybe that is what she meant by terrible. I’ve watched several videos and read blogs. One said it took a couple weeks for it to cure and lay flat. I’m hoping that are right.
I should have read your blog earlier. I’m heading into town because i ran out of polyurethane. One thing i’m noticing, that i hadn’t read anywhere, is the first coat, on the dry paper is using a lot of polyurethane. I hope the next coats use less.
The first coat sucked up the polyurethane like crazy with each coat it got better. My measurement was off by how much the first two coats took. It was fine for the first two years, then it started to show signs of wear. When we got a second dog, that destroyed the floor (even with his claws trimmed). Definitely use way more polyurethane that you think, I recommend 15-20 coats. Some people say that is over kill, maybe it is but I am my father’s daughter so that is how we do things.
C’est très joli, peut-on utiliser cette technique sur du carrelage mural de cuisine ?