
Last week I needed an easy idea for my Girl Scout Troop, we are currently working on our Inventors Badge. I wanted something that would make the girls think outside the box. As with all my projects it had to be easy and cool, going with the “season” is a bonus.
I was using my hot glue that morning to fix something the glue had dripped out looking like blood drips and I realized I could create something with the hot glue. I have used my hot glue gun in many ways but never thought of creating a necklace with it. I have made window clings , fairy wings, faux gliding and stain glass.
I did a lot of “prepping” for this project because I didn’t want the girls using the Hot Glue Gun. I “drew” with the hot glue gun the blood drips on the craft mat, I made 20 blood drips. After the drips cooled I poked some holes in the ends and added ribbon (this is what I gave the girls at scouts – they added the color). I added color to the front side (away from skin) with a Permanent Marker.
Materials:
- Hot Glue Gun
- Hot Glue Sticks
- Punch
- Ribbon – 2 pieces per necklace each about 7″ in length
- Craft Heat Mat
- Permanent Markers
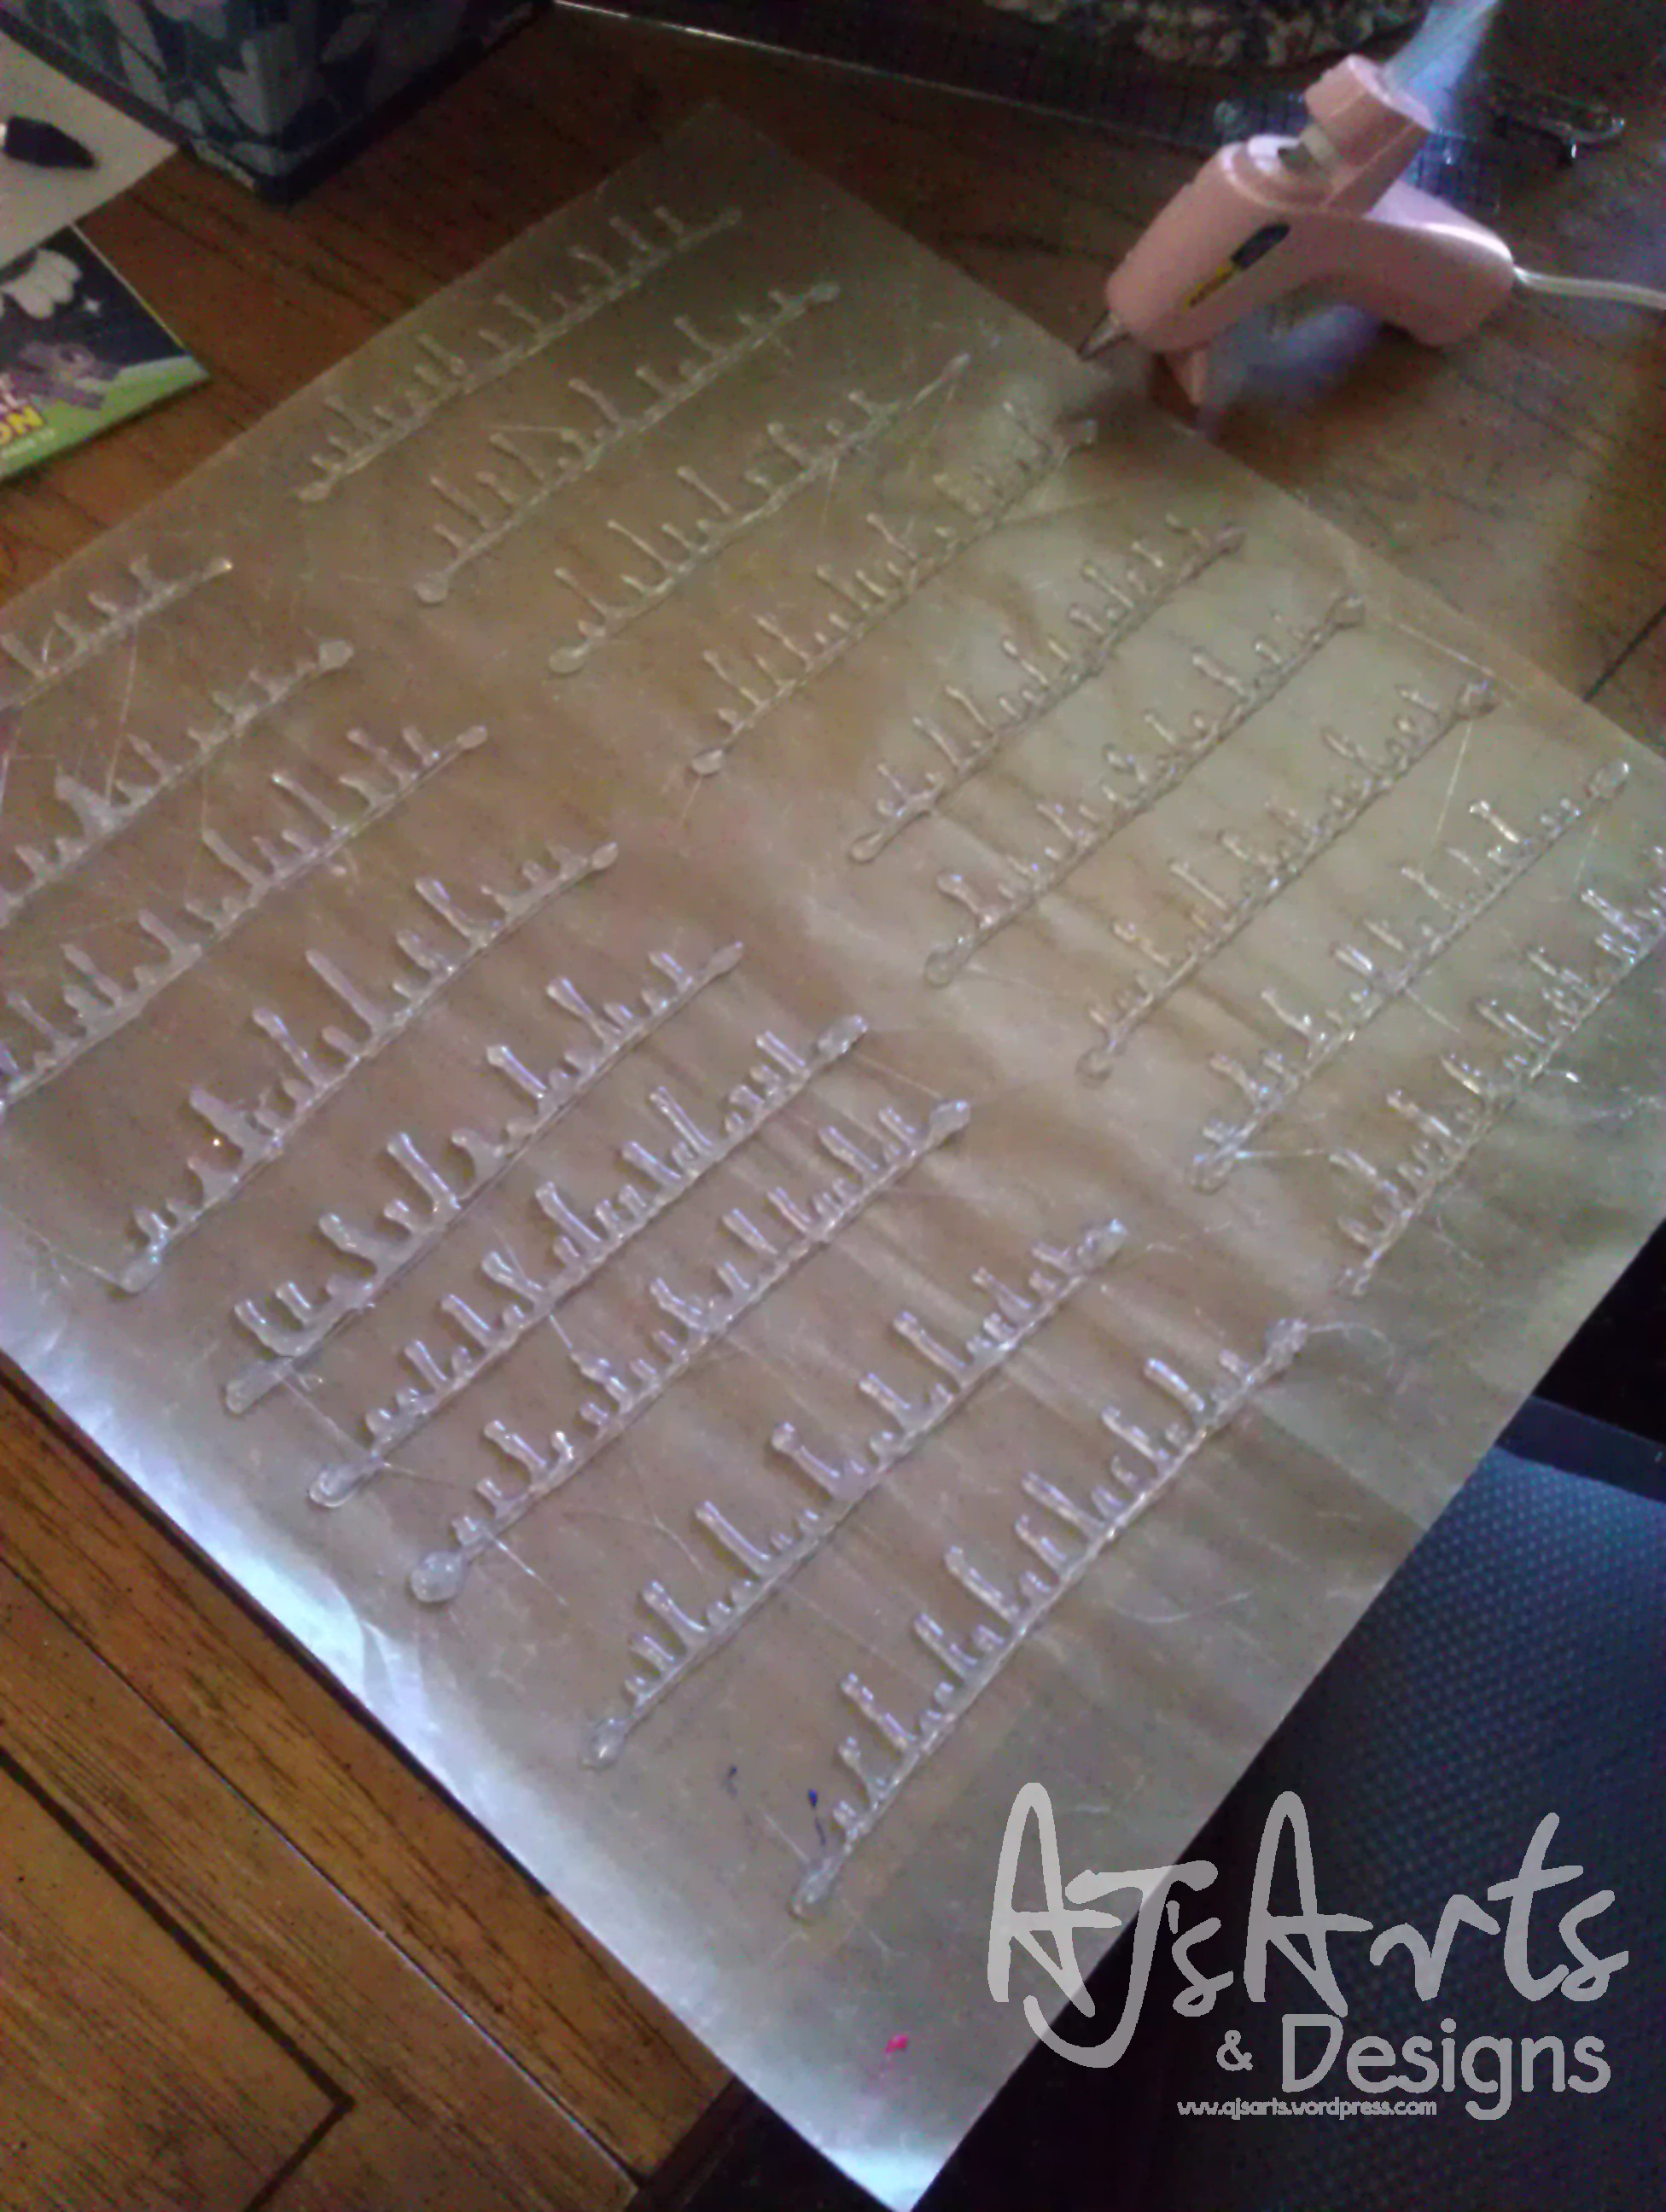
1. Draw with a hot glue gun your design onto the craft mat.
 2. Make sure the ends have space to punch a whole through (I did this by adding more glue to the ends). Once cooled remove from mat, (I removed all the hot glue boogers from them.) Take a hole punch (mine was a small one 1/8″) punch holes on either end. Take a quilter’s needle (a thick needle) and string ribbon through the hole tie off.
3. Color the piece with permanent magic marker only on the front side or it will rub off on your sink. Tie your new necklace on and show it off.

The girls LOVED this project the parents thought it was pretty cool too. I know several went home to make their own.
Time: 20 minutes from start to finish
Difficulty: Easy (note children under 12 should not use a hot glue gun unsupervised)
Link Parties:


Great idea!
I loved it!