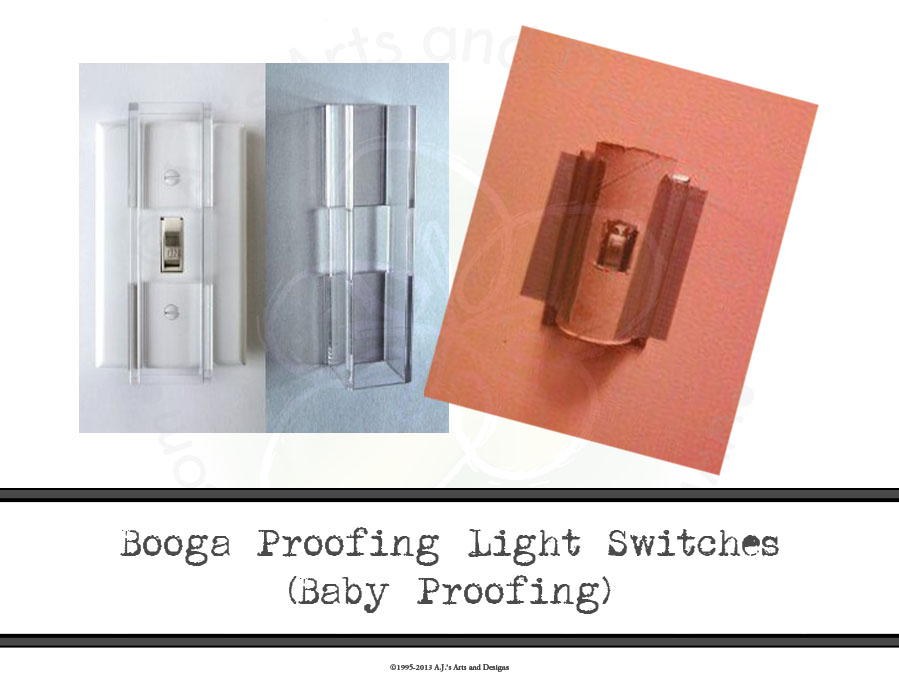
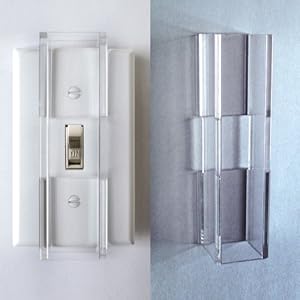
I have been hoarding TP rolls for a while and decided to make one out Duct Tape and a TP Roll. I know what you are thinking really?! – it will be ugly, not necessarily you can get pretty Duct Tape or you could always use Metal Tape and Alcohol Inks. I did neither, I was trying to save my sanity so I wanted fast, not pretty.
Has it worked? Yep! I did have to cover the bottom part of the tube so the Booga hand did not slip up under the tube and turn on the light. Also for the one for the front porch – I didn’t cut the hole in the center it is big enough for my hand to slip down and flip the switch on and off.
Materials Needed:
TP Roll
Scissors
Tape (of your choice)
1. Cut TP Roll in half.
2. Depending on where your switch is cut a square in the center of the TP Roll.
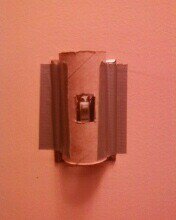
3. Cover bottom of the TP roll to prevent “little hands” from penetrating the barrier.
4. Tape over light switch cover.
5. Allow child to test out new light switch cover – take pictures or video.
6. Repeat with all reachable light switch covers in the house.

I still think it would be ubercool made into a train. 🙂