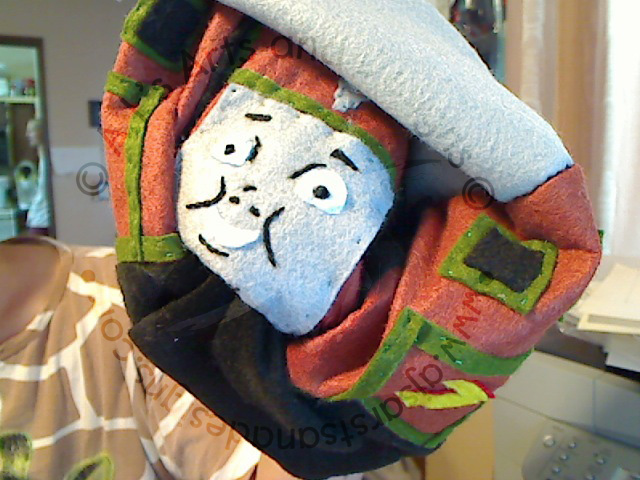
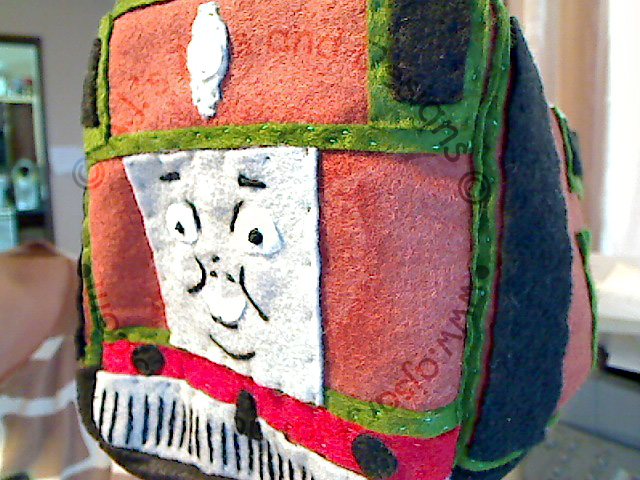
The Toby Train has been a bigger hit than I ever expected. When making him I did make a pattern so I could share it with everyone. I did go back and forth on it debating if I should make the pattern complete or if I should only do it half way because of copyright and trademarks. I decided that since I was not going to profit from this that I would do the full version. These items are pretty expensive and I honestly don’t even know if “plush” Thomas toys exist. I drew this pattern freehanded and used Photoshop to create the actual pattern. I used felt because that is what I had in hindsight I wish I had used fleece instead of felt to make a softer toy because this toy has not left Booga’s side.
Materials Needed:

Felt
- Rust (base of the train – I did not have enough brown)
- Gray (roof, face and lamp)
- Black (doors, windows, circles and bottom)
- Bright Yellow (#7)
- Olive Green (trim, base of windows)
- Red (trim and base of #7)
- White (lamp and face features)
Scissors
Tacky Glue
Coordinating Thread
Needles
Poly-fil
Sewing Machine (I did not use a sewing machine I sewed mine by hand)

1. Print out pattern. Cut out pattern and pin the pattern to the felt. Cut out all the pieces.

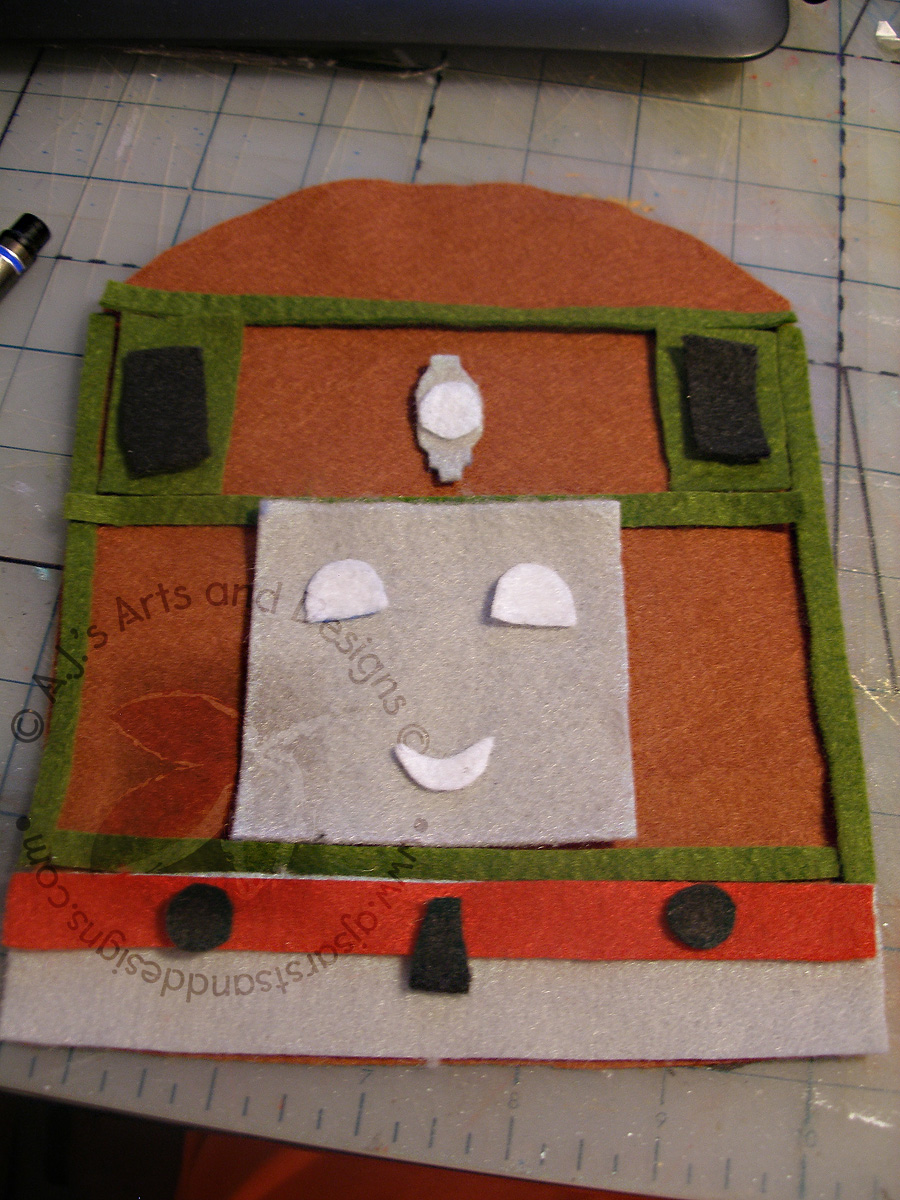

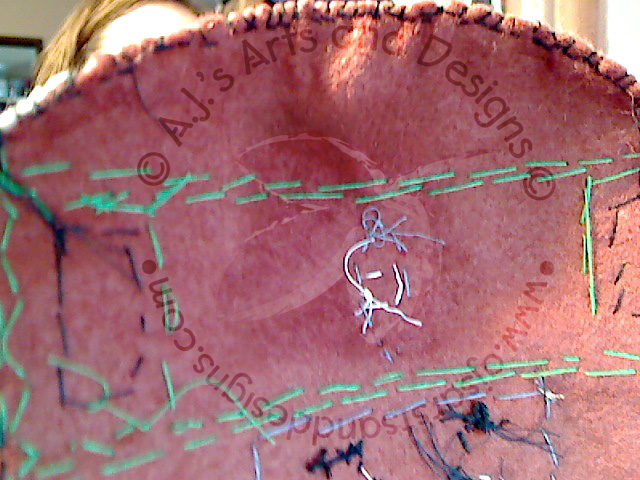
2. Using the diagrams glue the pieces to the base pieces.
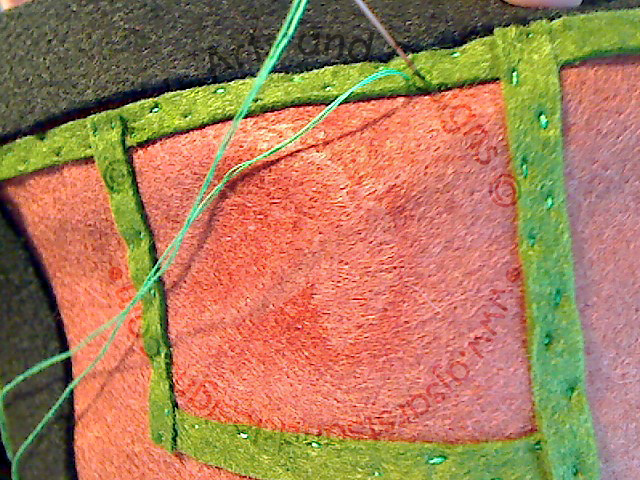

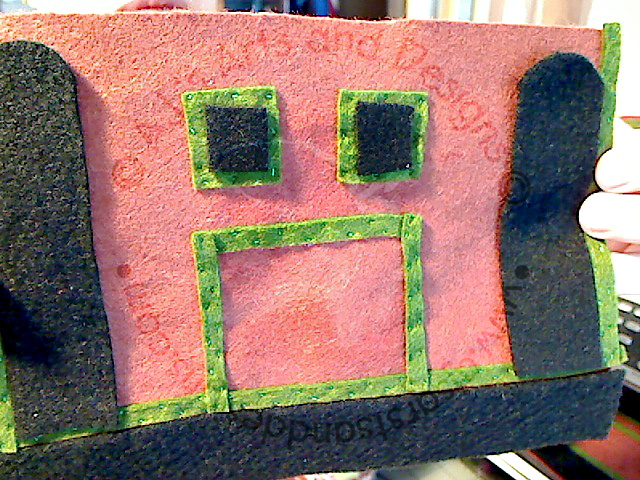

3. Once the pieces are glued, sew the recently glued pieces to the base. This will help keep the smaller pieces attached to the base. The process is tedious but well worth it in the end.

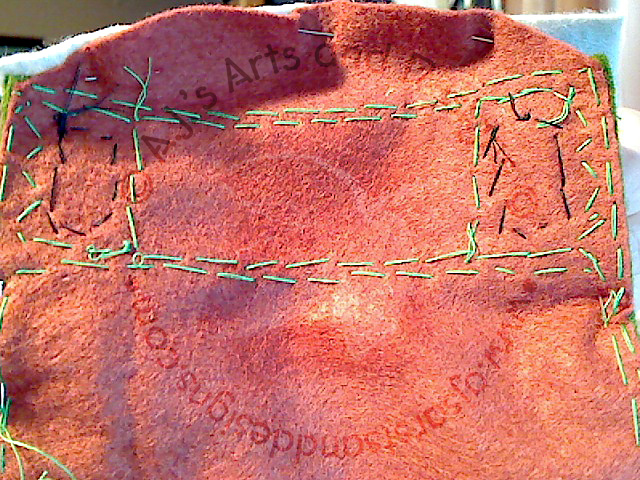
4. Embroider the face and grill with a split stitch – stitch tutorial. I did a French Knot for each eye – Tutorial Here.

5. Once everything is reinforced with sewing. Pin roof to side A, A1, B and B1 – right sides together. I used several needles on the curved section of the roof. Once the roof is pinned together pin the sides together. Pin the Bottom together.
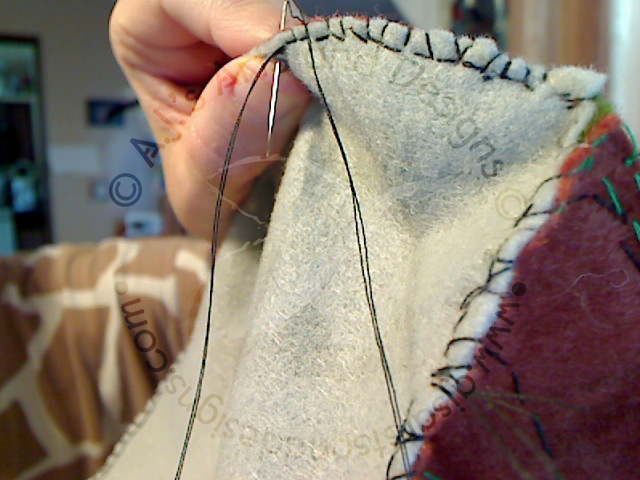

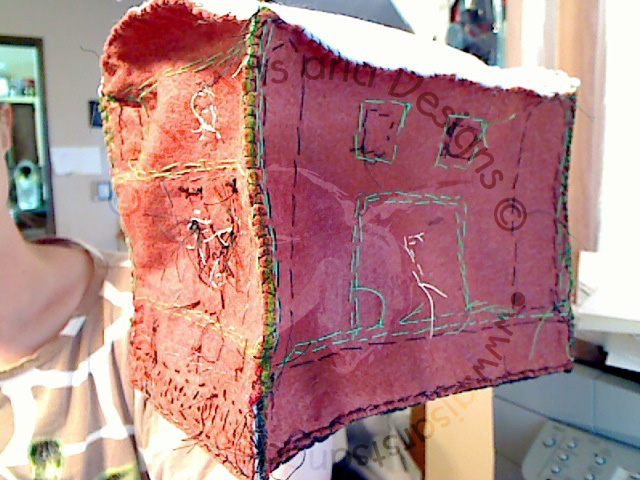

6. Using a blanket stitch (tutorial here – I did a “backwards blanket stitch” I always do a blanket stitch wrong). You could also use a sewing machine to do this step. I sewed everything together leaving a space at the bottom to turn the train right side out.


7. Turn the train right side out and stuff with Poly-fil to desired plushness. Use a basic stitch to close the hole.
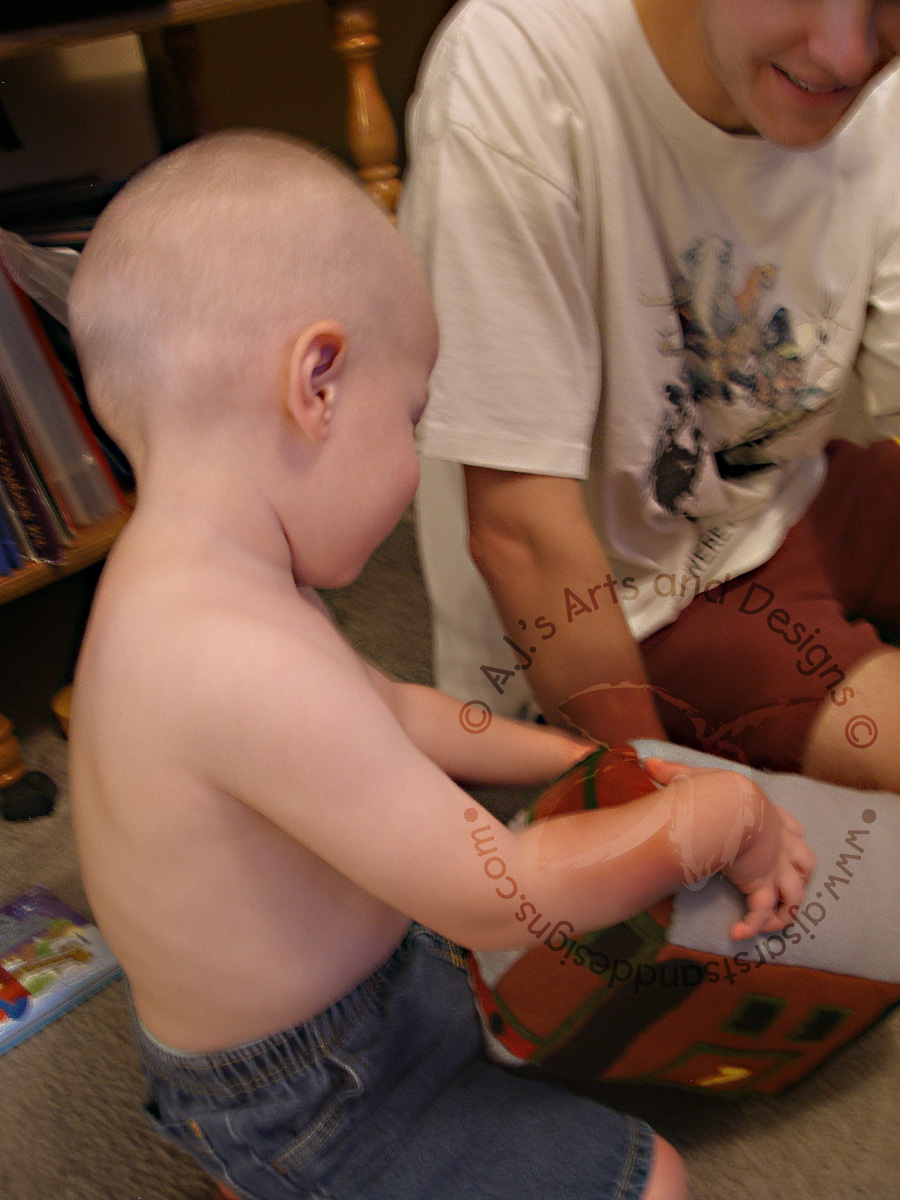


8. Watch the reaction when giving it to a special little boy or girl (Toby has not left Booga’s side since I gave it to him).
TO DOWNLOAD YOUR OWN TRAM ENGINE PATTERN (IT COMES IN SEVERAL PARTS – THEY ARE VERY LARGE FILES AND MAY TAKE SEVERAL MINUTES TO DOWNLOAD.)
PART 7 (BACK GUIDE)
Link Parties:


do you still have the original files? If so send them to owenkoepp82@gmail.com. Thank you! Also plush thomas toys exist